
Fractal Design Define Mini Micro-ATX Chassis
Not too long ago, we took a look at Fractal Design’s Define R3 ATX chassis and came away impressed. Today, we’re going to examine the R3’s younger sibling, the Define Mini Micro-ATX tower chassis. The Define Mini holds a lot of promise with six 2.5”/3.5” internal and two 5.25” external bays, six fan slots, support for expansion cards up to 400mm in length, USB 3.0 port, dampened side panels and cable management features all intriguingly hidden behind a black, brushed steel door.
Specifications
|
Material |
|
|---|---|
|
Motherboard |
|
|
Drive Bays |
|
|
Cooling |
|
|
Expansion Slots |
|
|
Front I/O Port |
|
|
Power Supply |
|
|
Weight |
|
|
Dimension |
|
Test System
|
Motherboard |
Intel DH67BL |
|---|---|
|
CPU |
Intel Core i5-2500k |
|
CPU Cooler |
Scythe Mugen 2 |
|
Memory |
8GB (2x4GB) Patriot Signature DDR3 PC3-12800 |
|
GPU |
NVIDIA GTX 560 Ti |
|
Hard Drive / Solid State Drive |
500GB Western Digital Caviar Blue 16MB Cache 7200RPM 500GB Seagate 7200.12 7200RPM 120GB OCZ Vertex 2 |
|
Optical Drive |
Samsung 22X DVDRW SATA |
|
Power Supply |
PC Power & Cooling Silencer 750W 80Plus |
|
Operating System |
Windows 7 Ultimate 64-bit |
Packaging and Hardware
The Fractal Design Define Mini arrived safely and was well-protected by plastic and Styrofoam inside a cardboard box that showed signs of multiple journeys. The full package includes the following items:
- Define Mini enclosure
- Package of screws and ties
- Fan controller and cabling
- Pad to protect long expansion cards
- Manual
- 5.25” to 3.5” cover
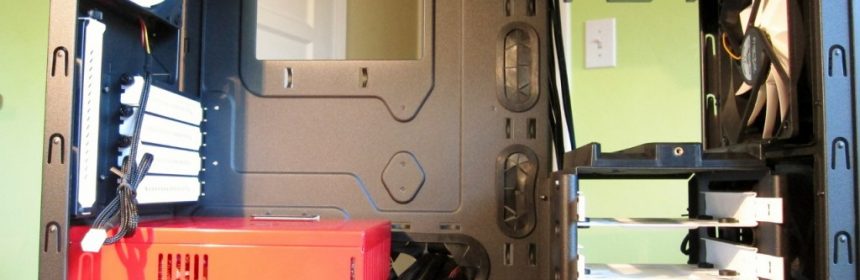
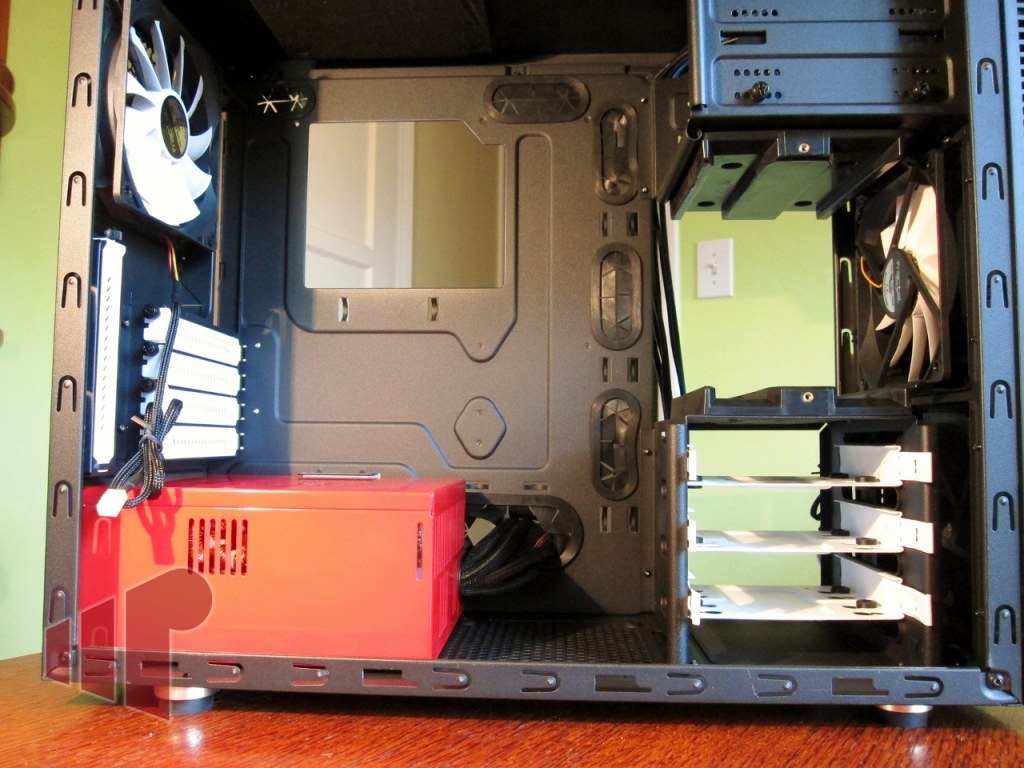
Once all the packaging has been removed, we are greeted by an all-black and mostly steel chassis. The brushed steel front door and powder-coated sides portray a simple and refined elegance. Empty, we have a solid-feeling when lifting the just under 21 pound chassis. The slightly recessed power button flanked by two USB 2.0 ports, a USB 3.0 port and headphone/microphone ports has a high-quality feel when pressed. There are four anti-skid feet protecting the bottom and raising it high enough off the ground to get a good grip for moving.
Opening the front door is no less inspiring. The metal hinges are sturdy and smooth. Inside the door we find some foam insulation. Fractal Design’s attention to detail continues with the two louvered plastic 5.25” bay covers and two louvered 120mm fan covers. The bay covers open simply by pulling the lever on the right and the fan covers require a simple push inward to reveal fan filters each held by four screws. The seldom used reset switch is cleverly hidden here as well. Closing the door, the pull of the magnets in the door assures us that there will be no accidental openings.
Continuing toward the back, we find the optional top 120mm/140mm exhaust. At the rear, the power supply unit (PSU) opening is on bottom along with the white expansion slot covers, motherboard I/O plate opening, included 120mm exhaust fan and two pass-through openings with soft covers.
The side panels are each secured by two thumbscrews and strike a perfect balance between being too thin and flimsy and too thick and heavy. Furthermore, the doors and optional fan openings are generously treated with sound dampening material. Another filter has been provided on the bottom for the PSU inlet and optional, bottom-mounted 120mm inlet fan. There are two drive cages (top removable), each holding three drive trays (which can handle 2.5” or 3.5” drives) continuing the distinctive, white on black look. A 5.25” to 3.5” drive bay mount has been included. There are soft-covered cable management holes and tie spots galore along with an opening to allow easy installation of CPU cooler plates.
Overall, we are impressed by the high level of quality, thoughtful design, inspired feature set and elegant aesthetics.
Build
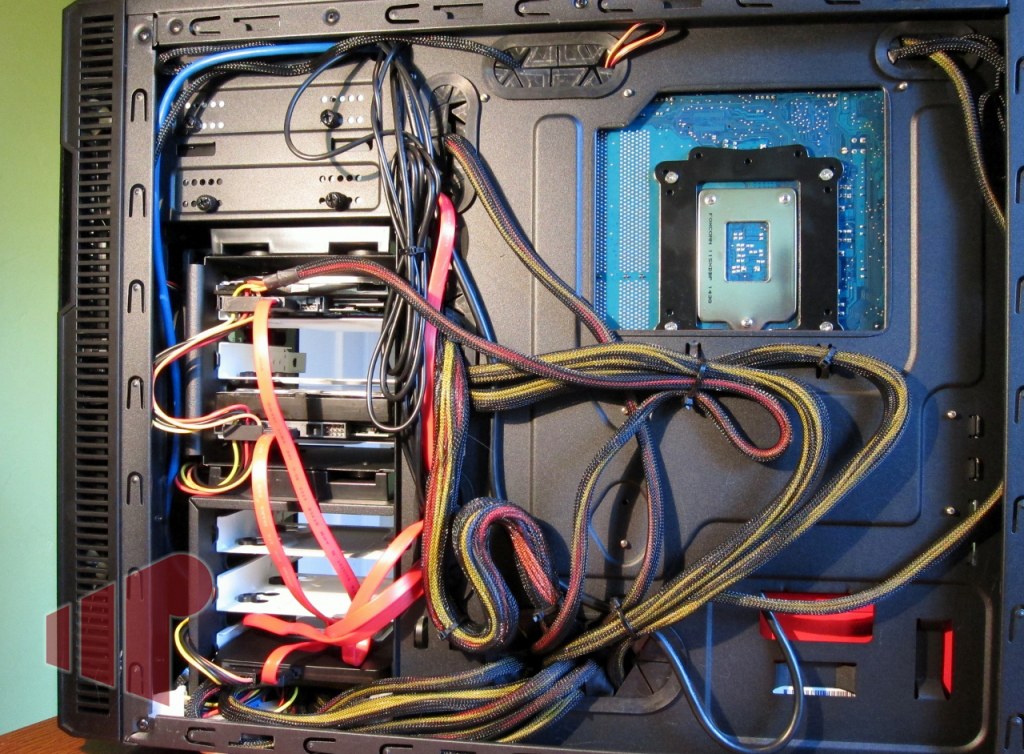
We installed our non-modular PSU and fed all the cables through a hole placing them on the back side of the motherboard tray. The PSU to chassis interface is smartly padded both on the bottom and rear positions. The cable management holes are all covered with a soft silicone material which offers an additional level of protection for both the cables and our hands in addition to more appealing interior appearance.
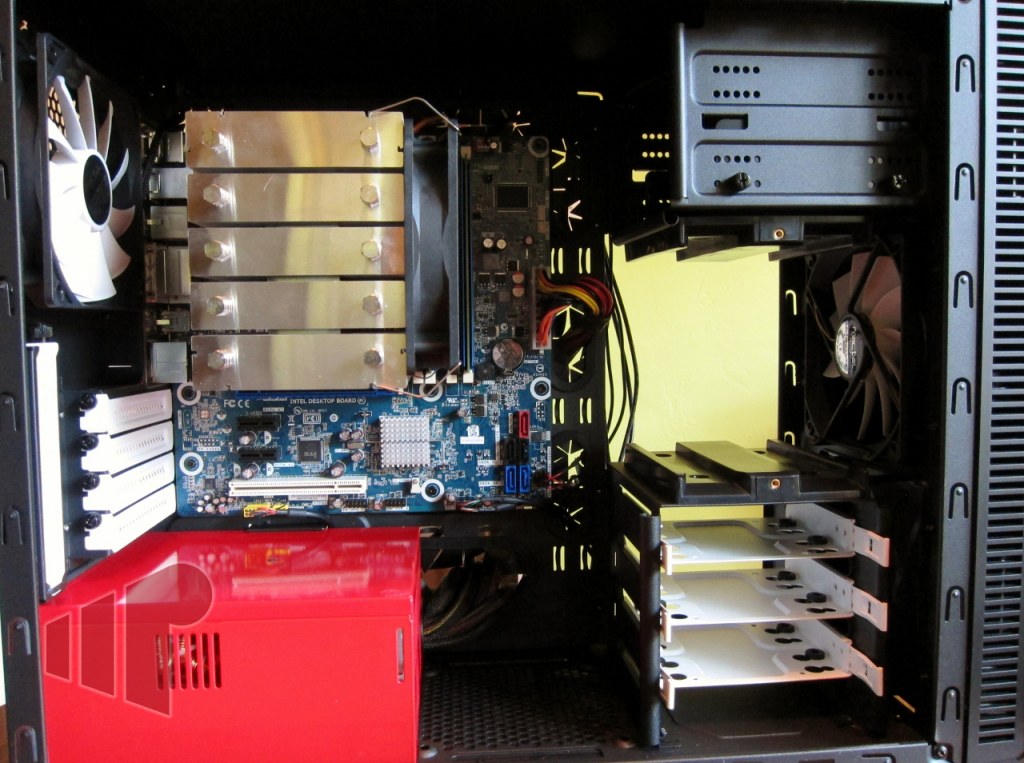
Next up was the motherboard. We had to screw in all the standoffs appropriate for out Micro-ATX board. In this case, we already had our Scythe Mugen 2 CPU cooler attached. The PSU and chassis cabling were also plugged in. Like most boards to date, ours doesn’t have an internal USB 3.0 header so we were unable to take advantage of the USB 3.0 port on the chassis. We wish that a USB 3.0 to USB 2.0 adapter had been provided.
Our 3.5” and 5.25” drives were installed and cabled next. The drive caddies offer silicone mounts to help isolate drive noise from being amplified by the chassis.
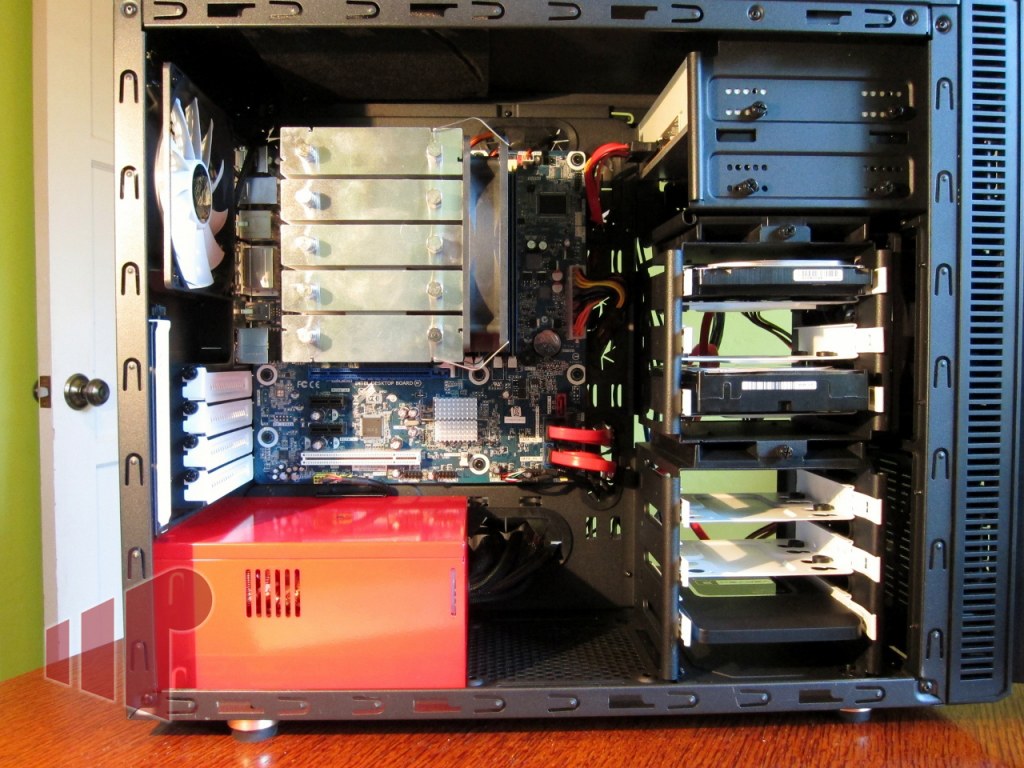
The reference NVIDIA GTX 560 Ti GPU was placed and then all the cables were tied down. Most of the excess cabling was stuffed under the bottom drive tray which offered just enough room for all of them. Obviously, a 750W non-modular PSU is about the worst-case cable-management scenario one can imagine. We should point out that the drive cage on the bottom of the case cannot be removed, so while the relatively small GTX 560 Ti was fine, it is not possible to install two long GPUs.

One thing to note here is the motherboard tray cutout. At least with our board, the lip of the cutout obstructs the CPU cooler screws slightly. It is probably still possible to replace this cooler with the motherboard in place, but we do worry that it won’t be easy and that the tray will become marred.
We put together a video of the assembled chassis to give you another look and overview of the assembled Define Mini.

Performance
For performance testing, we used synthetic tools to create a fairly worst-case scenario. We loaded all four cores of the Core i5-2500K CPU with the Prime 95 In-Place FFT test, the GPU was stressed at 1080p with FurMark and HDD I/O was created with the PassMark Advanced Disk Test using the Workstation profile (70% read/30% write).
The 120mm fans were set to their maximum speed while the CPU fan was controlled by the motherboard and the GPU fan was automatically controlled by the GPU. For both load and idle conditions, we let the temperatures rise to a steady state and then recorded the measurements.
|
Load |
Idle |
|
|---|---|---|
|
Ambient |
28 C |
28 C |
|
CPU |
69 C |
37 C |
|
VR |
50 C |
37 C |
|
Memory |
47 C |
36 C |
|
PCH |
67 C |
50 C |
|
GPU |
89 C |
34 C |
|
HDD-WD |
43 C |
35 C |
|
HDD-SEA |
52 C |
39 C |
|
Core 0 |
64 C |
36 C |
|
Inlet |
1360 RPM |
1360 RPM |
|
Outlet |
1360 RPM |
1360 RPM |
|
CPU |
660 RPM |
530 RPM |
|
GPU |
2850 RPM |
1710 RPM |
Because we had enough motherboard headers to power the case fans, we did not employ the included fan controller. For our relatively extreme tests, we ended up maximizing the 120mm fans in an effort to keep the HDD under load at less than 50 C.
Other than the HDD exceeding 50 C, temperatures were held in check even under the unrealistically high workload and a challenging 28 C ambient environment. It is likely that filling some of the optional fan slots in could have helped alleviate this condition. Under a more realistic workload, we would not expect there to be an issue with drive cooling.
You’ll note from our GPU temperature readings that the fan was spinning at a fairly high RPM and was the most annoying sound coming from the chassis. Here is another case where adding in some of the optional cooling fans could have made an impact.
At idle, the front and rear fans could be heard a few feet away, but the sound profile was pleasant. When bringing the fan speeds down to approximately 800 RPM, they begin to become fairly inaudible. Hard disk noise was nicely deadened by the Define Mini.
Conclusion
Color us impressed. This is simply a fine chassis in most respects. We are inspired by so much attention to detail and the high quality of materials and construction in addition to the highly pleasing aesthetic design for a street price of approximately $100. It is also refreshing to see a high-quality design in the smaller Micro-ATX form factor, a trend which we hope continues in the industry. With such a large number of drive bays, this chassis is especially well-suited for a small, yet capable server chassis in addition to typical Micro-ATX tower desktop or gaming builds.
The nitpicks we found are quite insignificant. Perhaps the most major issue we found is the slightly too small CPU cooler cutout though this may not be an issue for many other boards. It would have been nice if the drive cage arrangement were slightly more flexible to broaden the appeal of the chassis to the niche of gamers who have two long GPUs and are looking for a Micro-ATX size chassis.
Pros
- Highly refined, solid and understated look and feel
- Six 2.5”/3.5” drive bays
- Plenty of room for excess cables and assembly
- Quiet
- Generous options for cooling
Cons
- No USB 3.0 to USB 2.0 cable included
- CPU cooler cutout not big enough
- Installation not completely toolless
- No disk activity LED
- No option to remove bottom drive cage to allow two monster GPUs
The Fractal Design Define Mini is available for purchase through Newegg.
Thanks to Fractal Design for providing the Define Mini review sample and thanks to NVIDIA for providing the reference GTX 560 Ti review sample.