GE Analog to Digital converter

gelogo.jpg


The digital TV changeover is coming.  It’s been delayed a bit, but the train is coming down the tracks.  In order to be prepared for the inevitable, today we are going to see how the analog to digital converter box from GE fits our needs.

INTRODUCTION

As you’ve most likely heard by now, broadcast television in the US is changing over from analog to all digital.  Any television for sale today should include a digital tuner that can pick up these broadcast signals, however, older sets only have analog tuners.  For those that wish to continue to use their current analog televisions, the U.S. government has offered a rebate program on the purchase of an analog to digital converter box.  Today we are going to look at one of the eligible Coupon Eligible Converter Boxes (CECB) from GE.

Specifications

For your viewing pleasure, we start off with a video of the unboxing of the converter box.


Here are some of the key features to compare among analog to digital converter boxes:

  • Analog Passthrough: NO
  • Smart Antenna interface: YES
  • Coax out: YES
  • RCA out: YES
  • Svideo out: NO
  • S/PDIF out: NO
  • EPG: YES
  • Remote Control included: YES
  • RCA cable included: NO

Setup and Configuration

Setup is pretty simple.  The feed that originally would be connected to your antenna should now be connected to the antenna input on the converter box, and you can use the supplied coax to connect the converter box to the antenna input of the television.  Optionally, you can use an RCA cable to connect the converter box to the television.  This may give you a slightly clearer picture but the necessary cable is not included.

Editors note: I apologize in advance for the quality of the following screenshots.  Taking photographs of a television is not simple.
tnge1.jpg tnge2.jpg

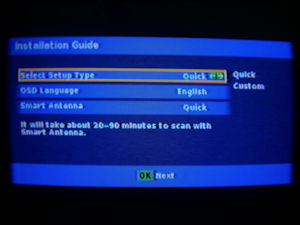
This is the first screen that you will see after you power up the converter box.  There’s a short menu that allows you to do a quick setup, choose the OSD language, and setup the smart antenna if attached.

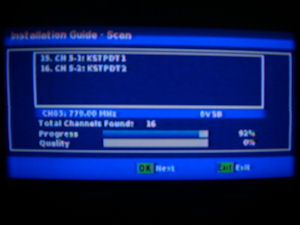
This screen is displayed while scanning for channels.  The box at the top displays all of the channels that are found during the scan.  The bar directly below the box indicates the frequency currently being scanned.  The bars below that show the progress of the overall scan as well as the signal quality of the signal under test.


tnge3.jpg tnge4.jpg
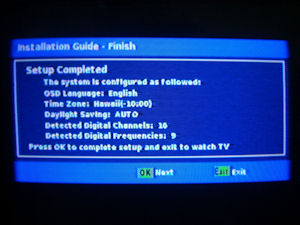
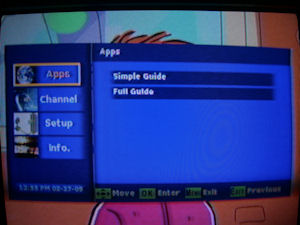
After clicking Next again, the summary screen indicates that setup has completed and shows the settings that are in use. These settings can be changed at any time using the setup option in the menu. Clicking the Menu button on the remote brings up this menu. The Apps menu lets you select between the Simple Guide and the Full Guide.  Screenshots of these guides are shown below.


tnge5.jpg tnge6.jpg

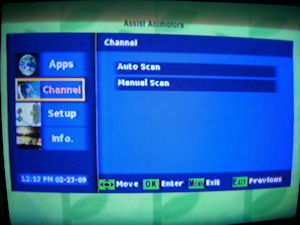
The Channel menu allows you to another channel scan,
either an Auto Scan as was done during initial setup, or a Manual Scan which will allow you to add in any channels that were missed during the initial scan.

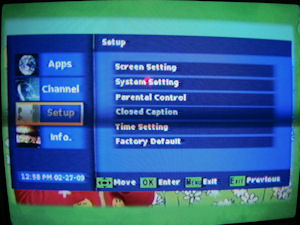
The Setup menu provides the bulk of the configuration
options.  Each of these options are explored in more detail later.


tnge7.jpg tnge9.jpg
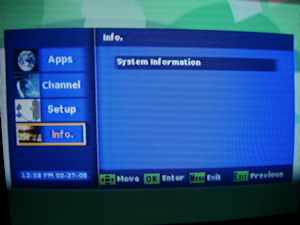
The Info menu allows you to display system information.  My only question here is why you need to select Info and then System Information.  Why not just display the system information directly?

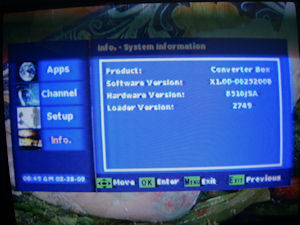
This is the screen that appears when the System Information menu option is chosen.  It displays information about the product, the software version, the hardware version and the loader version.  This information will most likely not be important to the end user unless technical support becomes necessary.


tnge8.jpg tnge10.jpg

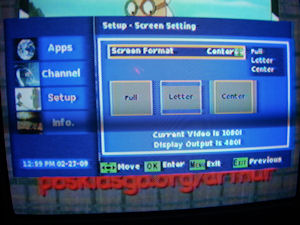
The Screen Setting menu option allows the user to choose between Full, Letter or Center.  The Full option removes the black bars across the top and bottom of the screen and stretches the screen to cover the entire area of the display. The Letter option generates a black bars across the top and bottom of the screen, displaying the feed in its intended format.  The Center option cuts off the right and left sides of the screen, keeping the correct aspect ratio while still filling
the entire screen. 

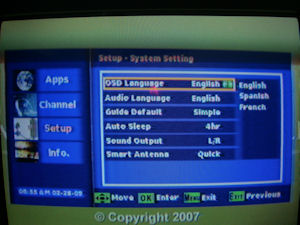
The System Setting screen allows the user to configure the OSD language, the audio language, the default type of guide displayed, the auto sleep feature, the sound output and the Smart Antenna connection.


tnge11.jpg tnge12.jpg
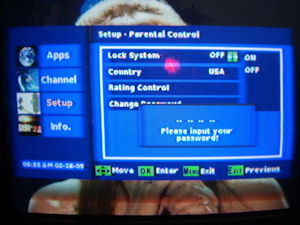
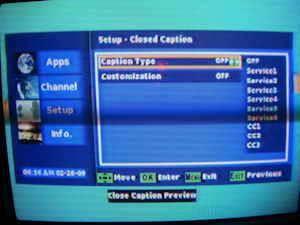
The Parental Control menu allows you to choose a 4-digit password so that young ones cannot gain access to things that they shouldn’t.  Here you can also lock and unlock the system, select your country and select the rating control to use. The Closed Caption menu allows you to select which closed caption feed to display.


tnge13.jpg

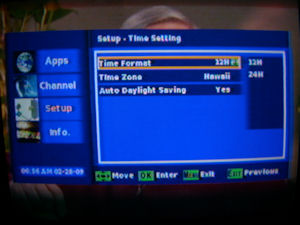
The Time Setting menu allows you to choose the format to
use when displaying the time, the time zone that you live in,
and whether or not you use daylight savings.


tnge14.jpg tnge15.jpg
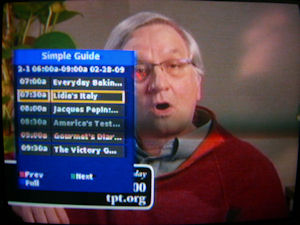
This is what the simple guide looks like.  It takes up only a portion of the screen allowing the user to continue to watch a show while seeing what is on.  The guide lists three hours worth of information for the current channel.
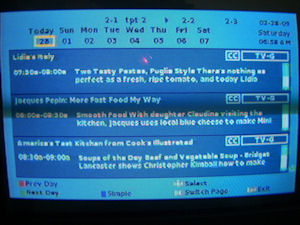
 This is what the full guide looks like. It takes up the entire display area allowing more information to be displayed at the expense of not being able to see the current show.  This version of the guide allows the user to see more descriptive information about the shows that are to be aired.


tnge16.jpg tnge17.jpg
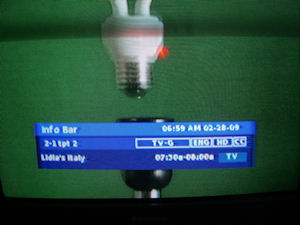
 Pressing the Info button on the remote brings up this display which shows you the time and date, what channel you’re watching, the rating of the show, the title of the show, and what time it is airing at.

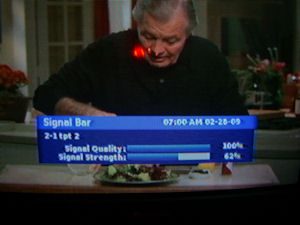
Pressing the Signal button on the remote brings up this
display which shows the current time and date, the channel that you are viewing and the signal strength and quality of the channel, which is handy when aligning your antenna for the strongest signal.

Conclusion

CONCLUSION

As I’m sure the rest of you agree, I’m looking forward to the completion of the digital changeover happening in the United States.  At that point, most of use will be able to continue with our normal lives and the few problem areas can be worked out as necessary.  In order to help things move along smoothly, GE has created a nice unit to handle your digital changeover needs.  With regards to performance, the unit was able to pick up all of the stations in my area with little difficulty even though I was using my antenna indoors in my basement.  The unit itself is small and unobtrusive.  The shape is rather nice, being a wave instead of a standard box.  Thermally the unit stayed nice and cool.  There are perforations across the entire body allowing quite a bit of airflow as long as there is airflow in the area that the box is sitting.  The unit does not use any fans and as such is completely silent so it will not affect the viewing atmosphere of your living room.


PROS

  • Smart antenna connection
  • Elegant body shape
  • Silent operation

CONS

  • No analog passthrough
  • Remote does not control the TV


Overall, I feel that this is a unit that you can’t go wrong with.  The menu system is fairly basic providing all of the features you would need and not much else.  Setup is easy allowing you to be up and running in minutes.  I have no problem recommending this converter box to you if you’re on the fence. 

As always, please feel free to leave a comment in our forums.