CentOS 5.1: Pimped

We’ve covered a slim CentOS install, converted to using a flash drive, and even enabled SSH and VNC remote administration. Now it’s time to do some optimization and customizing of your install. We will learn about how to speed up the boot process, tweaking Xfce’s start up time, and even some adjustments to Xfce’s look and feel. Interested? Then let’s hit it.
System Start Up
Thinning Services
We started this build by doing a stripped install which only allowed the bare essentials, but that does not mean there isn’t more optimizing to be done. In fact, there are a pile of services enabled by default which really serve to slow down the system boot time. Let’s walk through how to control a service and which to disable.
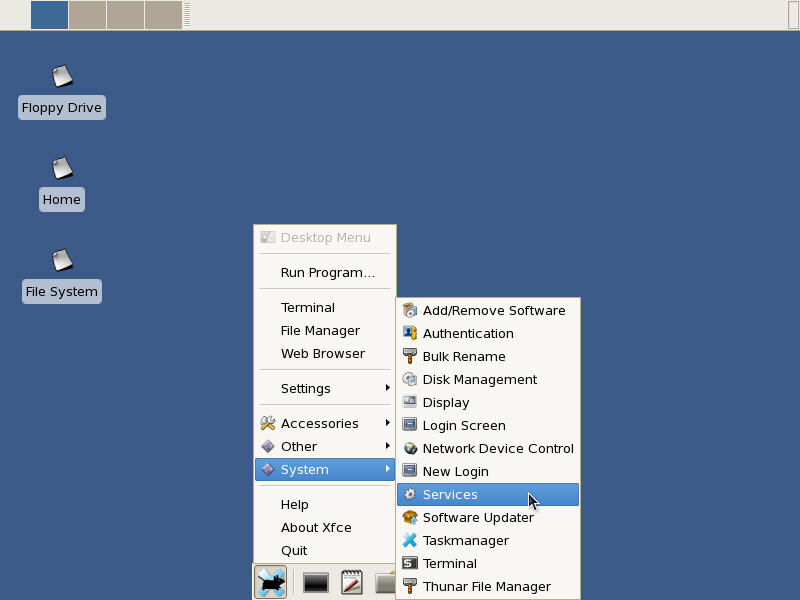
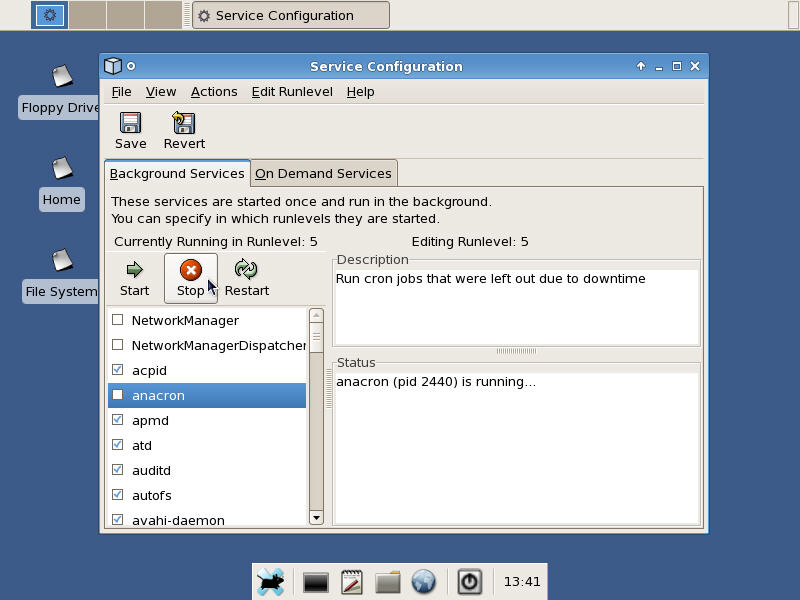
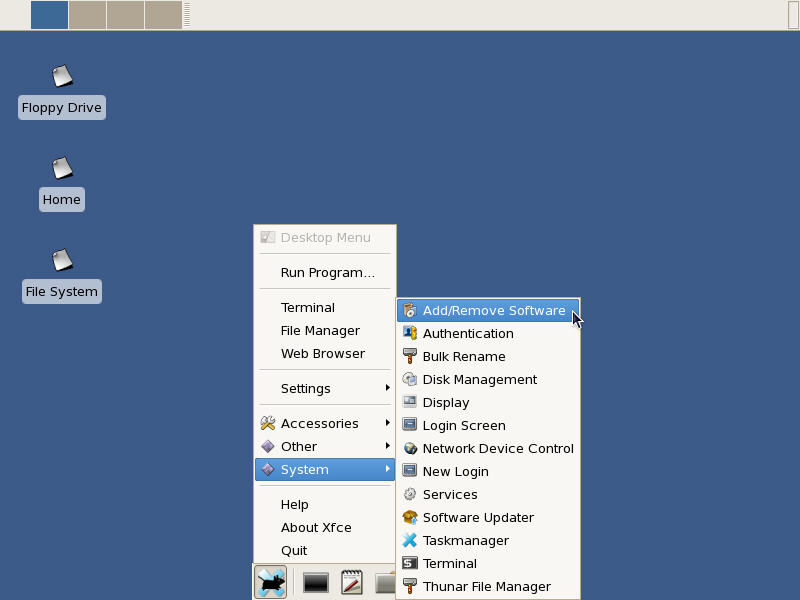
First, launch the "Service Configuration" manager from the "System" menu. If you aren’t logged in as root, you will be prompted for the root password as this is an administration tool. Once the utility launches, it will show a list of services on the left and a brief description and status on the right.
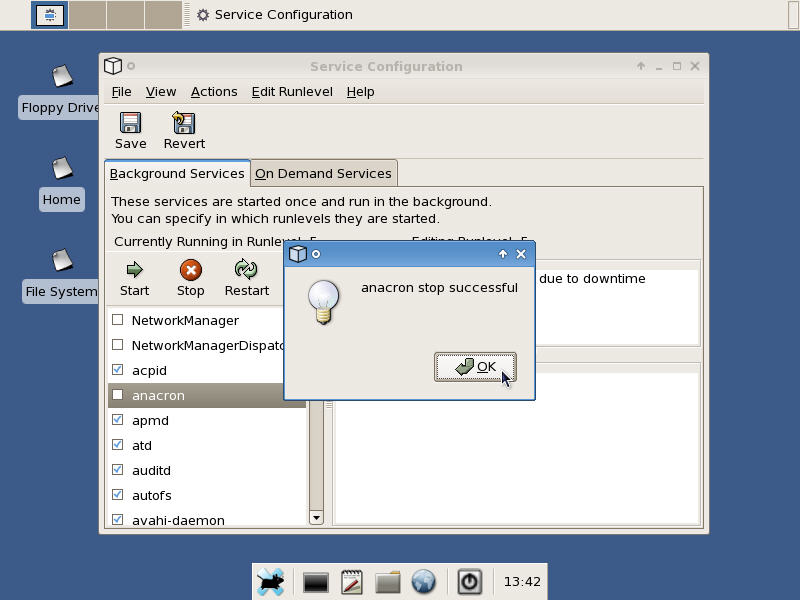
Stopping a service is as simple as clicking on the service to highlight it and clicking the "Stop" button above. To prevent it from automatically launching on restart, just clear the check box to the left of the service name. Now that you know how to make changes, let’s discuss which services are required and which are optional.
acpid – Listen and dispatch ACPI events from the kernel
apmd – Monitoring laptop battery status (Laptops only)
cpuspeed – Dynamic CPU speed manager (CPUs with throttling capability only)
crond – System scheduler
haldaemon – Collects and maintains hardware information
irqbalance – Distributes interrupts over multiple CPUs to reduce load (Multiple CPU cores only)
kudzu – Configures changed hardware on boot up (Frequent hardware changes)
messagebus – Broadcasts notifications of system events
microcode_ctl – Applies cpu microcode at boot up
network – Manages all network interfaces during boot up
ntpd – Synchronizes local PC clock to an Internet time source
sshd – Secure remote shell daemon
syslog – System logging daemon
yum-updatesd – Periodically checks for system updates
All other services not listed above are optional for critical system operation. In fact, the services which have notes in parenthesis are only helpful in the mentioned case. If that doesn’t apply to you, then those can be disabled as well.
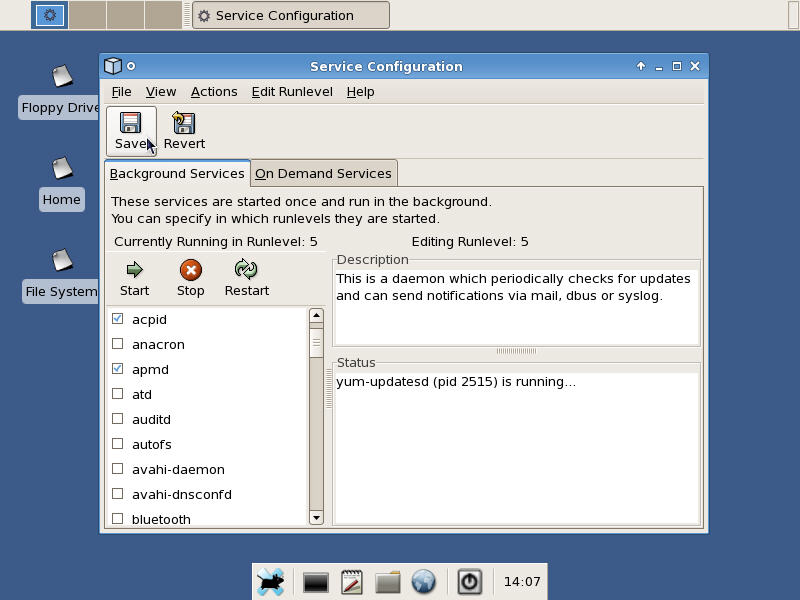
Once all the required changes have been made, click the "Save" button and your changes will be made permanent. If you wish to undo your changes since the last save, simply click "Revert". Close the utility and reboot the PC to verify everything still works as advertised. System boot up and shutdown should now be significantly faster.
Graphical Boot
While some like the concept of a graphical boot screen to give a user friendly look to system power up, the truth of the matter is it adds time to the boot process. To save yourself another 5-8 seconds during boot, run this as root:
nano -w /etc/grub.conf
There will be one or more lines which start with "kernel" and will have "rhgb" toward the end. Remove "rhgb" from the lines, press <control>-X to exit, "y" to save, and <enter> to acknowledge the file name. Restart the system to see the difference in the start up methods.
Xfce Splash Screen
I’m one for alerting the user to what the underlying software is doing, but when it interferes with the application’s main function it only serves to aggravate. Xfce takes significantly longer to initialize when it shows a splash screen than without, so let’s remove it.
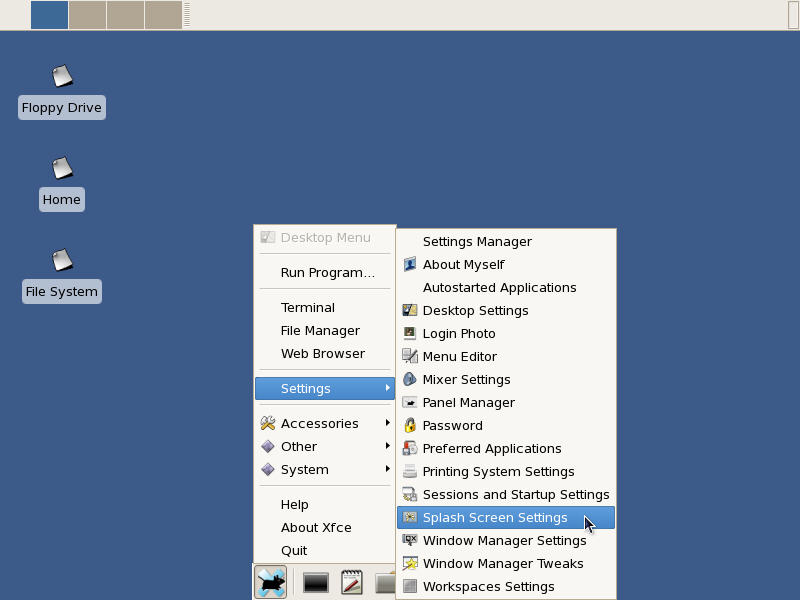
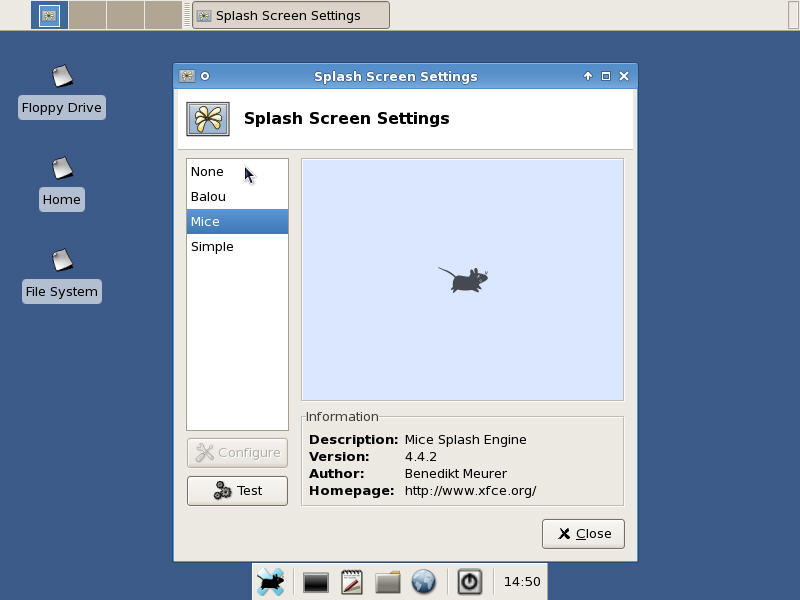
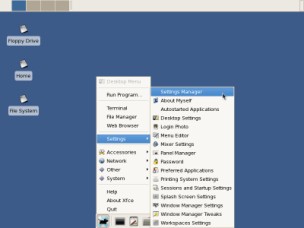
Find and launch "Splash Screen Settings" in the "Settings" menu. The "Mice" splash screen will be selected by default. Click "None" and press the "Close" button to save the changes. Xfce should now start quite rapidly.
Auto Login
If the PC will be in a physically secure location where you don’t wish to type your user name and password to login, then this next mod is for you.
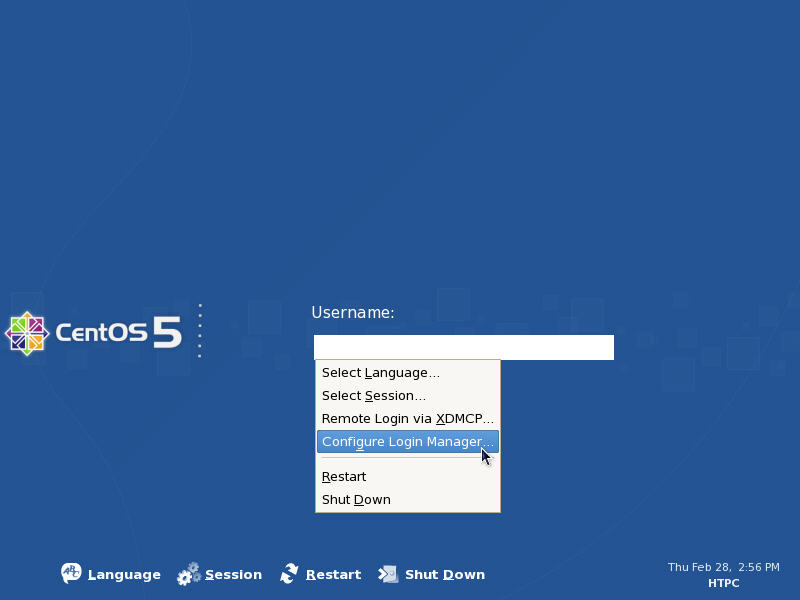
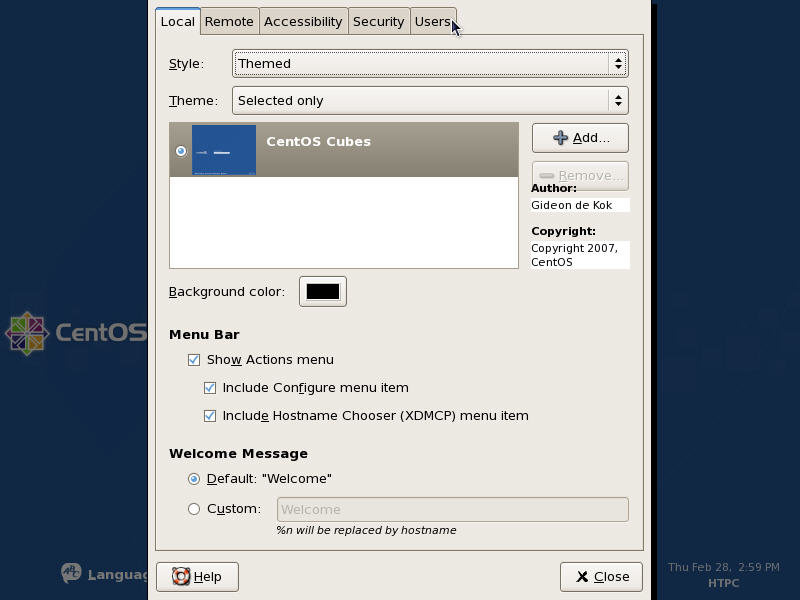
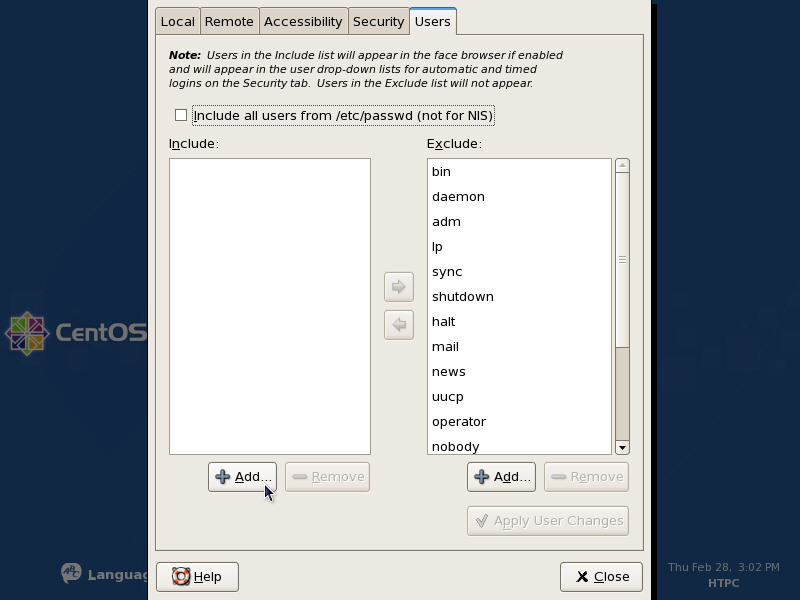
Press F10 while at the log in screen and select "Configure Login Manager…". After entering the root password, you will be shown the utility above.
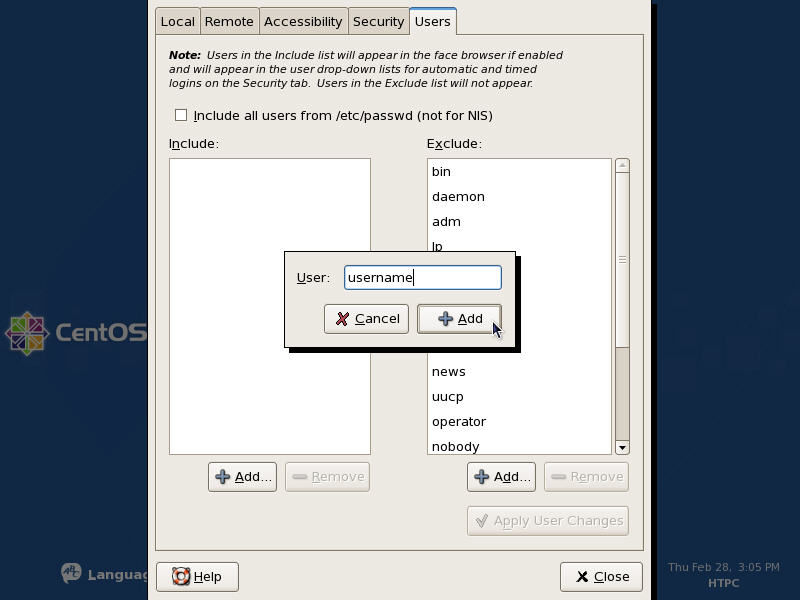
Click the "Users" tab at the top and click the "Add…" button below the "Include" list box. Fill in your non-root user name and click "Add". The user name will be verified to ensure it is valid. Once that is complete, click the "Apply User Changes" button at the bottom of the window.
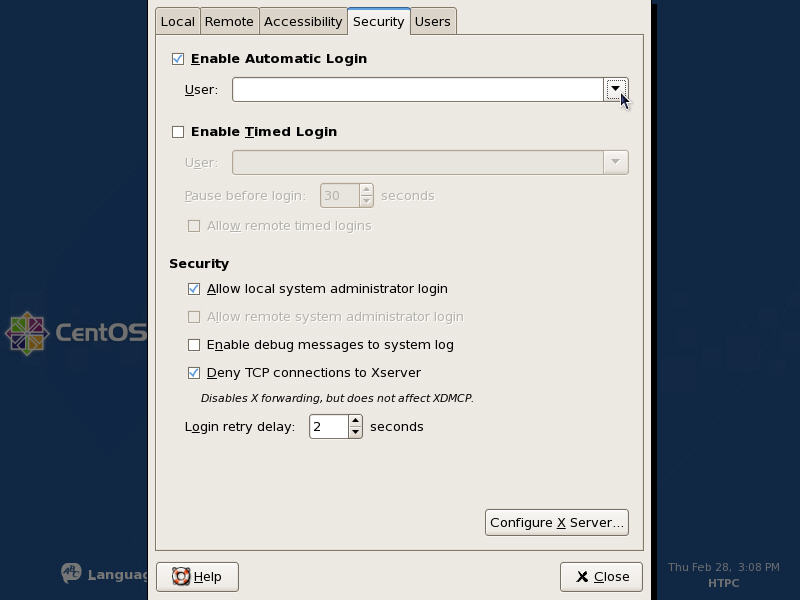
Click the "Security" tab at the top. Check the "Enable Automatic Login" option and find your non-root user name in the drop-down list below. Click "Close" to finalize the changes. X will restart and show the login prompt. It is important to remember that this auto login feature only works upon the initial boot up sequence. Any time you log out of Xfce, you will be prompted to enter your user credentials to log back in. This is to prevent a loop condition where a logout initiates an immediate login. Because of this feature, a restart will be required to verify it works properly.
Package Manager Mods
Repository Madness
The package repositories which are installed by default have several programs available, but sometimes this isn’t sufficient for your needs. In this section, we will talk about enabling all official CentOS repositories along with adding a few additional 3rd party repos. So, let’s start off by enabling the CentOS-Plus repo. As root, run:
cd /etc/yum.repos.d
nano -w CentOS-Base.repo
Scroll down toward the bottom and look for the line "enabled=0". Change the "0" to a "1" to enable this repo. Exit saving the changes. Next, we will add a 3rd party repository which is been a popular source of Fedora and RHEL/CentOS RPMs for many years now. Ensure that you are still in the "/etc/yum.repos.d" directory and run one of the following commands depending on your OS type.
For a 32-bit OS:
wget http://www.missingremote.com/images/stories/CentOS_5.1_Pimped/atrpms-i386.repo
For a 64-bit OS:
wget http://www.missingremote.com/images/stories/CentOS_5.1_Pimped/atrpms-x86_64.repo
Do not install both files as that will certainly cause issues. Now that we have the necessary config files in place, we also need to install the atrpms repo key. This will let us verify the origination of the packages. As root, run:
rpm –import http://ATrpms.net/RPM-GPG-KEY.atrpms
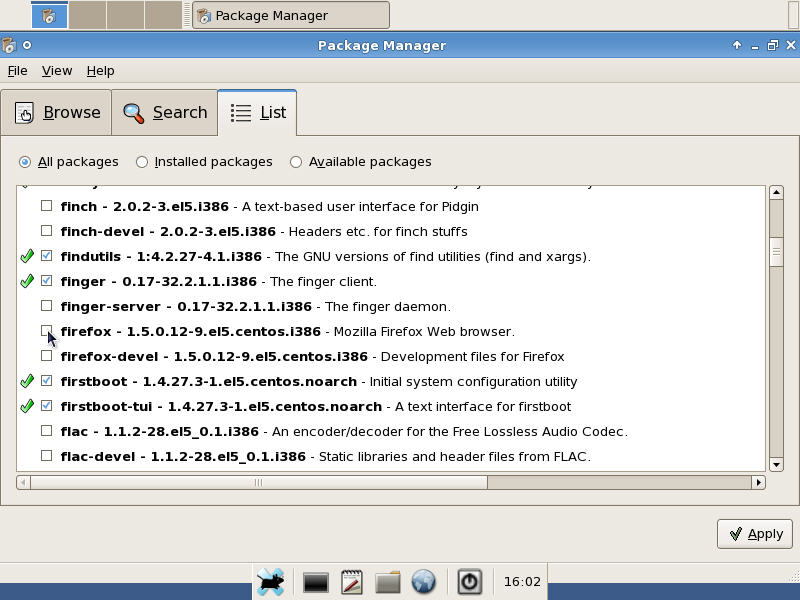
You should now be able to browse the new packages using "Add/Remove Software" under the "System" menu. After filling in the root password, the package manager will update its internal package list. Clicking the "List" tab at the top will show all packages which are currently installed or are available for download.
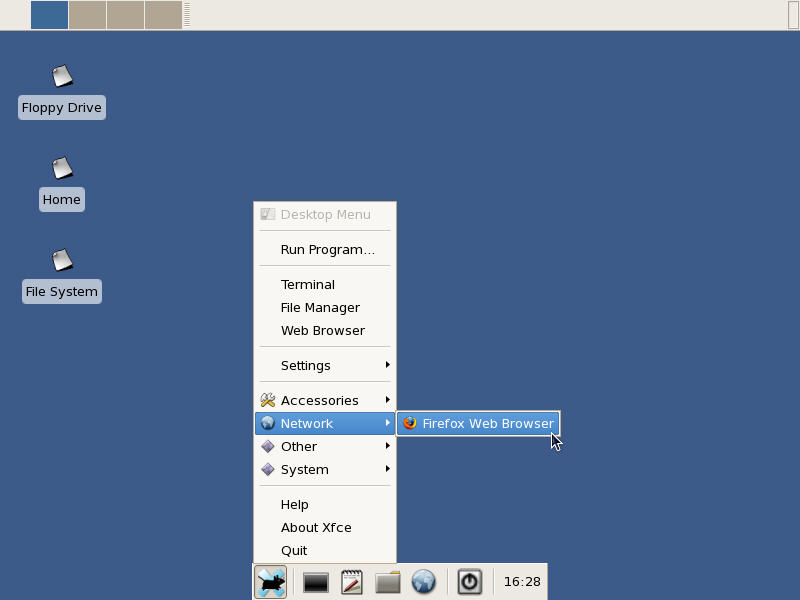
As a demonstration, let’s install the Firefox web browser. Scroll down the list until you find "firefox". Put a check in the checkbox and click "Apply". The package manager will show a list of requested packages. Continuing on, the package manager will satisfy any dependencies and proceed to download and install firefox. Once installed, "Firefox Web Browser" now shows up in the "Network" menu.
Get Smart
The default package manager is handy in a pinch, but it is rather slow and can sometimes crash if a large number of dependencies are involved. Let’s move up to a something a little more robust.
Launch the "Add/Remove Software" application and again click on the "List" tab. Once the list is populated, scroll down and check "smart", "smart-gui", and "smart-update". Click "Apply" and wait for the packages to install.
"Smart" uses a different method for managing packages, so we need to ensure we have configured the repositories correctly. By default, the atrpms repo ( /etc/smart/channels/atrpms.channel ) was added when we installed smart. Now, let’s add the CentOS repos. Which file you grab will again depend on your flavor of OS. As root, run:
cd /etc/smart/channels
For a 32-bit OS:
wget http://www.missingremote.com/images/stories/CentOS_5.1_Pimped/base-i386.channel
For a 64-bit OS:
wget http://www.missingremote.com/images/stories/CentOS_5.1_Pimped/base-x86_64.channel
Only grab one of these as having both will confuse the package manager. Now that we have the repo files in place, let’s launch smart.
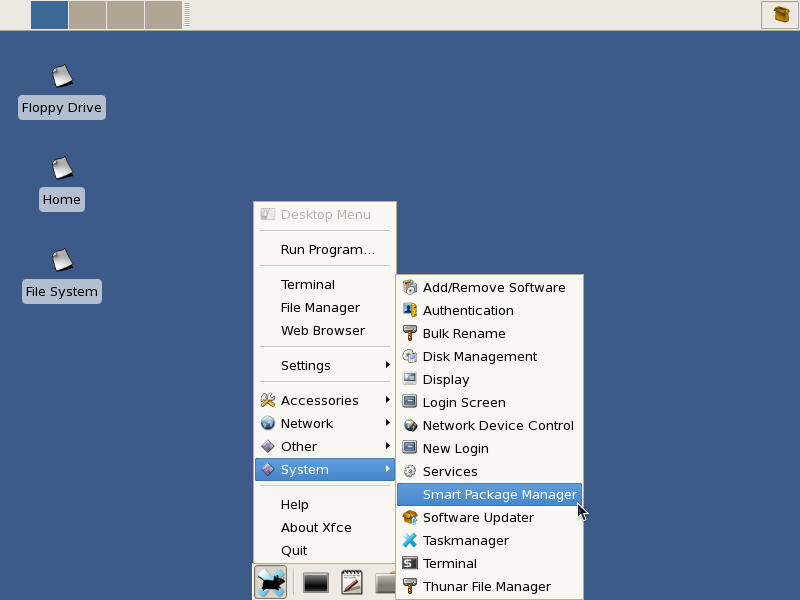
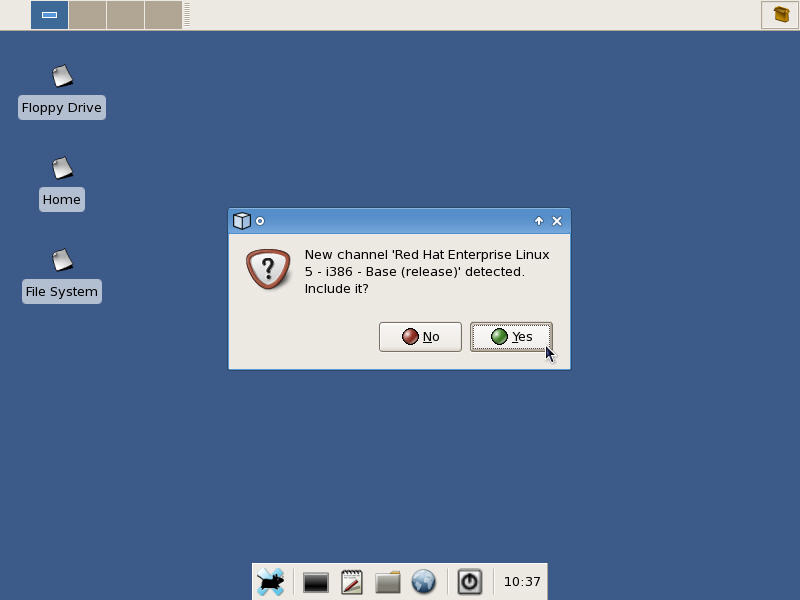
"Smart Package Manager" is found in the "System" menu. Again, because this is an administrator utility, it will prompt for your root password. Before the utility displays its main window, it will detect the new repos and ask whether to include them. Click "Yes" to them all.
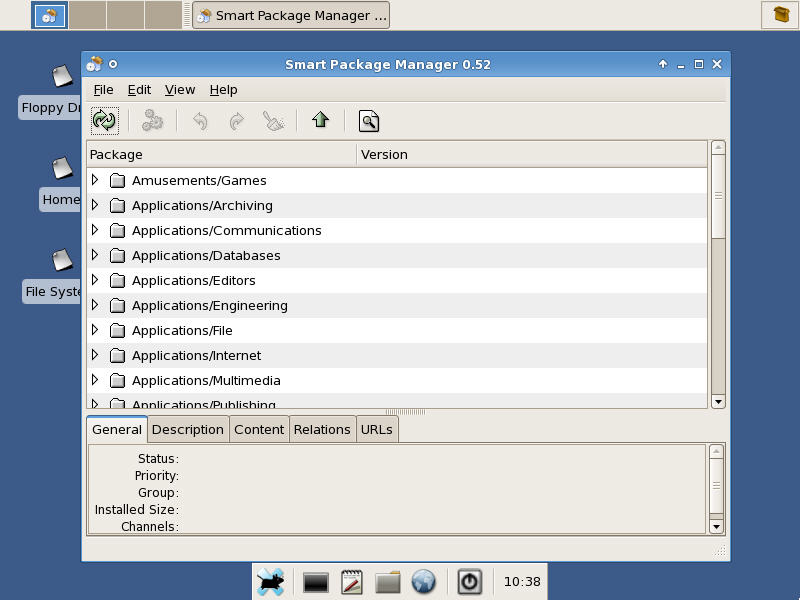
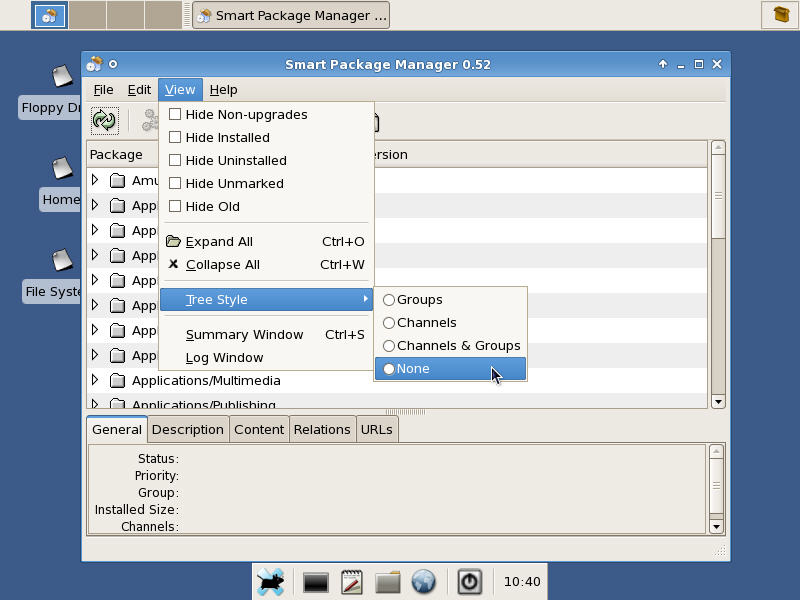
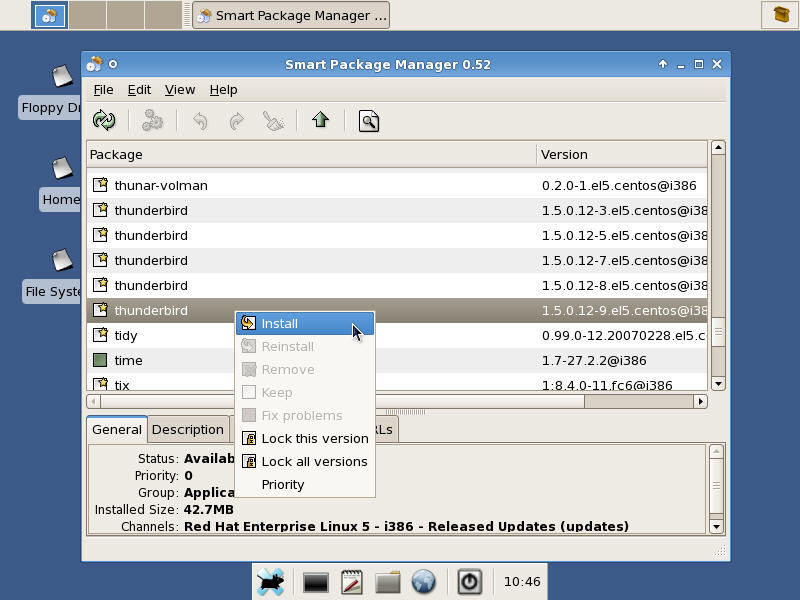
This is the main window. Packages are arranged by functionality by default. To see them by name, choose "View", "Tree Style", and "None" from the application menus. Let’s add another common package to handle our email.
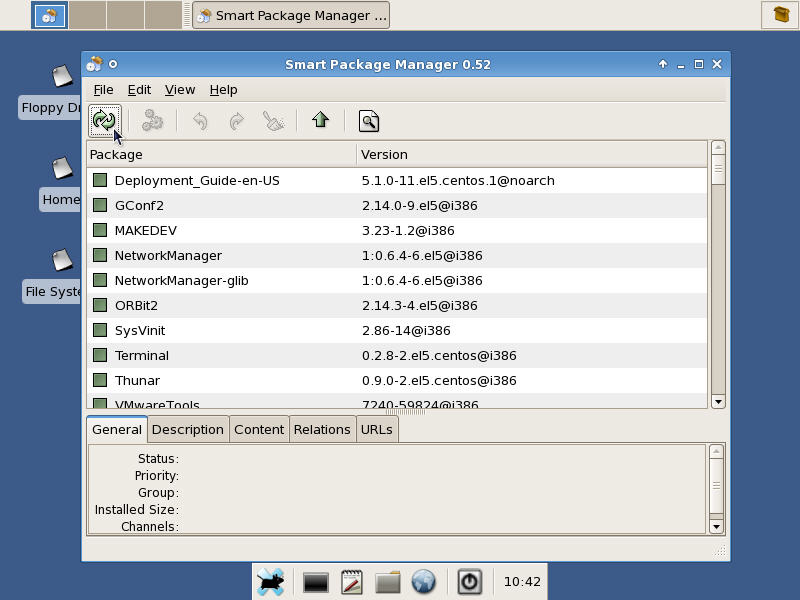
Click the left most button which looks like two circling arrows. This will refresh Smart’s internal list of what is available at the various repositories. Always do this prior to selecting a package to install as it will ensure you have an up to date listing. Once that has completed, scroll down to find "thunderbird". Smart will show all versions of a package that are available, so look at the "Version" column to ensure you are picking the most recent. Right click on the package and choose "Install".
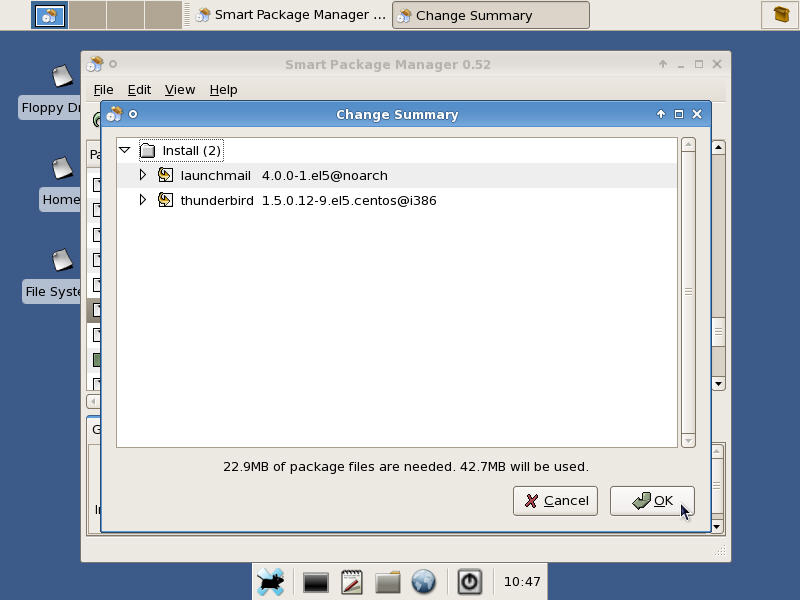
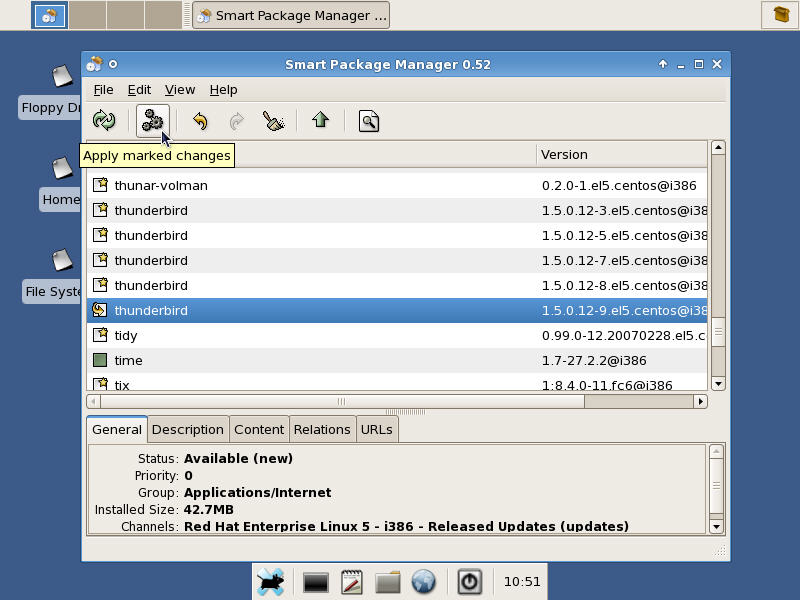
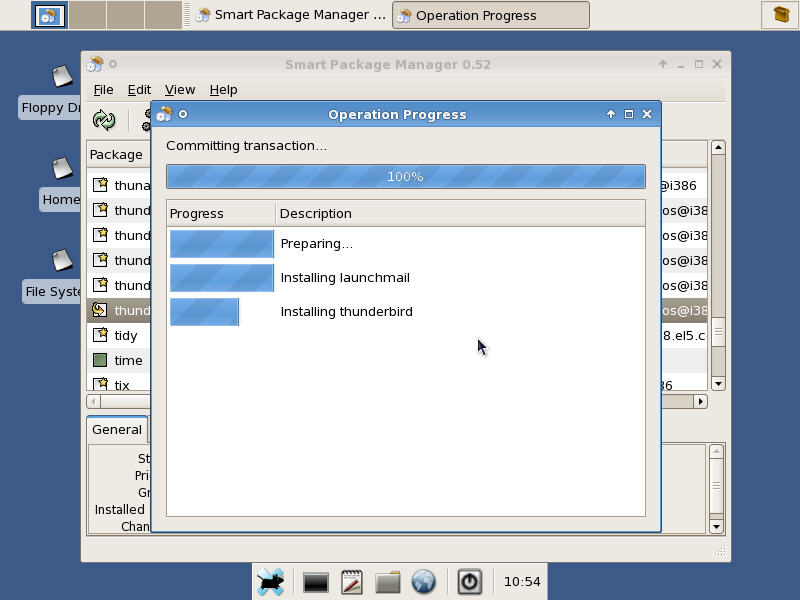
Smart will now show which packages are required along with download package size how much drive space is required once installed. Click "OK" and notice that the package has an arrow icon showing it is flagged to be installed. To apply the requested changes, click the icon that looks like three interconnecting gears. Smart will now show an overview of all the proposed packages and size requirements. Click "OK" to start the downloads. Notice that smart will download packages in parallel in order to speed things up. This really comes in handy when performing a major upgrade.
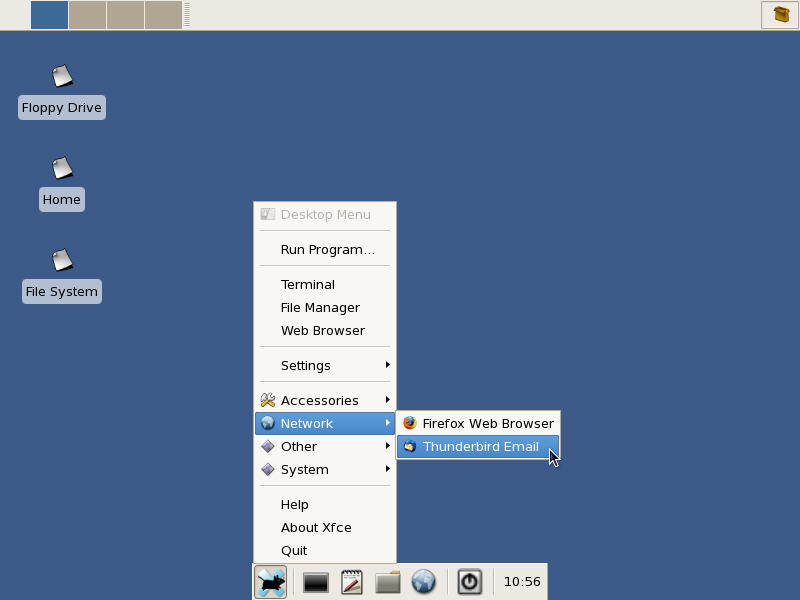
Once the download is complete, the packages will be installed, internal cache updated, and the package list will again be shown. Close the application and check that "Thunderbird Email" is located under the "Network" menu.
XFCE Your Way
Xfce Your Way
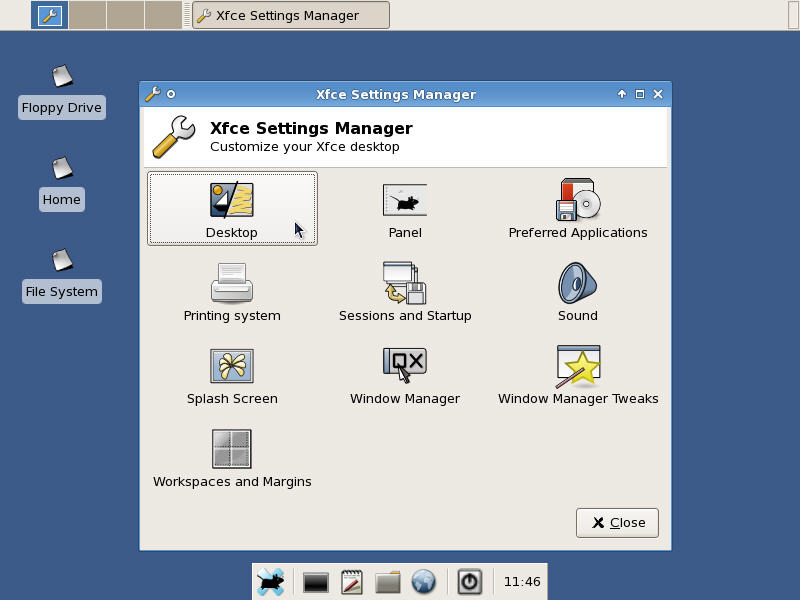
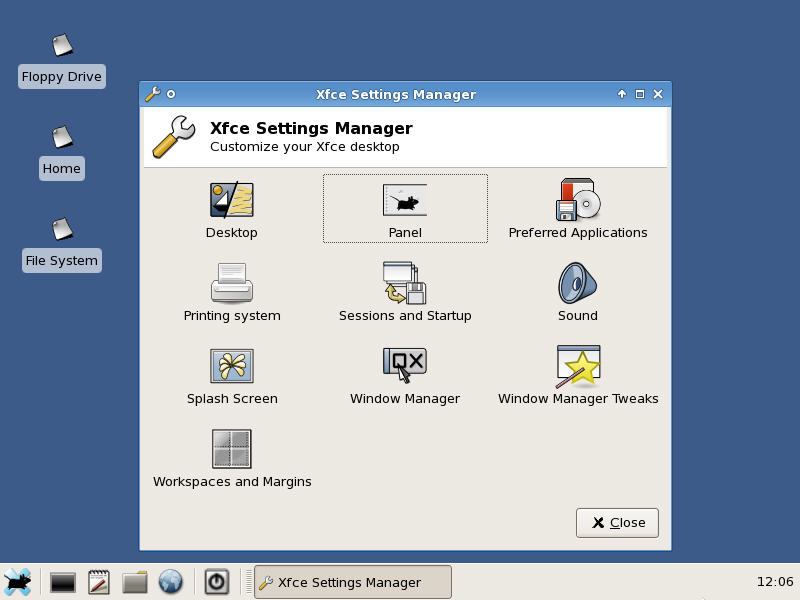
Like most GUIs, Xfce provides several "knobs" that a user can adjust to better suit their taste. Most of these are located in the "Xfce Settings Manager" found in the "Settings" menu. Launching the applet shows several basic categories. Let’s start with the "Panel" manager.
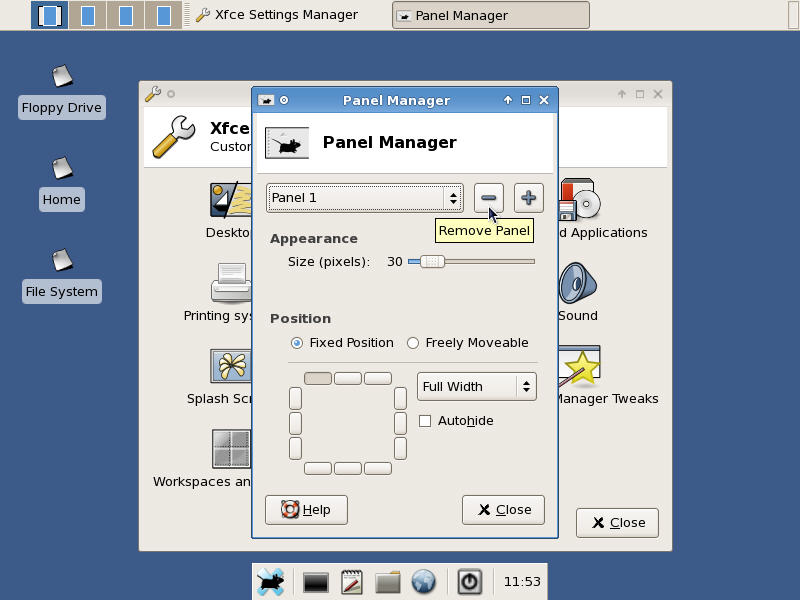
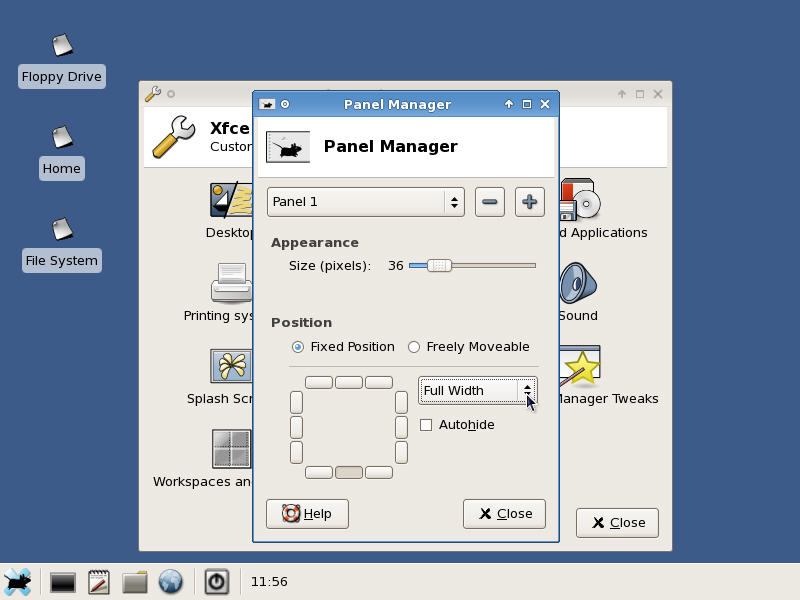
By default, Xfce is configured to have a panel at the top (Panel 1) and a centered panel at the bottom (Panel 2). While this may suit some, I find myself constantly having to move my mouse from one panel to the other. If you have plenty of screen width, then let’s convert our panel to look more like what we are used to. Ensure that "Panel 1" is selected from the drop-down list and click the minus button to remove it. A dialog will pop-up to warn you. Click "Remove" to confirm the action. Now, only the bottom panel will be selected. Choose "Full Width" to expand this panel across the entire width of the screen. I also check "Autohide" because it provides a little more screen real estate.
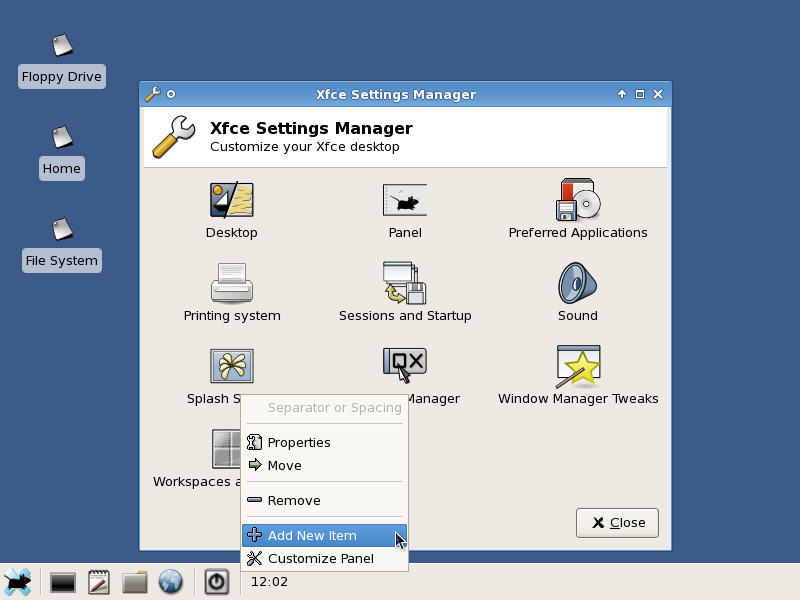
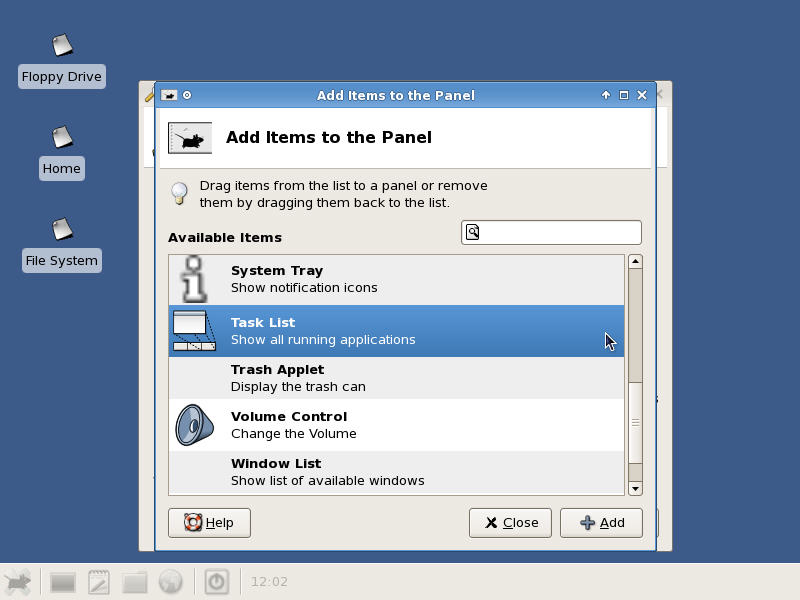
Right click just to the left of the clock on the panel and choose "Add New Item". A new dialog box will emerge listing the various items which can be added to the panel. Scroll down and select "Task List" and press the "Add" button.
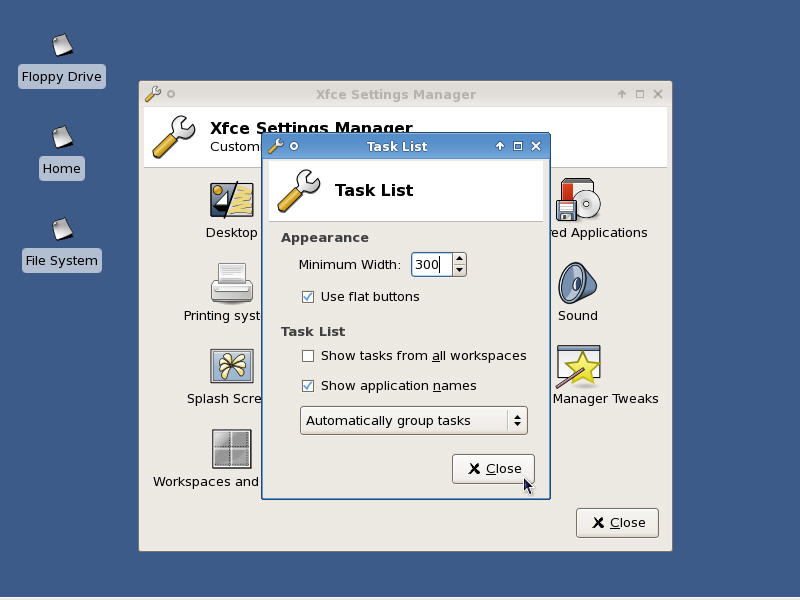
The task list applet has a few options which will be shown. Click "Close" once you are done and the panel will now have a task list. Removing items from the panel is as easy as right clicking on the item and choosing "Remove". Moving an item is also fairly simple. Just right click the item, choose "Move", and drag the mouse where you’d like the item to be.
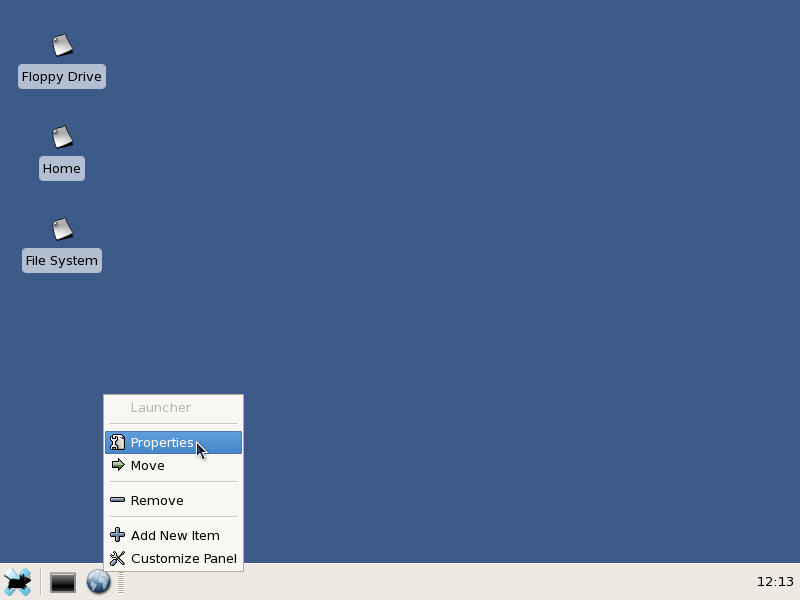
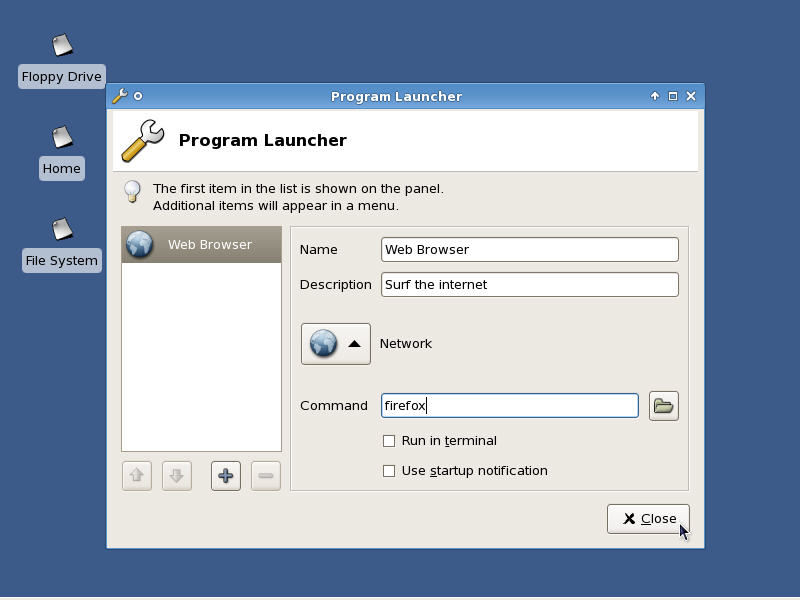
Let’s change the panel web browser icon to launch Firefox. Right click on the web icon and choose "Properties". The "Program Launcher" window will be shown. Change the "Command" field to say "firefox" and click "Close" to save the changes.
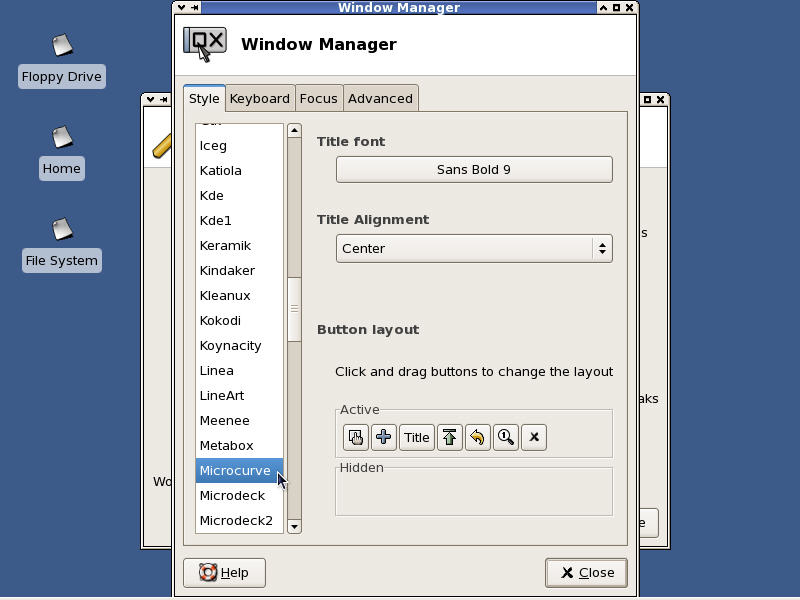
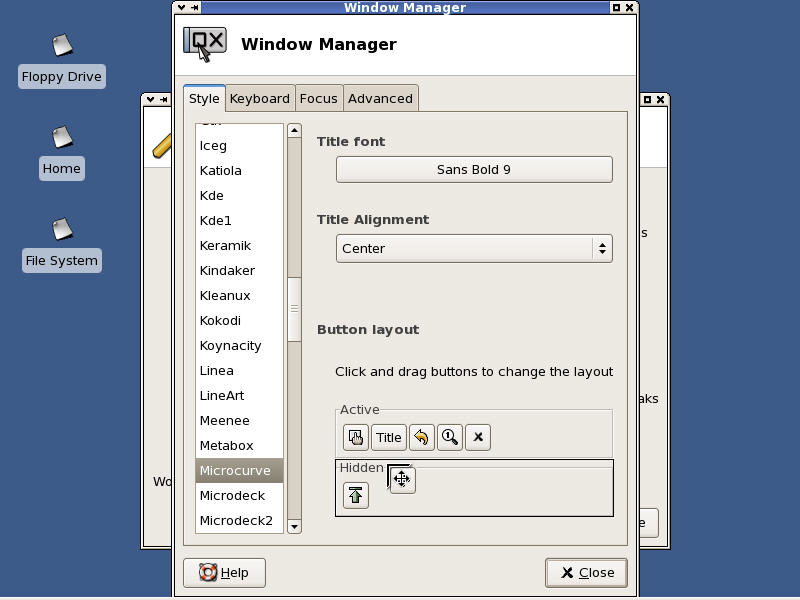
Now, let’s turn our attention to the "Window Manager" options in the "Xfce Settings Manager". This application controls the window decorations in X. Try clicking through the various styles to see an instant sample of how it would look. It is possible to configure which buttons will be available in the window header by dragging the icons from "Active" to "Hidden" in the "Button layout" frame. Browse through the other tabs in this application as there are other configuration goodies hidden there. When you are satisfied, click "Close" to save the changes.
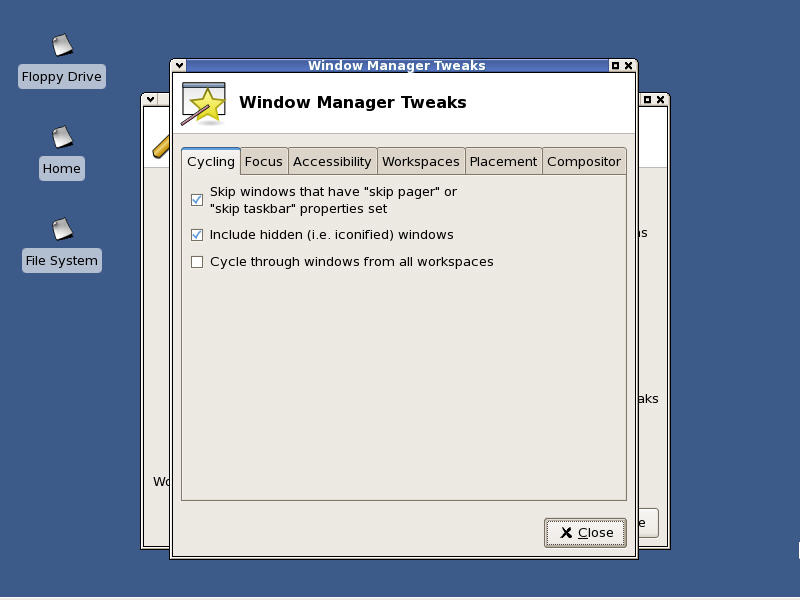
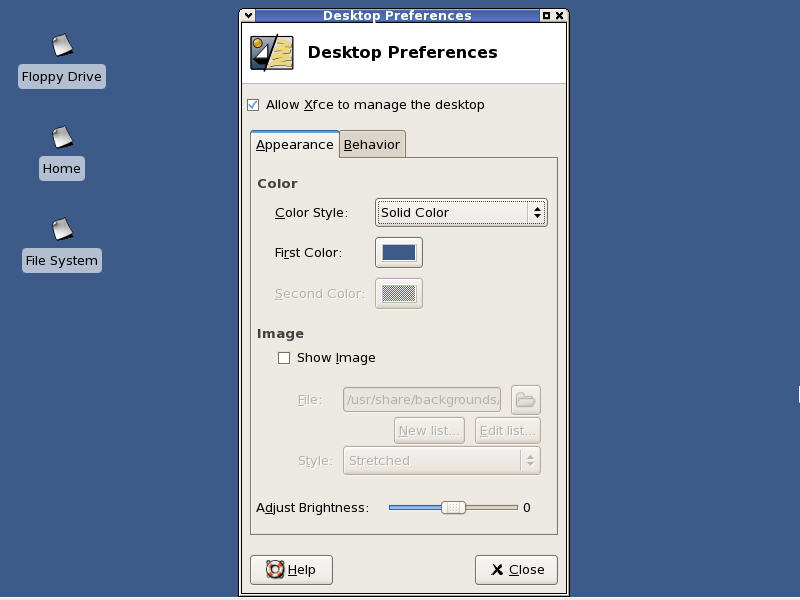
Some other uncommon window manager settings can be found in the "Window Manager Tweaks" applet. Last but not least is the "Desktop Preferences" manager. Here you can adjust the background colors or optionally choose a background image. It is possible to remove the desktop drive icons by clicking the "Behavior" tab and selecting "None" in the "Desktop Icons" drop-down list. If you are looking to free up some memory, disable the "Allow Xfce to manage the desktop" check-box. This will cause Xfce to launch quicker and use a smaller RAM footprint.
Conclusion
Conclusion
Today, we have covered several ways to speed up boot times, reduce resource consumption, and customize Xfce to your liking. So, what was the final boot time and RAM usage improvement?
| Processes | RAM Used | Boot Time | |
| Before | 101 | 383,524 K | 115 Seconds |
| After | 68 | 222,940 K | 75 Seconds |
Admittedly, not all of these suggestions may be for you as this is a personal choice. However, if you are looking to a way to speed up your media server or just cut some of the clutter, then it is definitely worth the time investment.
Maybe you are the eye-candy sort of user who wants to wow and amaze their friends. In this case, read up on Beryl and Compiz-Fusion and catch the YouTube video below for a quick feature tour. I apologize in advance for the music, but the effects speak for themselves.
I certainly wouldn’t recommend installing this on a server, but if you have suitable hardware and are just looking to play around, then give it a shot. Keep in mind that this clip is 9 months old as of the writing of this guide, so development has progressed. If there is suitable interest, I’ll put together a install / configuration guide.
As always, post your questions or thoughts by clicking the "Comments" link below. Stay tuned for more guides to expand your CentOS knowledge.

