
Connect a whole home humidifier to an Ecobee Smart Thermostat
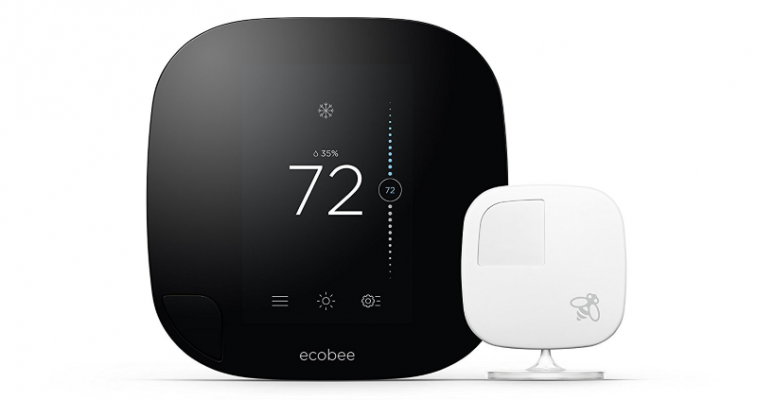
I didn’t think to wire in the humidifiers when I initially replaced the thermostats in our house for a pair of Ecobee 3. After the weather got cold, and dry, here in Chicago I quickly realized the error of my ways. Not that the existing install wasn’t working, it just wasn’t working as well as it could be, or connected into the system the way I would have liked. Wiring it up didn’t turn out to be difficult, but it also wasn’t quite as straight forward as replacing the thermostats so I thought it might be useful to document the process.
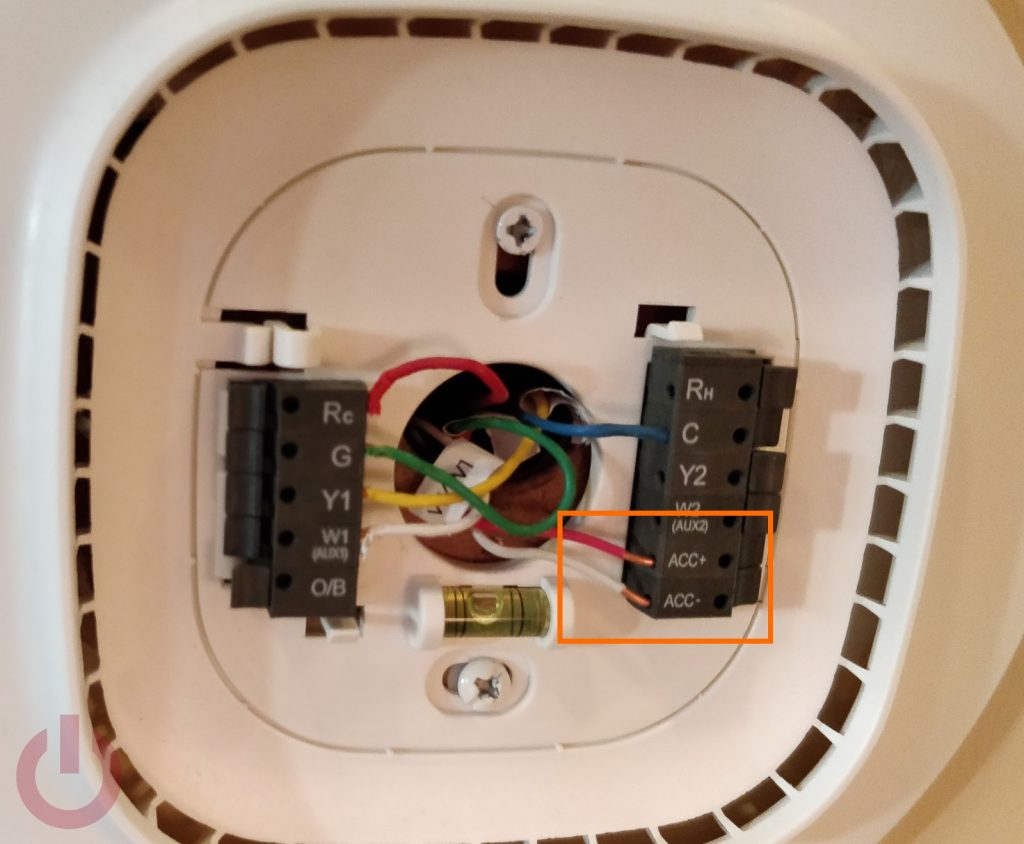
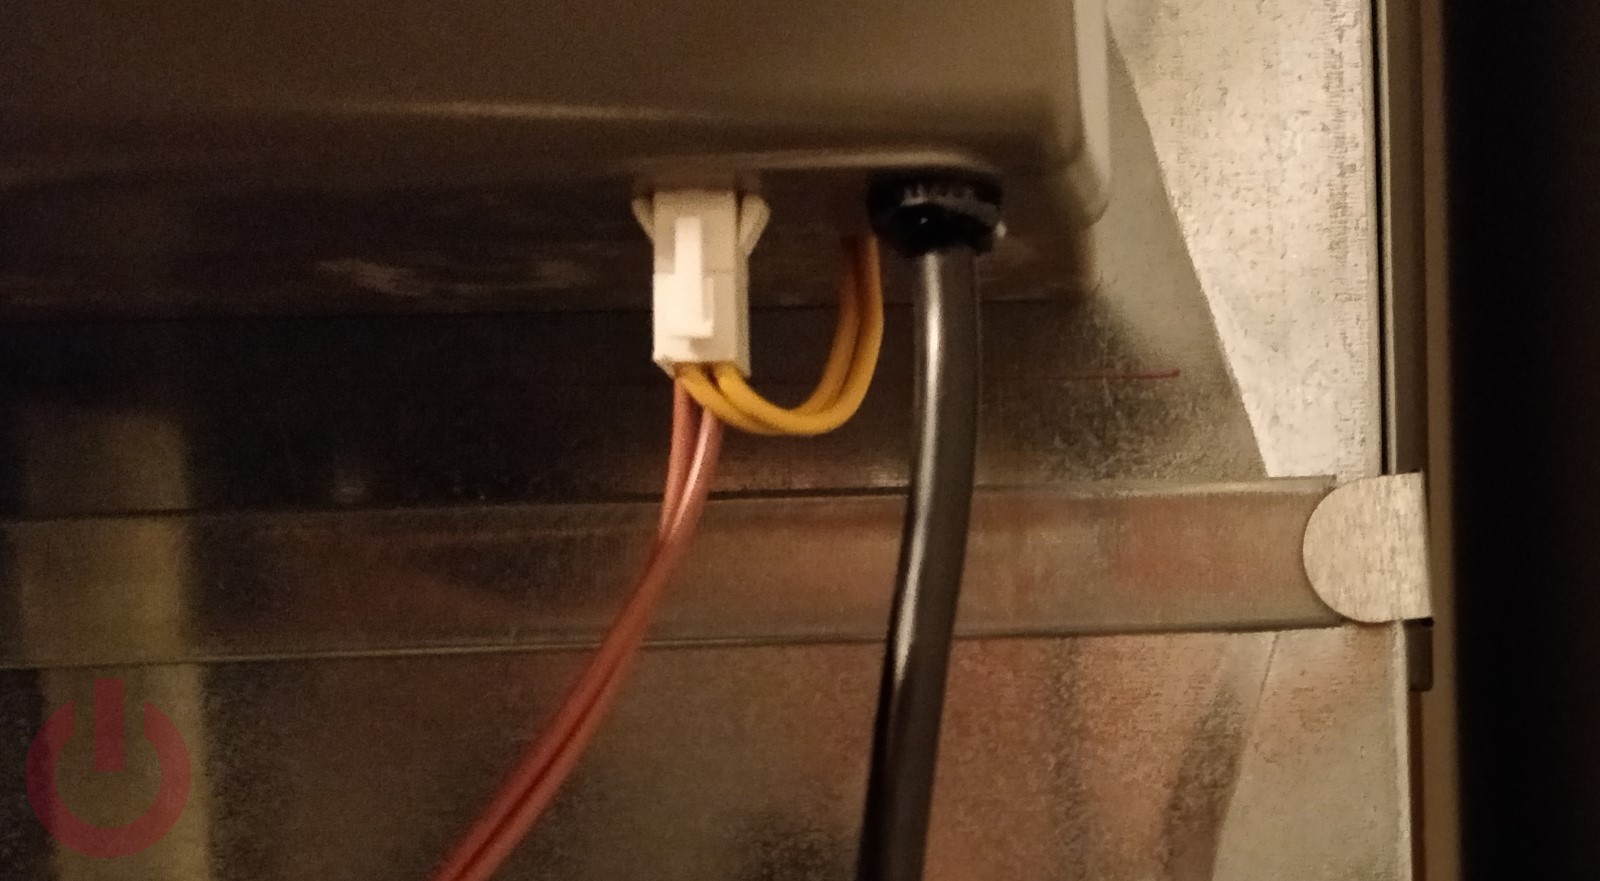
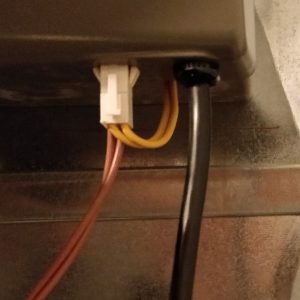
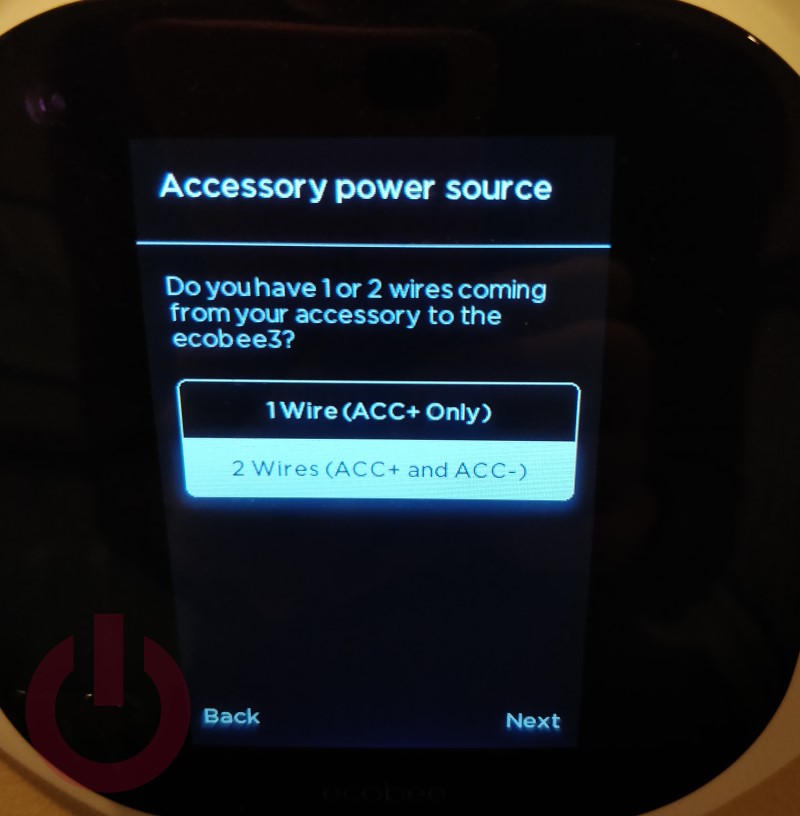
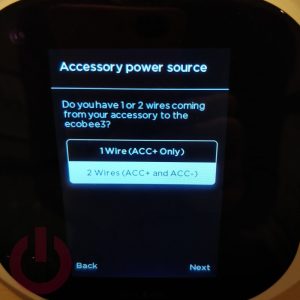
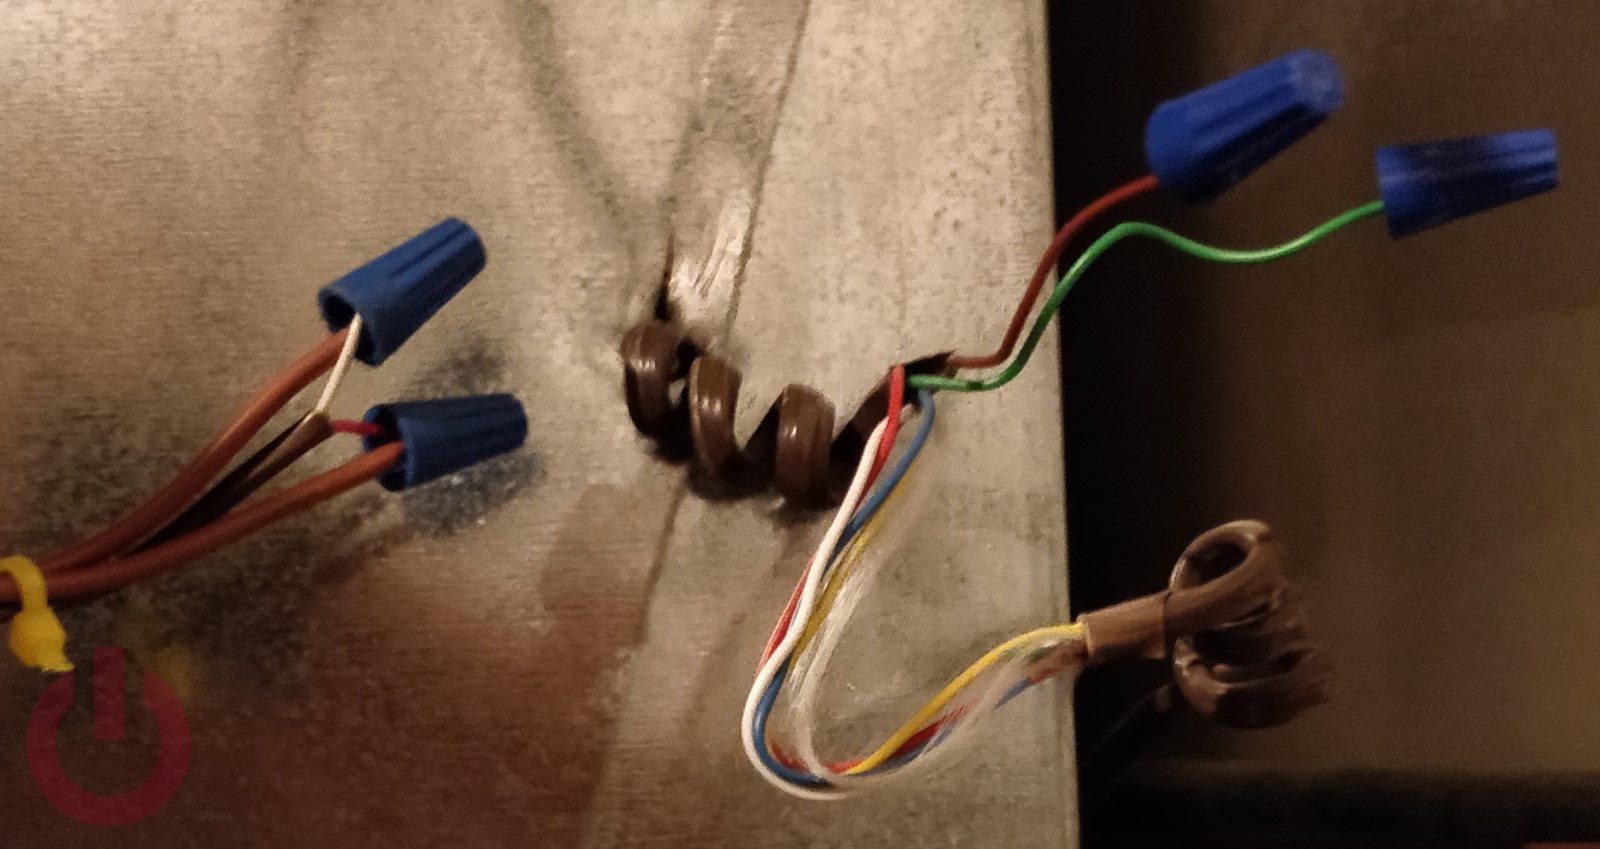
First step is to turn off the HVAC system. If you have a couple of spare wires already behind the thermostat then the first part is easy. I didn’t at either location, so I had to pull some 18/2 thermostat wire to both. Fortunately, the path is conduit so that was easy. Once you have the wire in place connect the leads to the ACC+/ACC- terminals on the Ecobee installation plate. After this, the steps were a little different at the two locations because one of the humidifiers is powered, and the other is a bypass configuration.
Powered
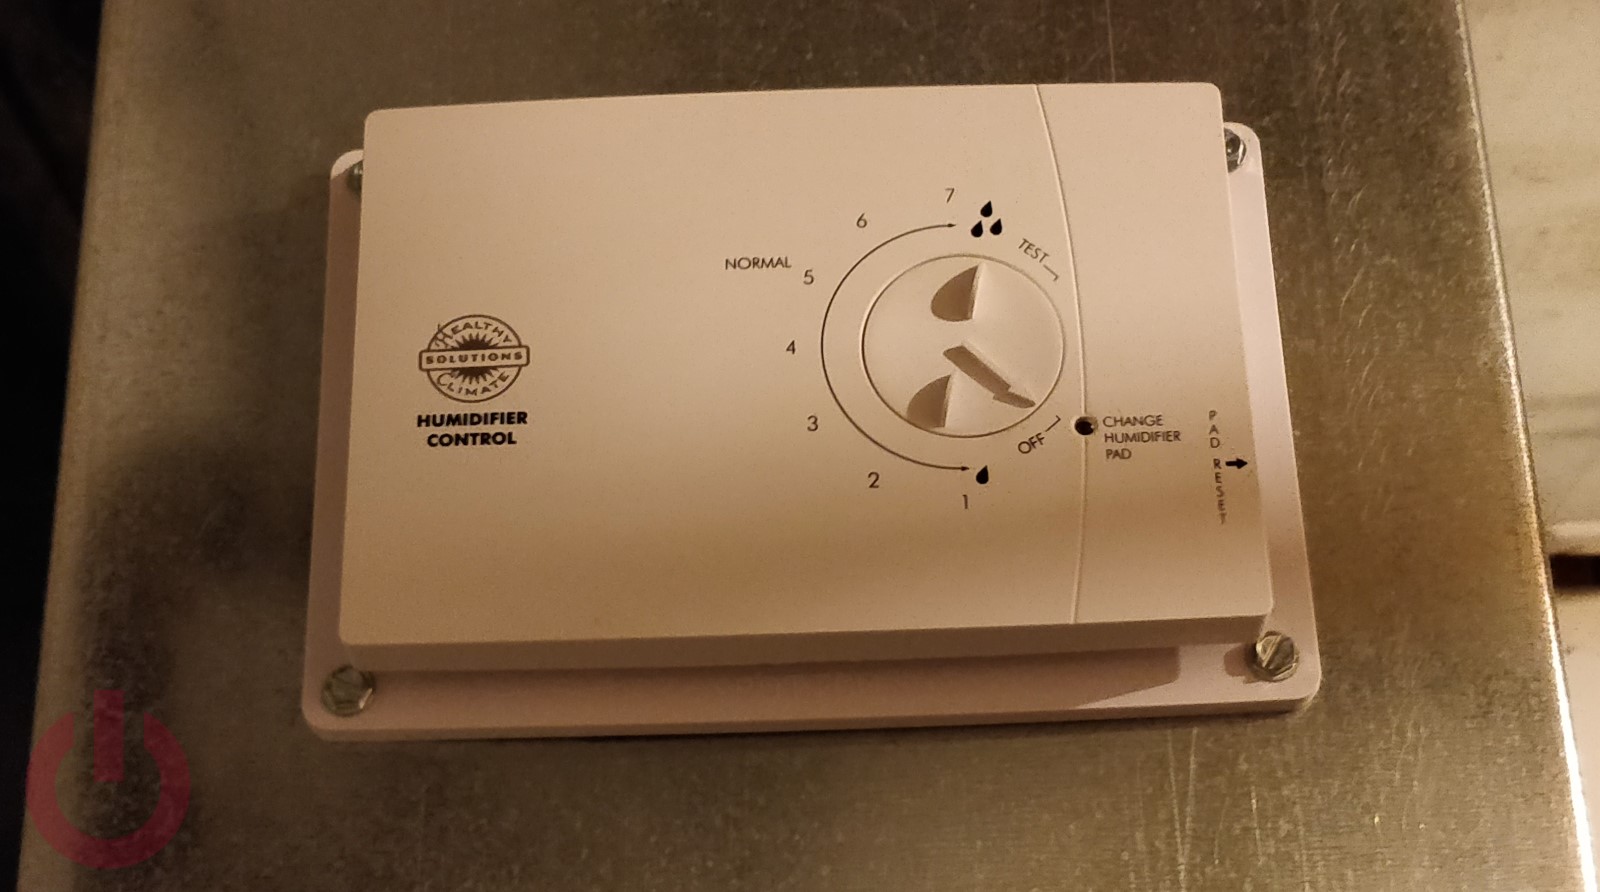

The powered humidifier was the easier of the two to get working. Simply turn off the humidistat and then find the wires where it is connected to the fan and water value.

These wires should be easy to locate since they should be the only connection between the humidifier and the humidistat. After locating them, it is as simple as connecting each wire to one of the 18/2 that were run to the Ecobee.
Bypass
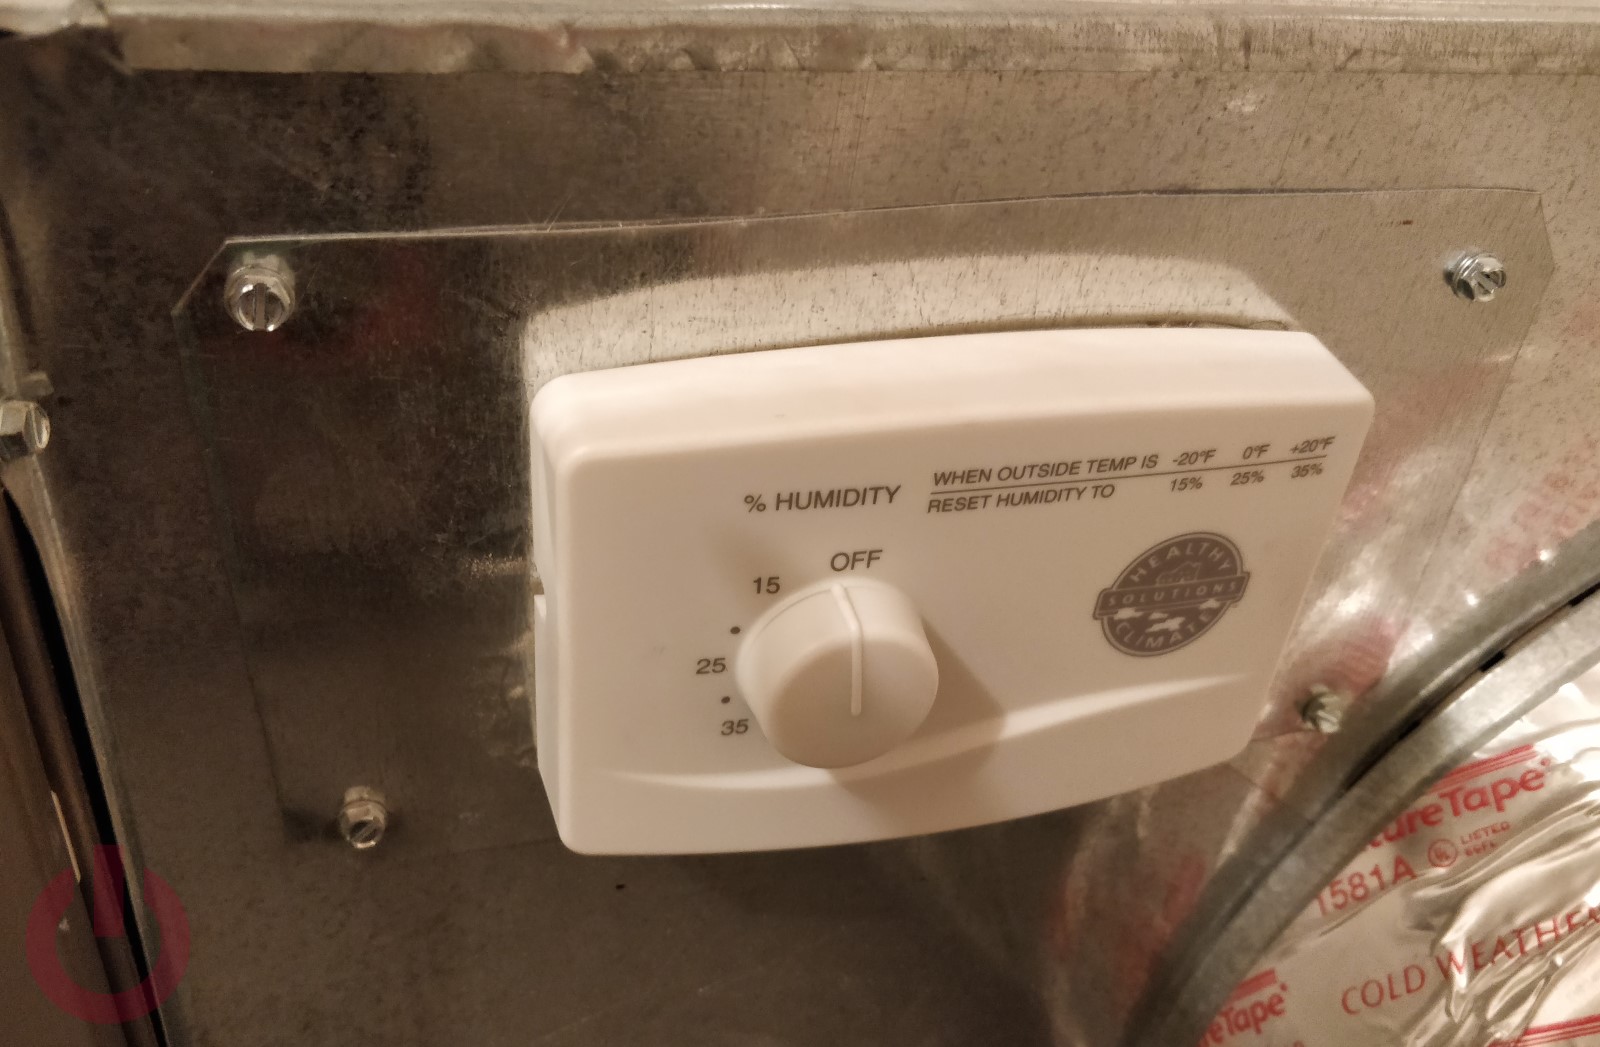
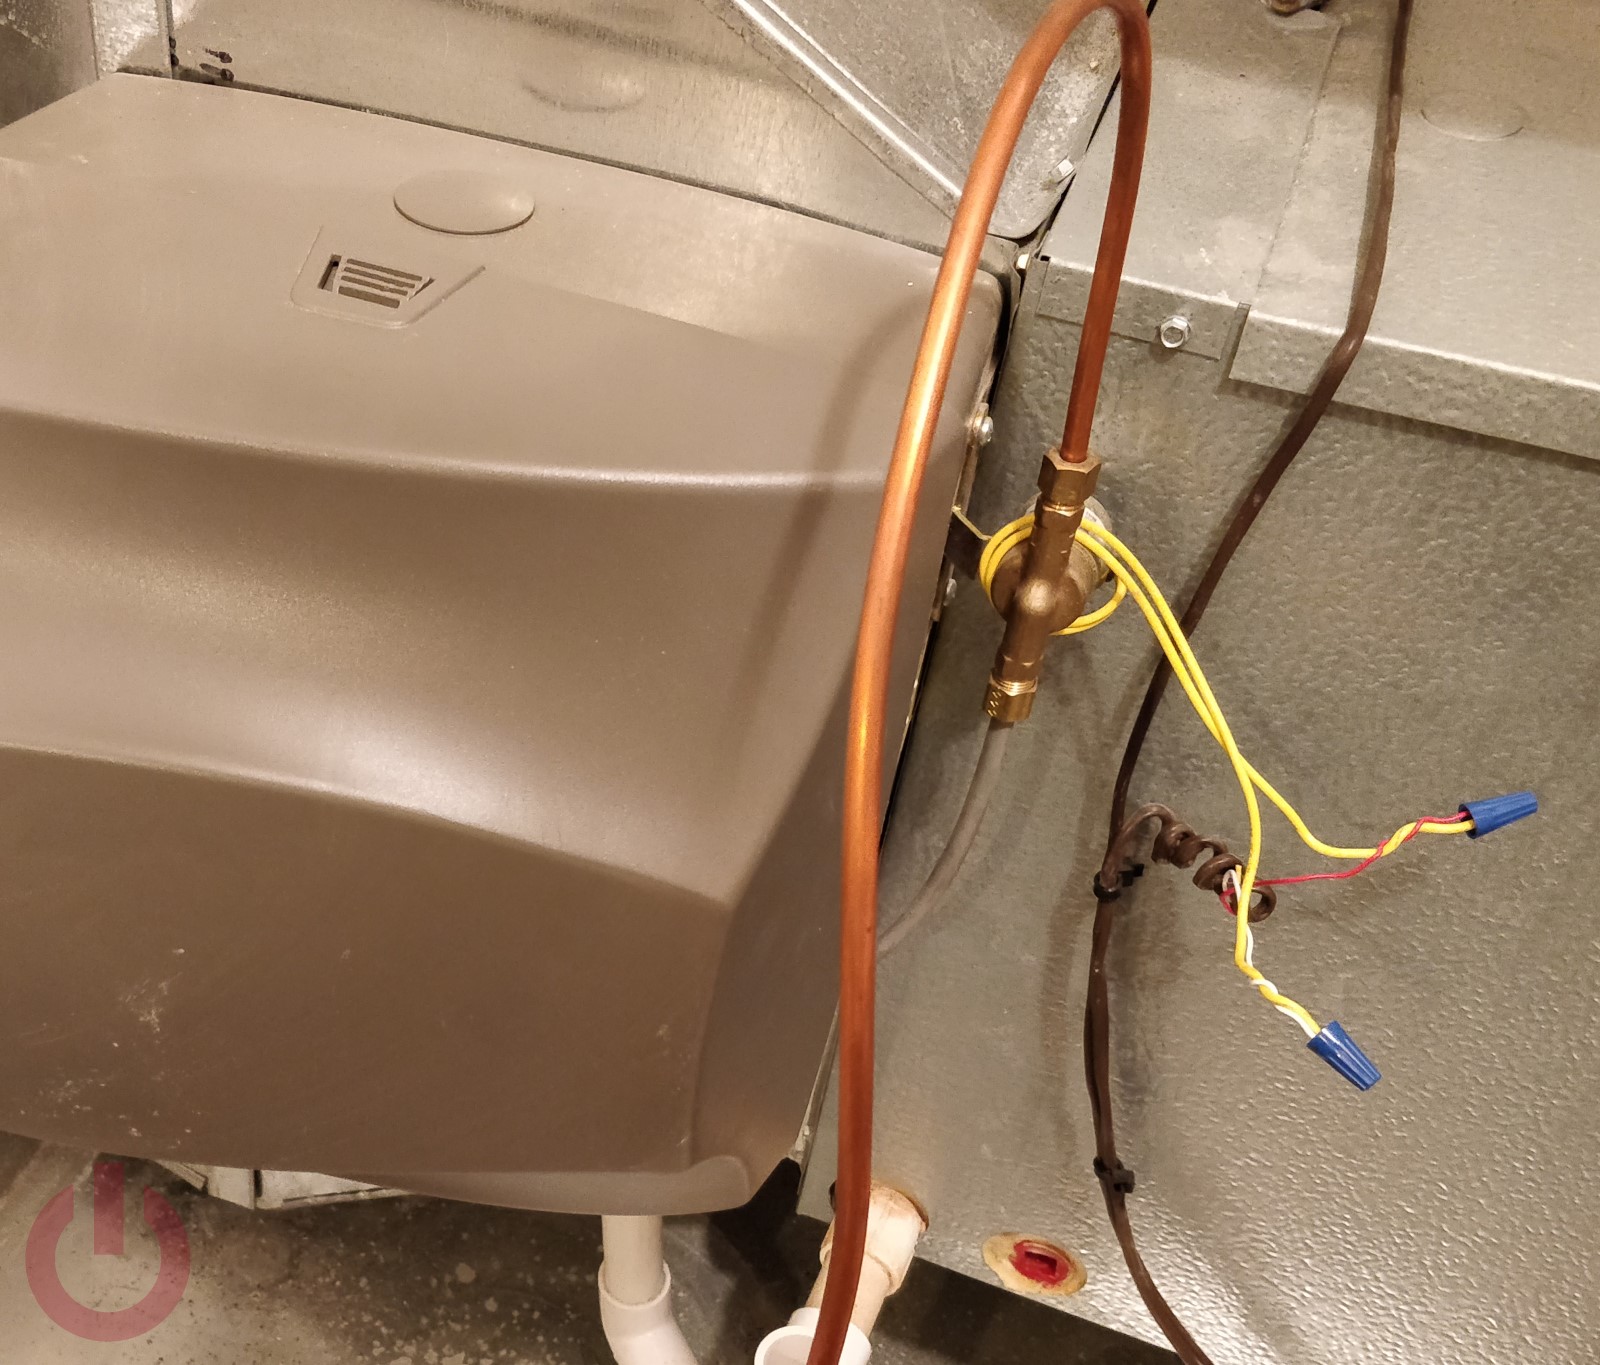
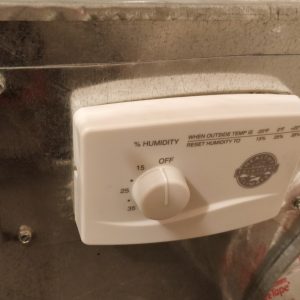
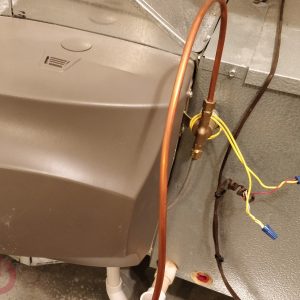
The concept is the same with the bypass model, but because it isn’t powered at the water valve it has to be handled differently. This confused me initially, but it should have been obvious – no power, no way to open the valve.
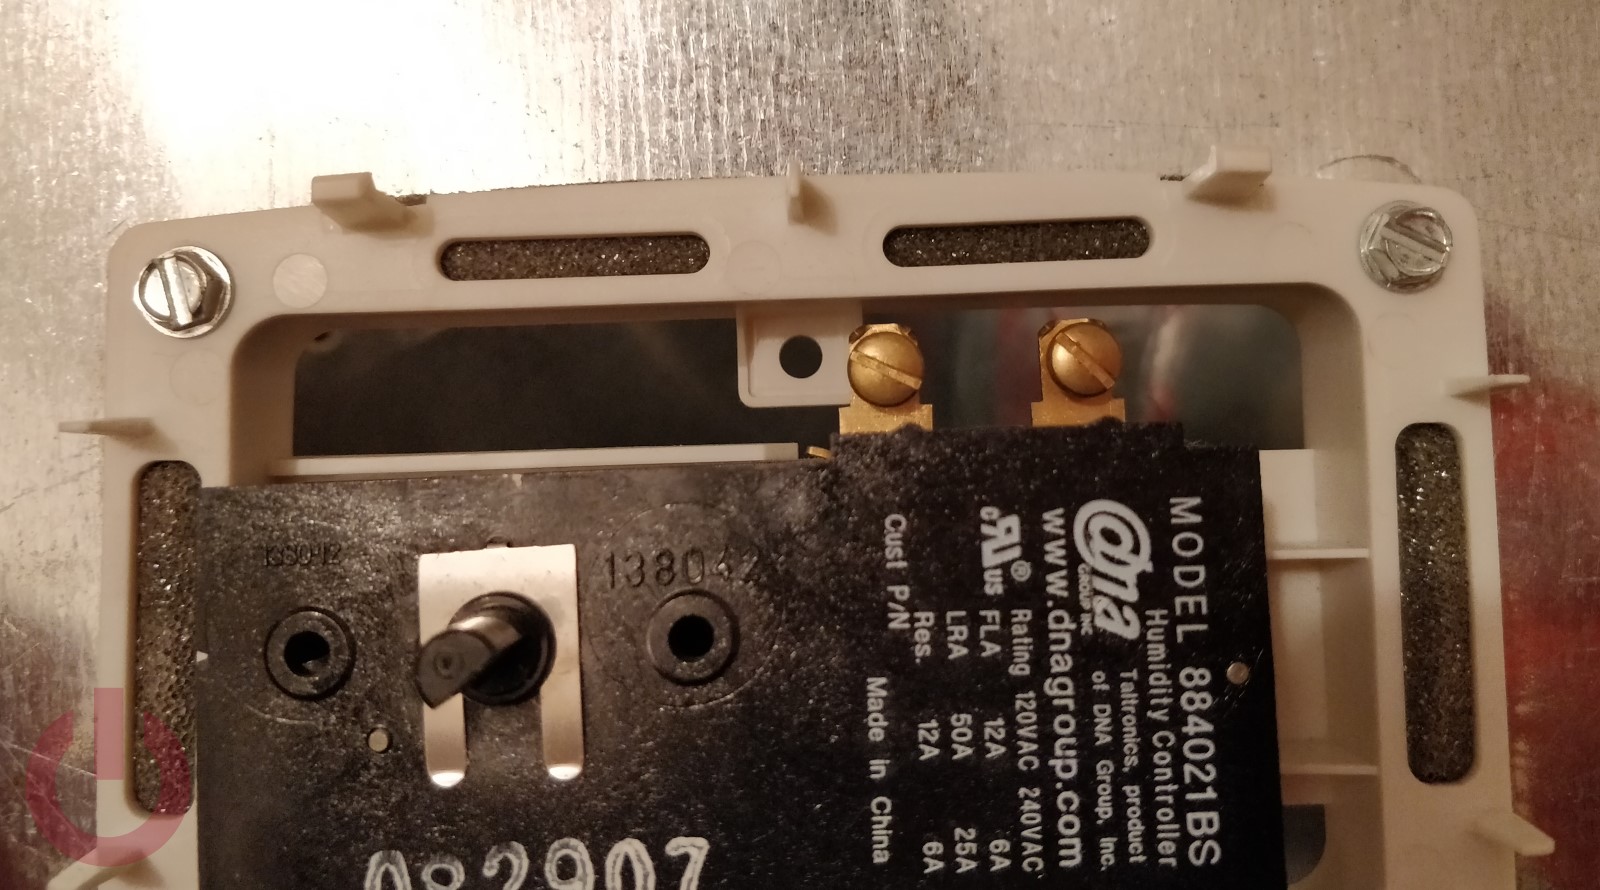


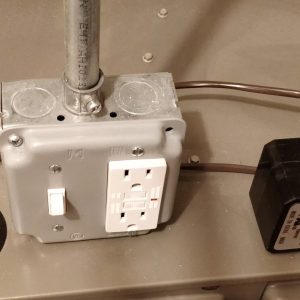
There are many ways to handle this, but I went with the easiest; mostly because I didn’t feel like messing around too much with the existing wiring. So I disconnected the red and white wires from the humidistat and connected them directly to the corresponding 18/2 set pulled to the ACC+/ACC- earlier. Which in retrospect completely makes sense since we are replacing the humidistat with the Ecobee.
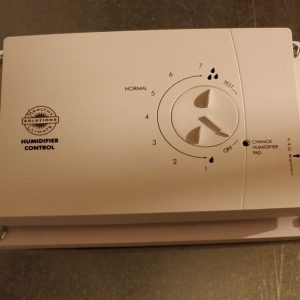
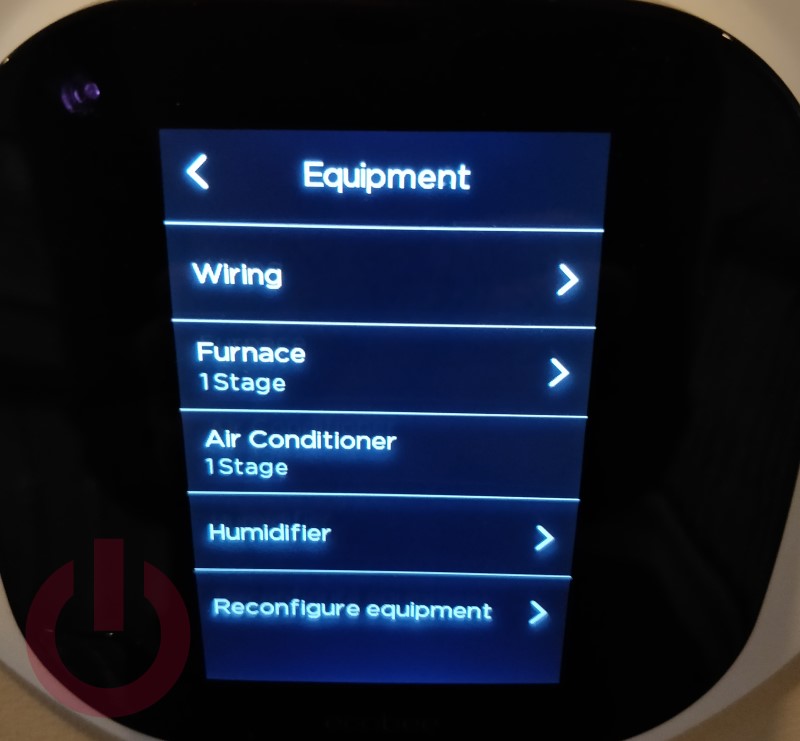
Configure Ecobee
Of course, you have to tell the Ecobee that you want it to control the humidifier as well. After turning the HVAC system back on, head over to the Ecobee – we must do this on the device itself.
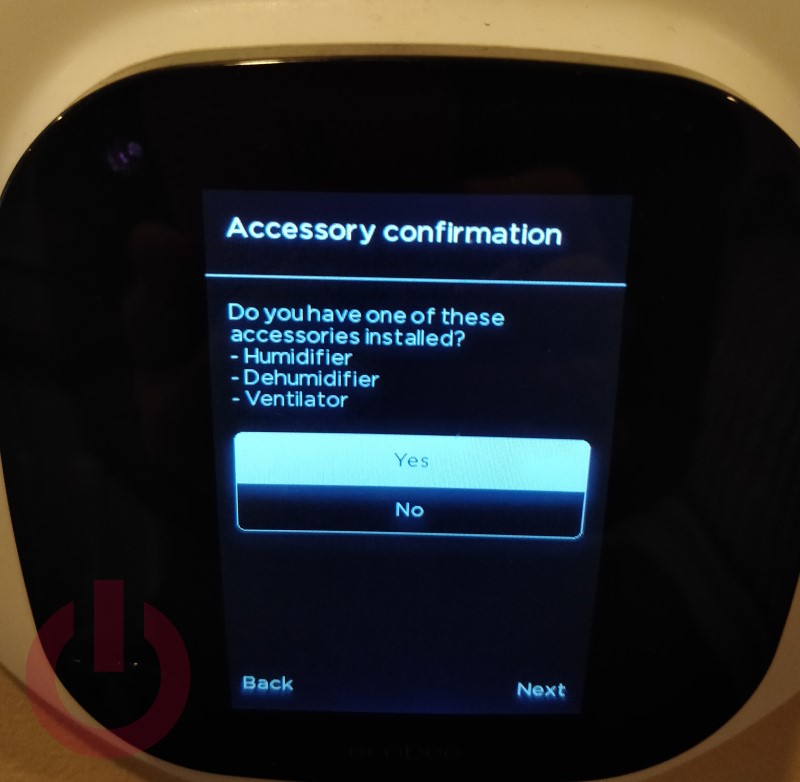
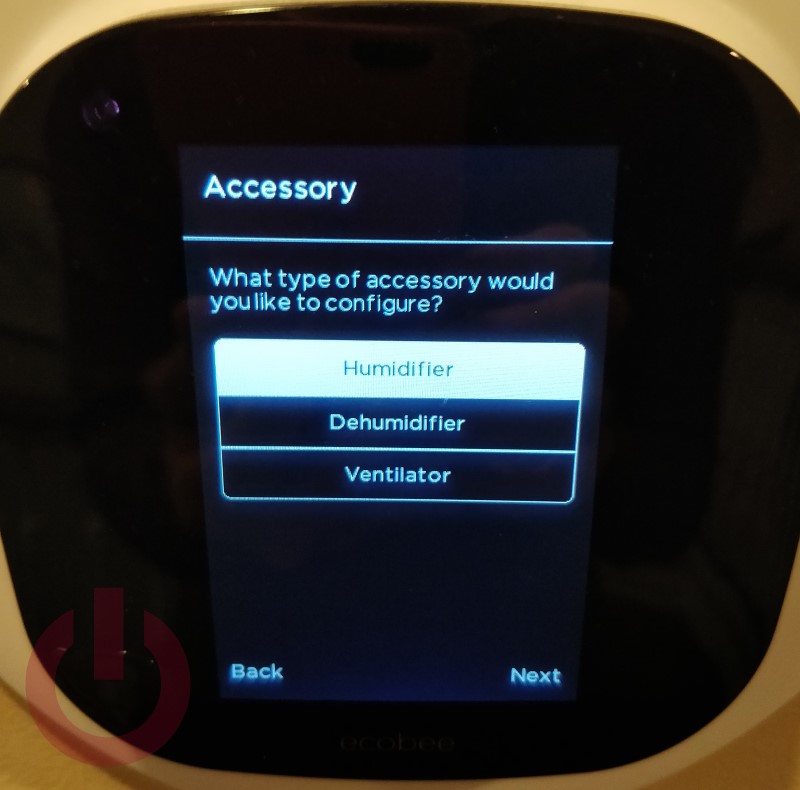
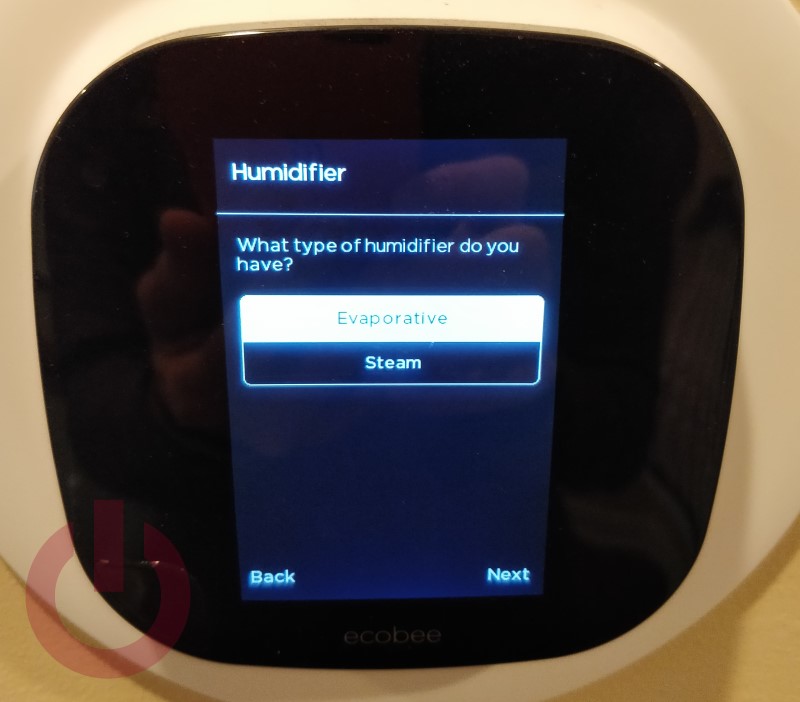
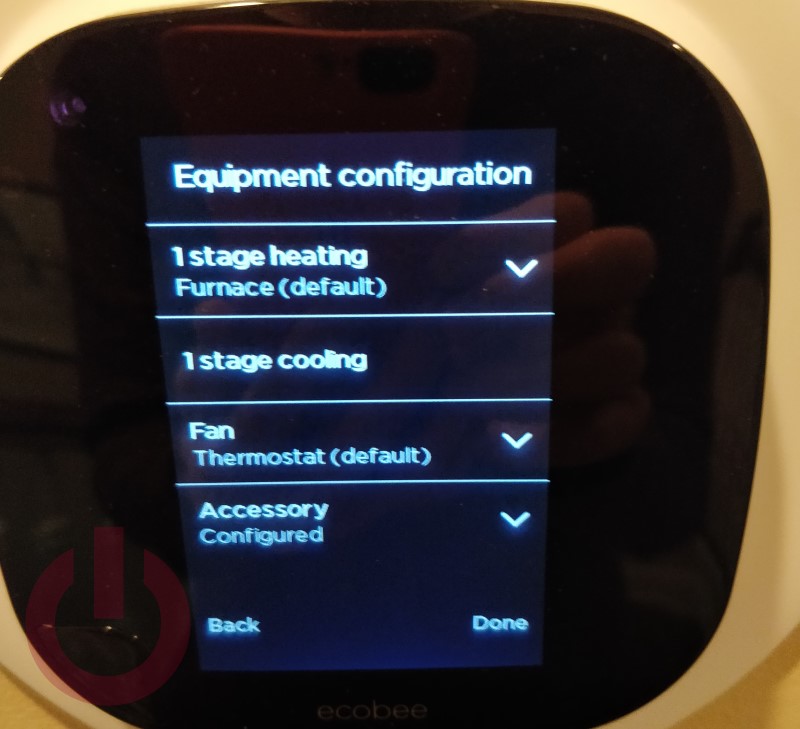
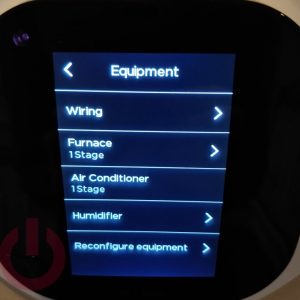
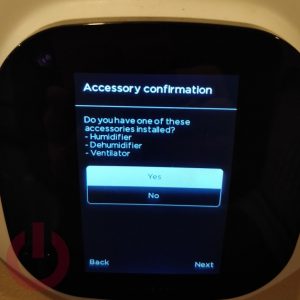

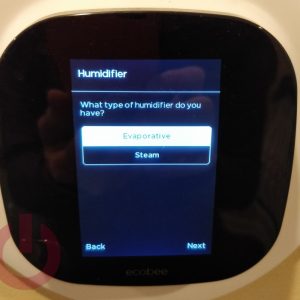
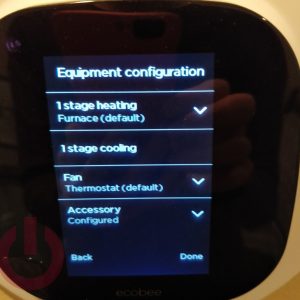
With the humidifier enabled, we just need to turn it on and configure the desired humidity level.
Seal it up
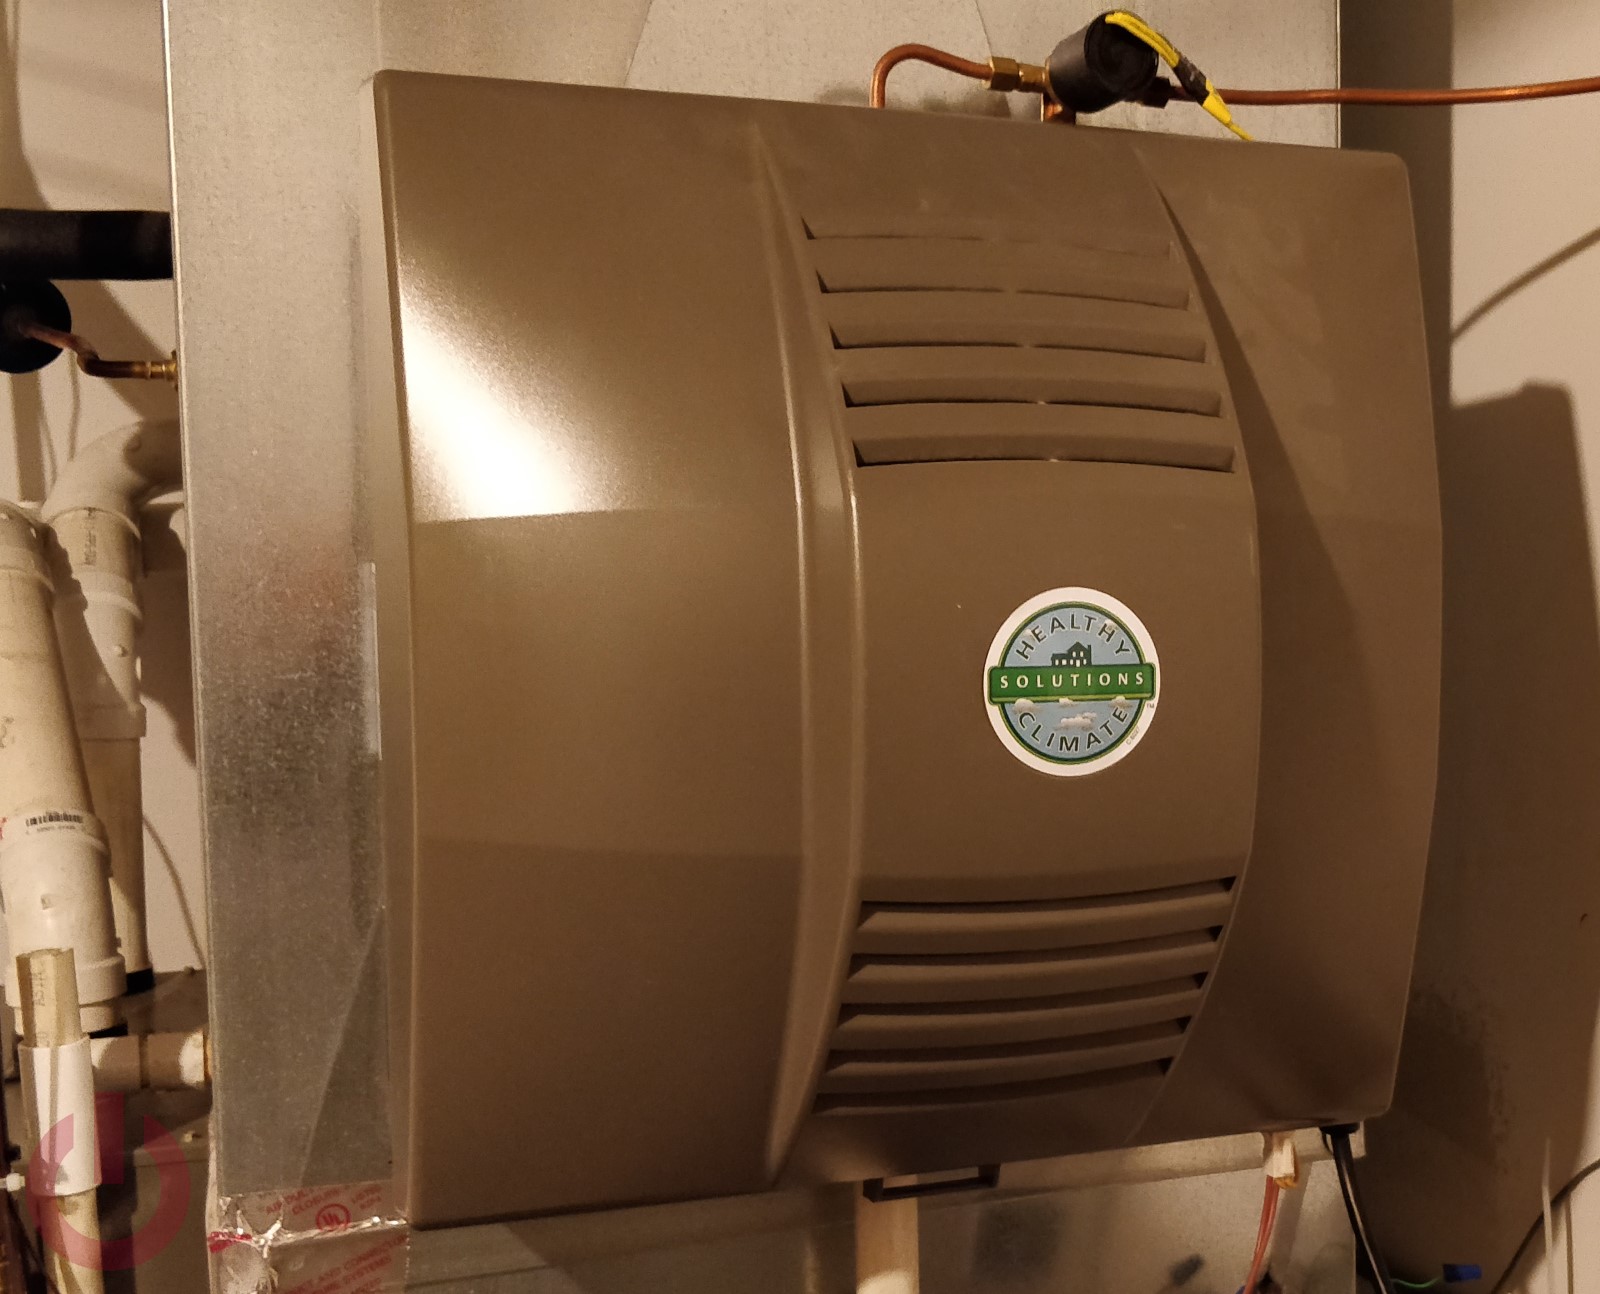
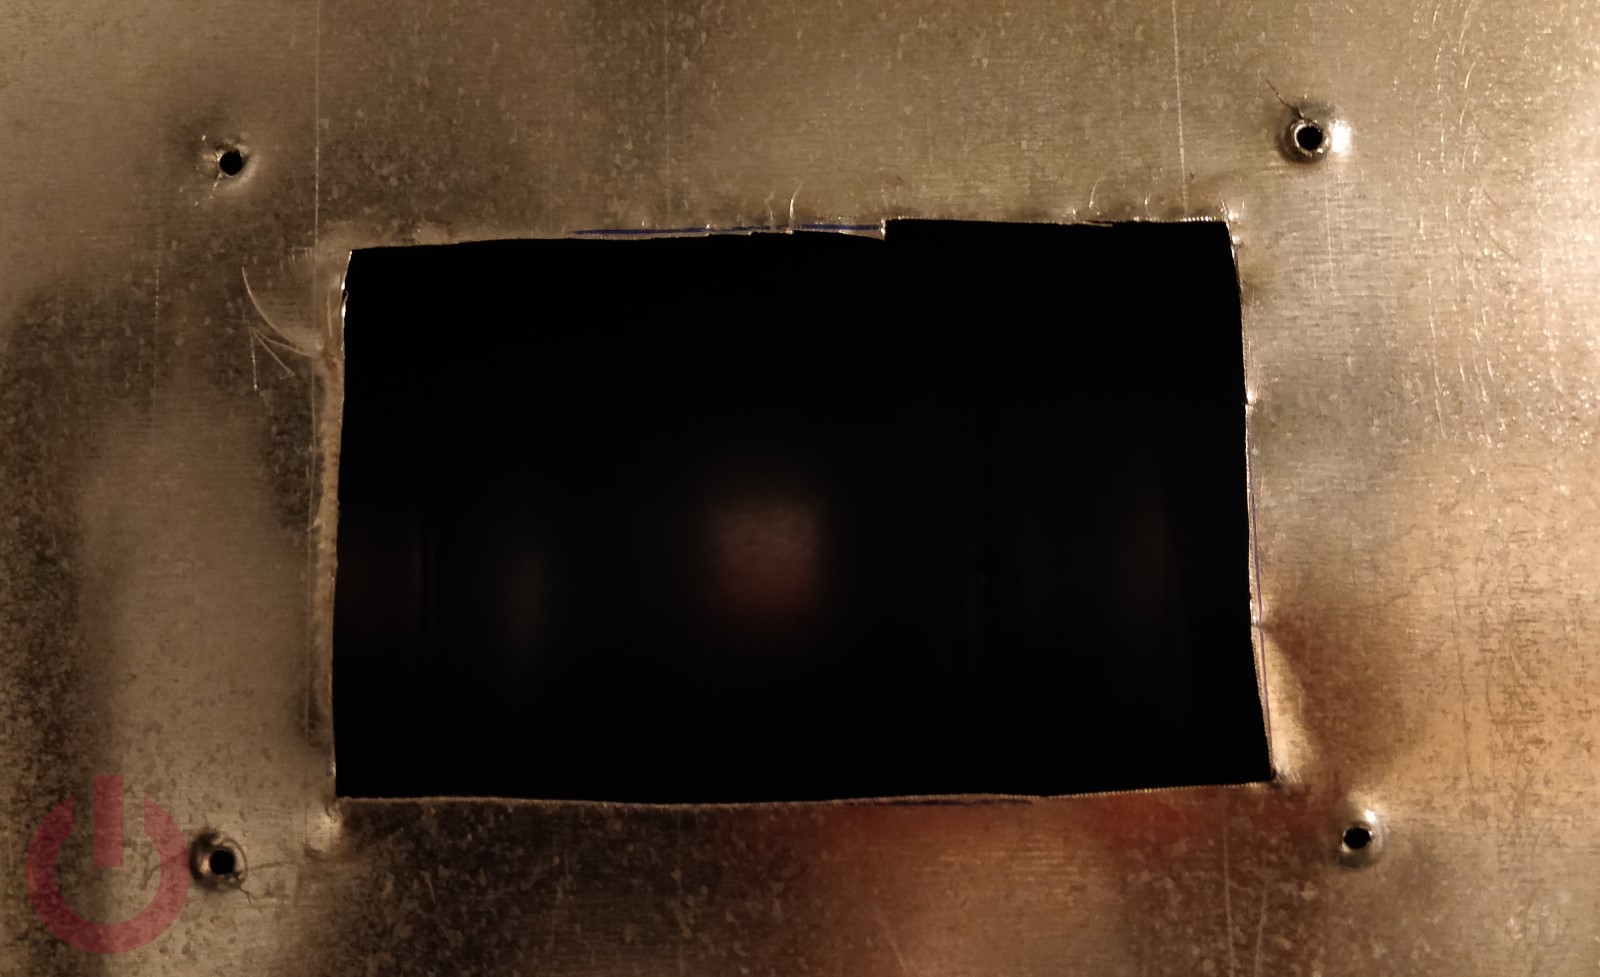
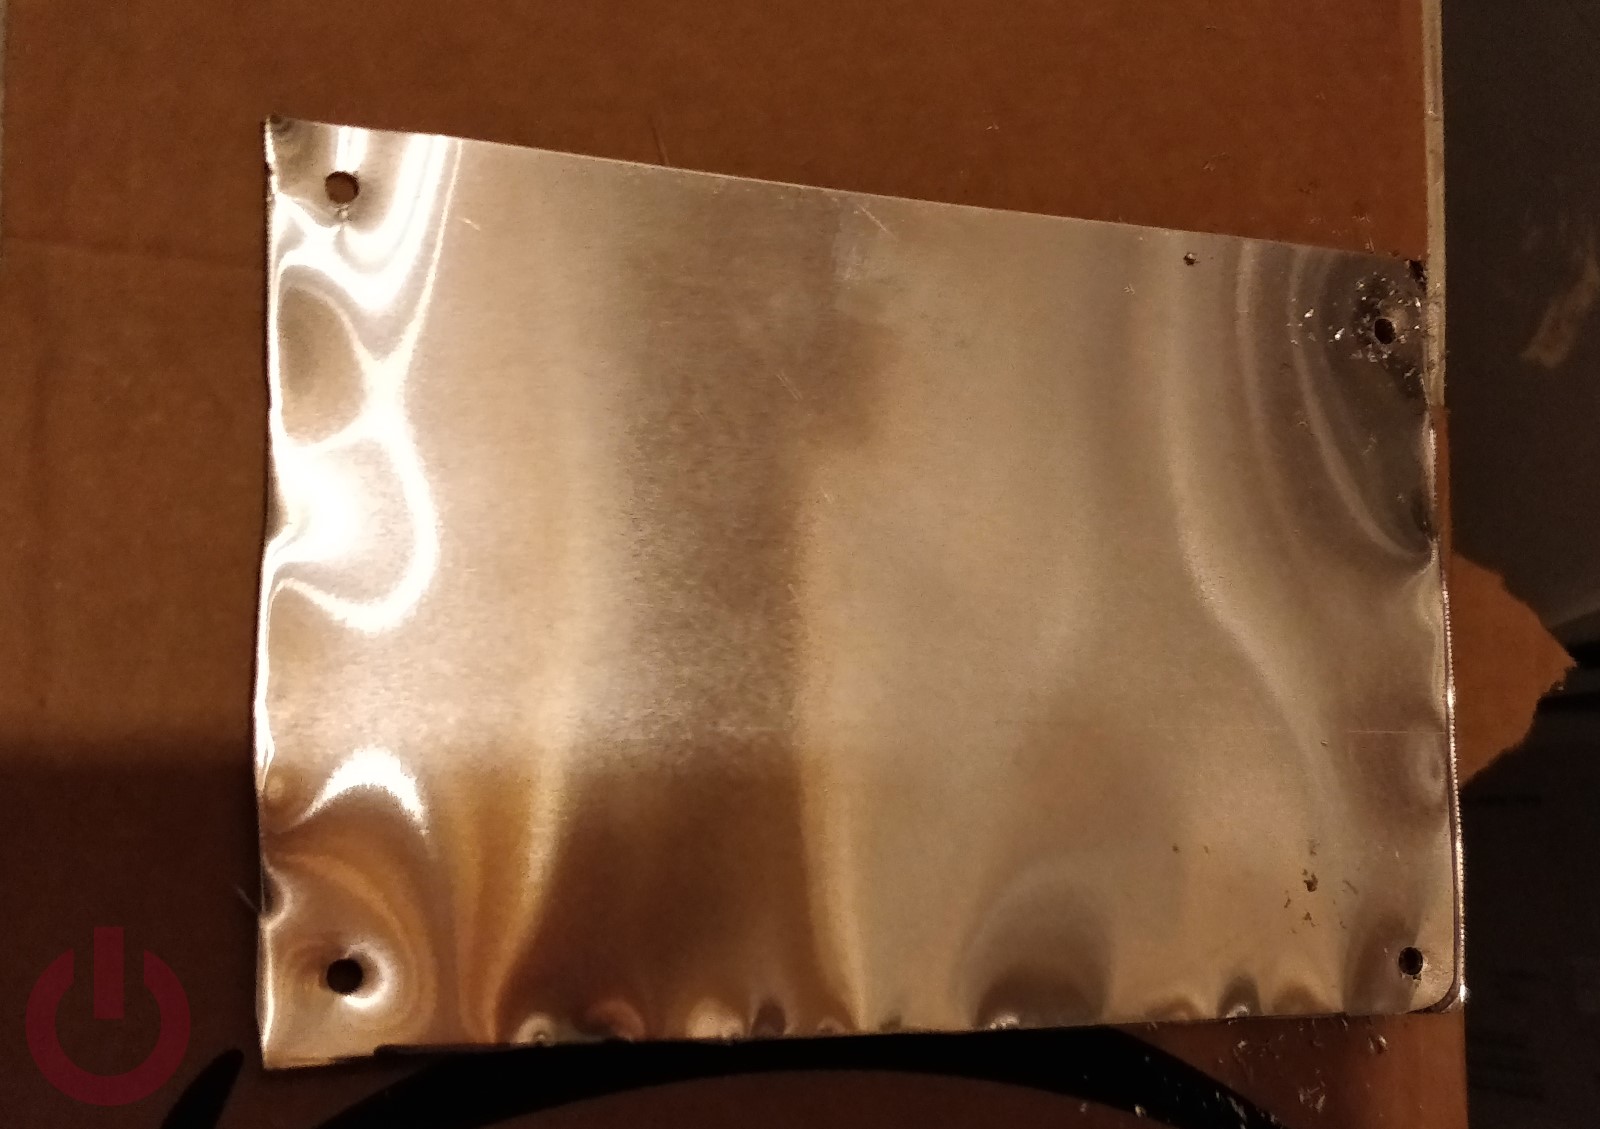
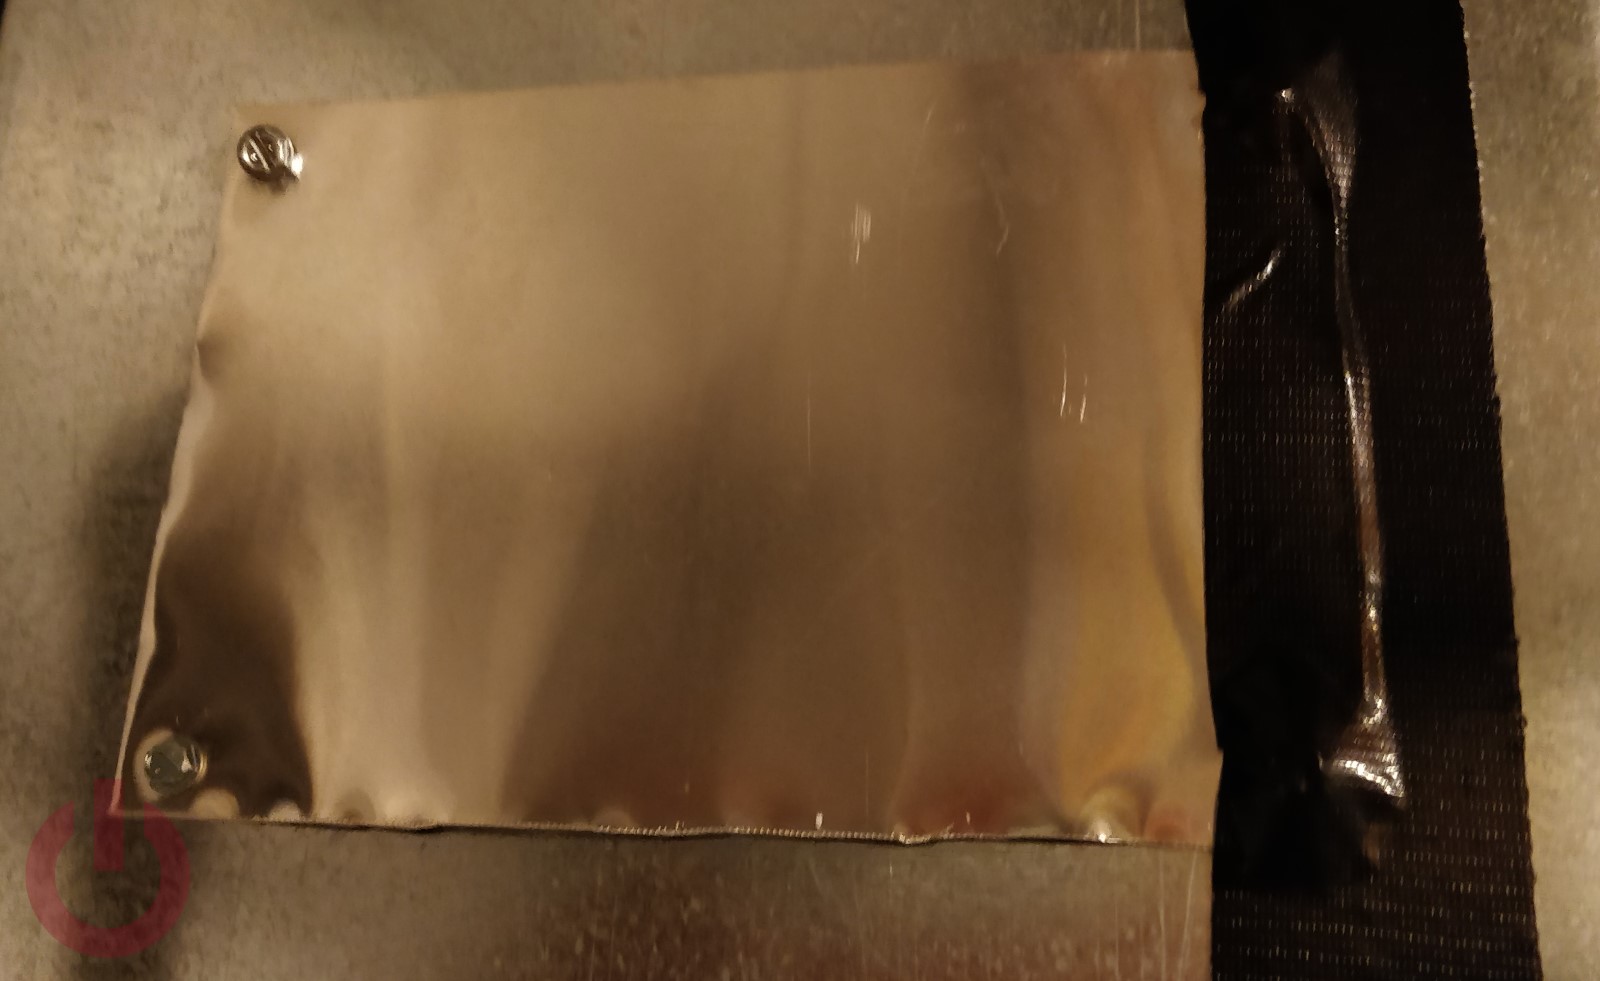
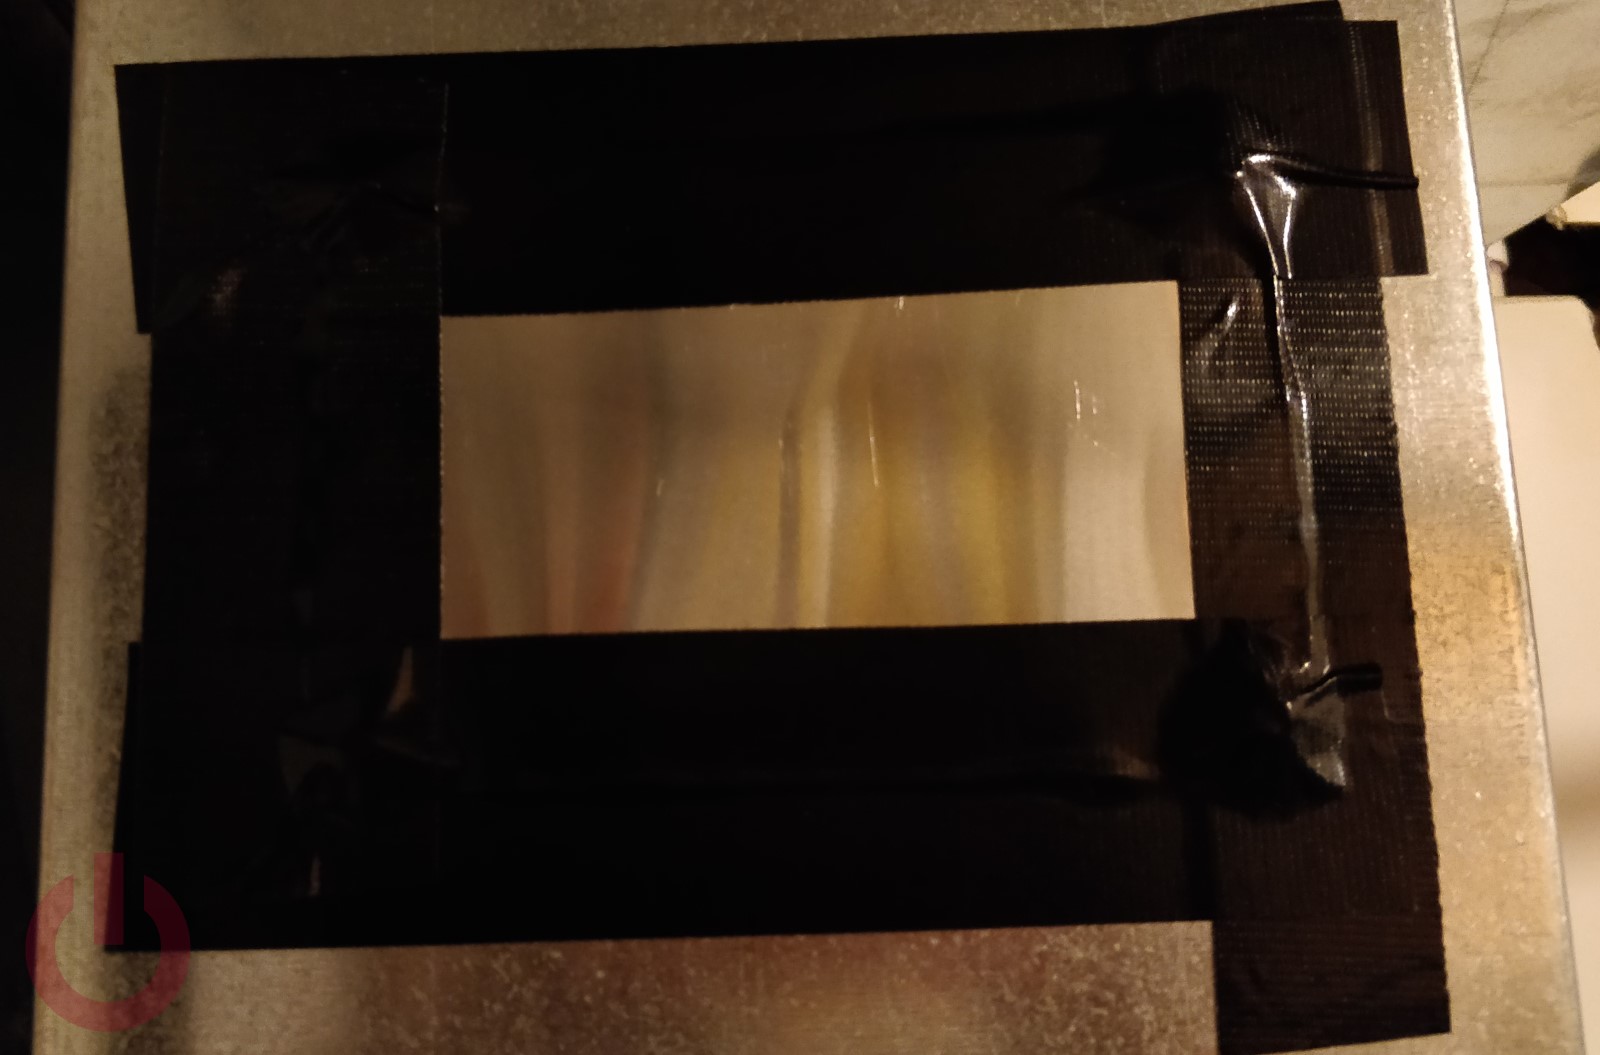
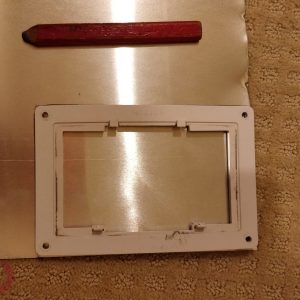
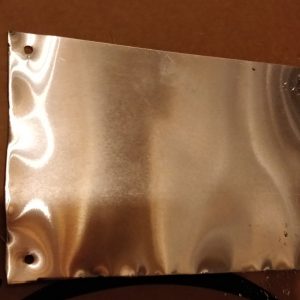
The last step is completely optional, but I’m a little peculiar about this sort of thing, so I felt the need to remove the old kit and seal up the holes in ducts. This is the only potentially dangerous step. So make sure to grab some gloves, along with the duct tape and sheet metal, if you attempt it.


Auto Amazon Links: No products found.