Omaura TF8

Omaura is a newcomer to the HTPC case market, but they have certainly started with a bang. Today, we will be taking a look at the low-profile microATX TF8. Curious as to how it looks on the inside? Then read on.
Remember, you have until 12:01 PM ESTon Monday to enter our kick ass giveaway with Omaura.
Specs
Specs
-
Can accept either Micro ATX or ITX Motherboards
-
Standard 5.25" ODD compatible
-
Space for 4x 3.5" Standard Hard Disk Drive
-
Highly Expandable 4x Low Profile Expansion Cards
-
Compatible with full ATX power supplies
-
Optional Omaura OLED display kit, 100% Windows MCE compatible
-
Card reader, 2x USB, 1x Firewire/1394, Audio 3.5mm Input and Output
-
Optional Omaura IR and remote kit, 100% Windows MCE compatible
-
All aluminium outer panels
-
Premium sandblast and anodized finish
-
Slide and screw-less locking 3mm aluminum top panel
-
Included drive cage rubber vibration grommets
-
Magnetically locking ports and card reader door
-
10mm thick extruded aluminium face plate
-
Steel base panel and drive cages with scratch resistant finish
-
Designed to look great with or without an OLED display installed
-
Included Gloves, Screwdriver and Spare screws
-
435x401x100mm (WxDxH)
First Impressions
First Impressions
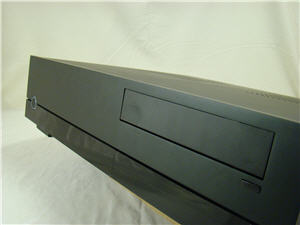
After removing the case from its well protected shipping container, the first thing that strikes you is its minimalistic front panel. There are no gaudy manufacturer names or port labels to disfigure its otherwise clean looks. On the left is a simple power button surrounded by a ring of acrylic that glows blue when powered on. On the right is the spring loaded optical drive door with its eject button.
 |
| Front of the TF8 |
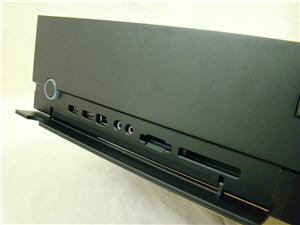
On the lower left there is a door which hides two USB ports, a firewire port, headphone and line in jacks, and a multi-card reader. This door is held closed by an extremely strong magnet. In fact, one gets a feeling they may damage the door hinges in the process of trying to open the door. After a few tries, the process gets easier. A latching door with a push-to-open mechanism would have been more user friendly. There also is no gliding or soft-open feature on the hinges, so the door tends to drop open once it has cleared the magnets.
 |
| Hidden I/O ports |
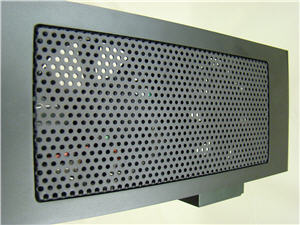
There are vent regions on the left and right sides of the case to promote air flow. The right opening has two 80x15mm exhaust fans and the left has two 60x10mm incoming fans to help push the air from left to right through the case. The openings are covered with an inserted round mesh grill rather than the efficient stamped hex pattern. However, since the vents are on the sides, the mesh pattern is probably more in line with what other high end A/V components would use.
 |
| Side mesh grill |
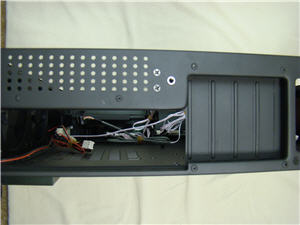
The back of the case is the standard fare with an opening for the motherboard I/O panel, four low-profile cards, and a standard ATX power supply. The power supply mounting hole pattern only allows for it to be mounted in one direction. Just above the motherboard I/O panel is a mini-jack meant for IR blasters.
 |
 |
| Rear I/O panel and IR blaster port | Rear power supply mount |
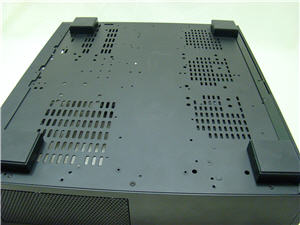
The bottom of the case has some slots routed in the steel chassis to provide cooling via convection. The holes in the area under the power supply would probably not be enough to allow a 120mm fan to breathe properly. One option would be to break out a dremmel and improve the situation, but not everyone is comfortable with hacking away at a new case. Option two is to pick up a power supply that is quiet, but also does not rely on a 120mm fan for cooling. The case is held up by four square feet of aluminum with a non-skid rubber pad on each to prevent marring the surface below.
 |
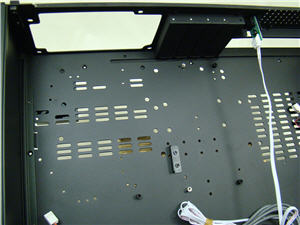 |
| Bottom view | Bottom vent holes under power supply |
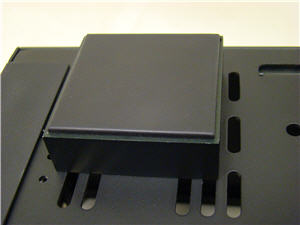 |
| Square foot with pad |
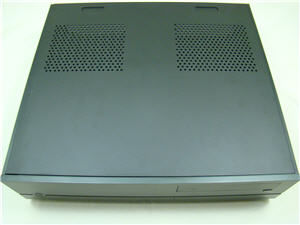
The top of the case is made of steel with two regions of vent holes. One group is in the vicinity of the CPU heat sink and the second group is directly over the power supply. The area over the card slots is not vented. It is hard to know the purpose of this second set of holes as the PSU will block most of their air flow. The holes are again round rather than hex, but in this case it is most likely due to strength issues. Because it is difficult to know what all might be stacked on top of this case, rigidity won out over air flow. As in other case designs, compromises have to be made. Near the back of the top, there are two indented areas pressed into the surface. Wonder what those are for? Read on to find out.
 |
| Top view |
Peek Inside
Peek Inside
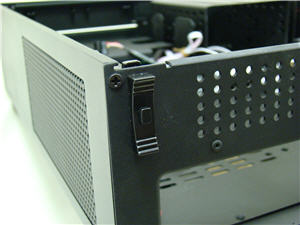
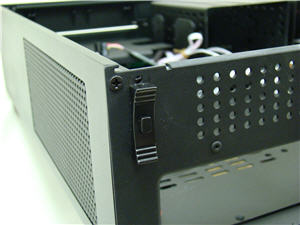
So, how does one get inside this bad boy? On the back there are two sliding latches on either end, and pressing in the button and sliding both down releases the top cover. Using the two indented areas on the top for grip, the top can now slide out of the way. Pretty slick and toolless. Unfortunately, everything else requires that you own a screwdriver. Fortunately, the case comes with just such a device.
 |
 |
| Latch locked | Latch open |
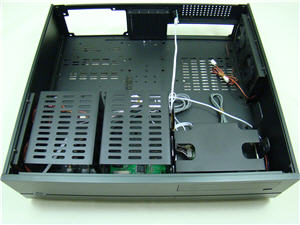
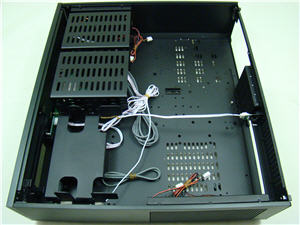
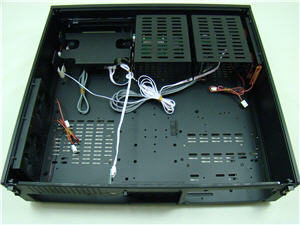
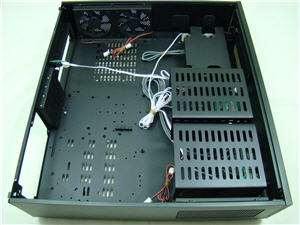
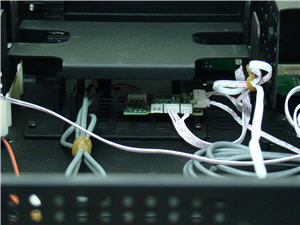
Once the top is off, the TF8 gives up its secrets on how it can cram all of these features into this small package. First thing that is noticed are all the wires running every which way. Usually this is an issue once all the components are installed, but it is a bad sign to see such a sight before anything has been mounted. There are four fan cables, five cables for the various front I/O ports and multi-card reader, two cables from the IR board, and two cables linking the power button to the motherboard. That’s thirteen cables to contend with and nothing has been mounted in the case yet. To compound the problem, most of the cables are almost twice as long as required. Fortunately, the drive cages have been mounted on 3/4" stand-offs to give room for the various circuit boards. This should give some room to stow any extra lengths of cable which would otherwise clutter up the case’s interior.
 |
 |
 |
 |
| Inside from various angles | |
 |
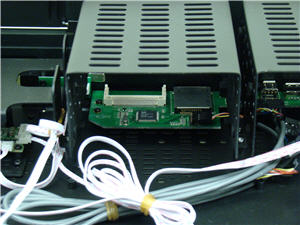 |
| IR board | Multi-card reader board |
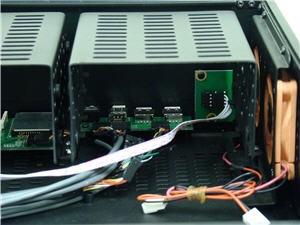 |
| Front I/O board and power switch |
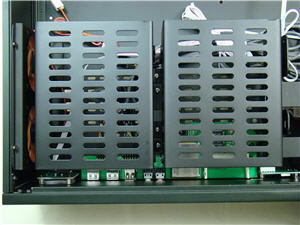
There are two hard drive cages which hold two 3.5" hard drives each. The cages need to be removed before the drives can be mounted. Each drive location has four rubber grommets to help dampen any noise due to vibration. The down side of this design is the drive cannot effectively transfer its heat to the chassis. Omaura has placed two 60x10mm fans next to the drive cages to assist in the cooling, but unfortunately the cage structure looks to block most of their air flow.
 |
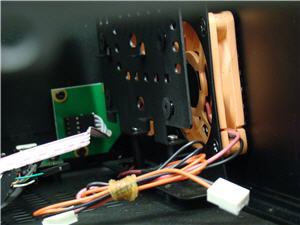 |
| Hard drive cages | Hard drive cage fans |
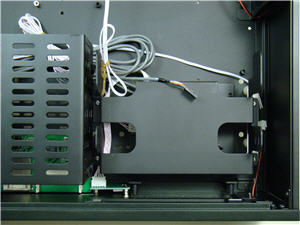
The optical drive cage also needs to be removed before a drive can be mounted. It however does not benefit from noise dampening grommets. The eject button mechanism is large enough it should work properly with most optical drives. The drive door is also designed to help prevent mechanical hangups.
 |
| Optical drive cage |
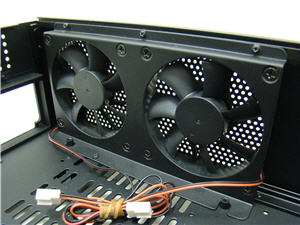
The 80x15mm fans mounted on the right side panel are positioned properly to help exhaust warm air around the CPU. As it stands now, this case requires a motherboard with five fan headers assuming the CPU requires a fan as well. This may be possible on some full ATX motherboards, but this certainly is not common on the microATX format. It would be more practical to have each group of two fans combined into one common header. True, only one fan would be reporting its RPM, but that would seem to be an acceptable compromise.
 |
| Exhaust fans |
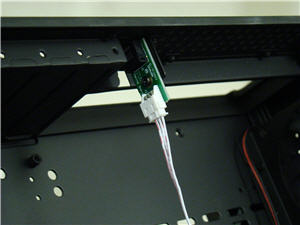
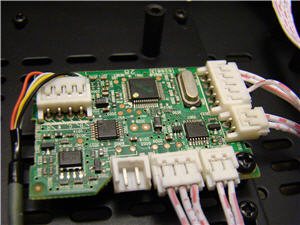
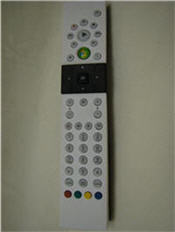
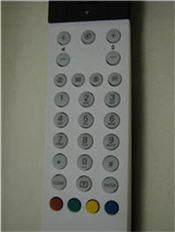
As mentioned previously, this case came with the MCE remote kit and as such includes an IR receiver and blaster. The receiver is mounted just to the right of the I/O panel door. It connects via a cable to the USB internal header on the motherboard. Since it is based on a standard Philips IR chipset, driver support should be solid in MCE and Vista.
 |
 |
| IR blaster | IR board |
 |
 |
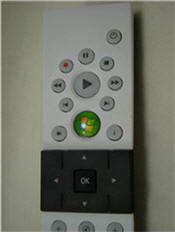 |
| MCE remote | Lower buttons | Upper buttons |
Parting Words
Parting Words
Before this review is wrapped up, one last feature needs to be addressed. Or rather, it would be addressed if the sample had arrived. As it is, someone in customs has apparently been enjoying it a bit too much. The topic of this discussion is Omaura’s crown jewel, the OLED (organic light emitting diode) display. Not only is the display clearer to read, but it is no longer confined to characters only. It is essentially a 256×64 grid of pixels which can display anything from pictures to various font sizes. Please see Omaura’s website for more details. If we ever do receive the display, we will be sure to provide a review.
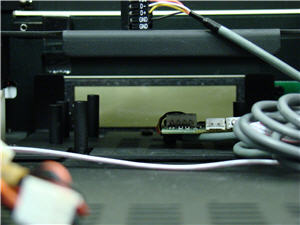 |
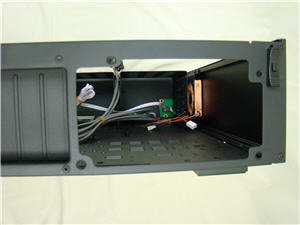
| Empty location for OLED display |
Conclusion
The TF8 has a lot going for it. A compact and clean exterior while providing for a plethora of options internally is hard to find in the HTPC case market. Sure, there are some deficiencies such as excess cable length, an over abundance of fan connectors, and questionable air flow around the PSU, but in the end this can be remedied by careful component planning and some light mods. Overall, this case has been a strong first showing for Omaura. It will be exciting to see what other surprises they have planned.
