
Wall mounting a Middle Atlantic DWR/CWR server cabinet

I recently started a project to try to use the space in our utility, er… server room better. A big part of this was getting a wall mounted rack that I could use for our server and the network equipment that also lives in the space. After a lot of research, and some help from my friend Adam who knows a lot more about this sort of thing than I do, I ended up with a Middle Atlantic DWR-12-32. Part of the complexity is that I needed something that would fit a large server chassis (3U/26” deep) which narrows the pool, as well as raising the complexity of the installation because of the necessary weight considerations. Since I was not able to find a great guide on how to mount a heavy cabinet on the wall, this is my attempt to document the process. Most of this will be applicable for any rack you select, but obviously some of it will be specific to the DWR/CWR lineup.
Middle Atlantic recommends mounting the DWR-12-32 straight on the drywall into the studs behind. Given the 100lb weight of the cabinet and the 200lb of content it can support, even if the studs in the wall were spaced in a way that lined up with the DRW-12-32’s mounting holes, I had some concerns placing it directly on the drywall. Either way, with 14” between the studs, a different approach was necessary. Before moving on to that, it is probably worth noting that given a shorter rack and lower support requirements and only network equipment, it is safe to mount straight on the wall – even if you cannot line it up with the studs (as long as you use the right supports). But, that was not suitable in this case. So, in order to provide the necessary mounting surface and support, I opted to use a double layer of ¾” oak plywood. This serves two functions; the first is that it provides significantly more strength than straight drywall for the toggle bolts that will be supporting the weight of the rack, and it will keep the bottom of the cabinet from digging its way through brittle drywall surface.
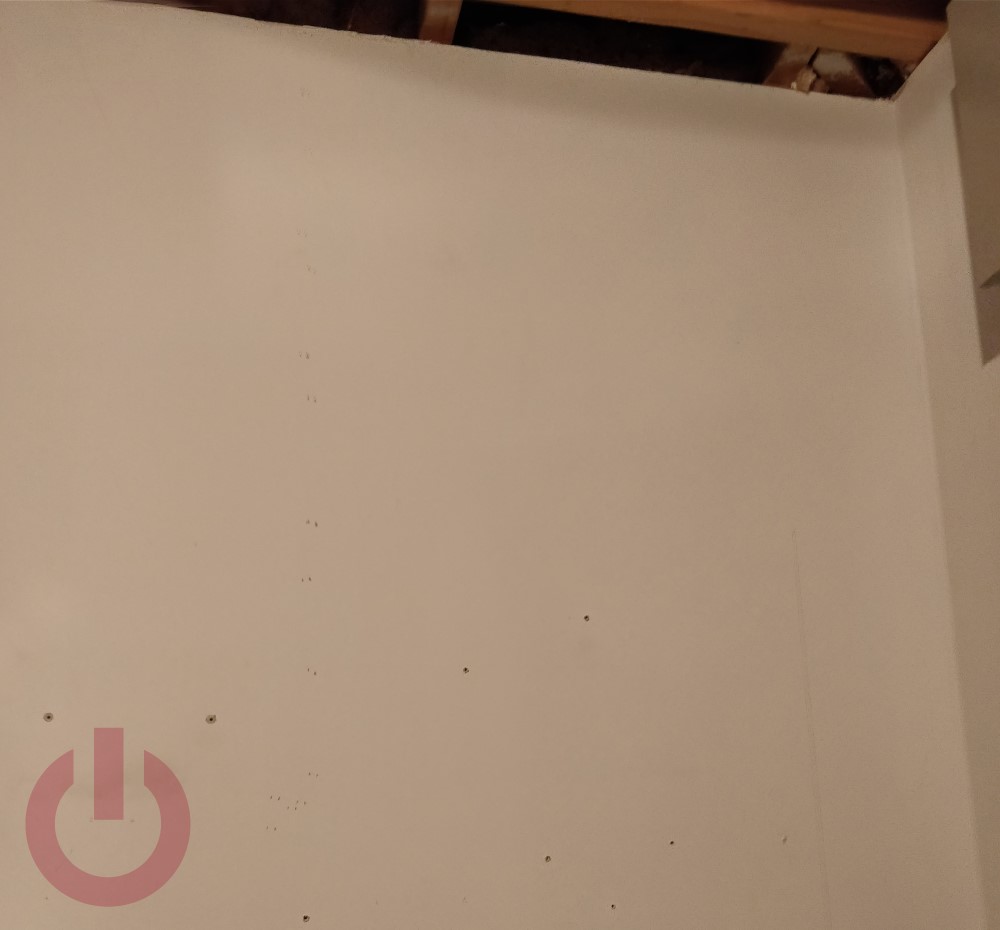 The first step was to clear space on the wall for the rack and clearly mark where the studs are (sorry the pencil lines are kind of difficult to see here). This is important, because once the plywood is against the wall it will be difficult to detect the studs underneath; especially while you are holding it up.
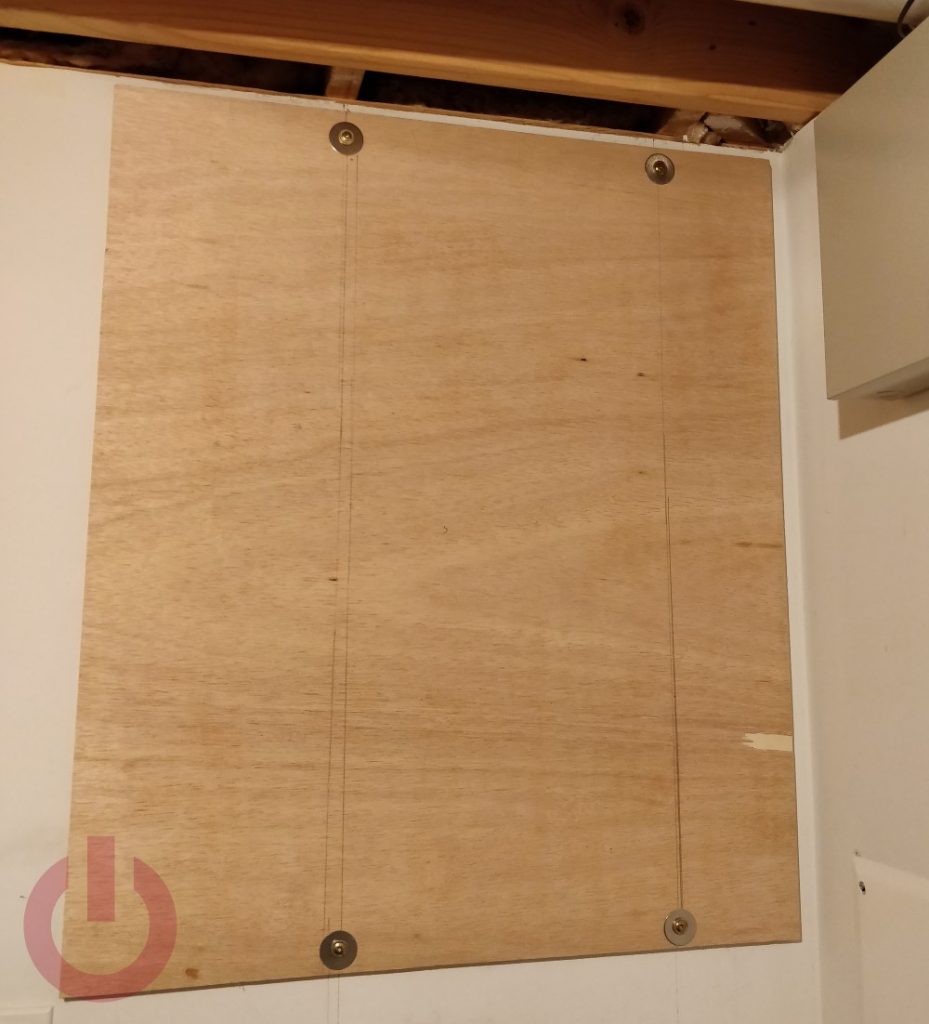 Secure the two layers of plywood into the studs using 4 ½” SPAX T-Star Powerlags and some fender washers. Then use a straight edge to mark the location of the stud on the top of the plywood. In my case, I was only able to use one of them due to the spacing, but figured it was worth marking them both while I was at it. This was a relatively small section of plywood, so I did not bother securing the two panels to each other. With a larger area, it might be difficult to hold them in place as two separate pieces, so some wood screws can be used to join them together before mounting. You can also use some brackets, or a 1×2 strip, along the bottom to hold it all in place until the SPAX are in place. It is worth noting that if you want to paint the plywood, it should be done before it gets on the wall. As this is in our utility room, no one cares, so I did not bother.
-

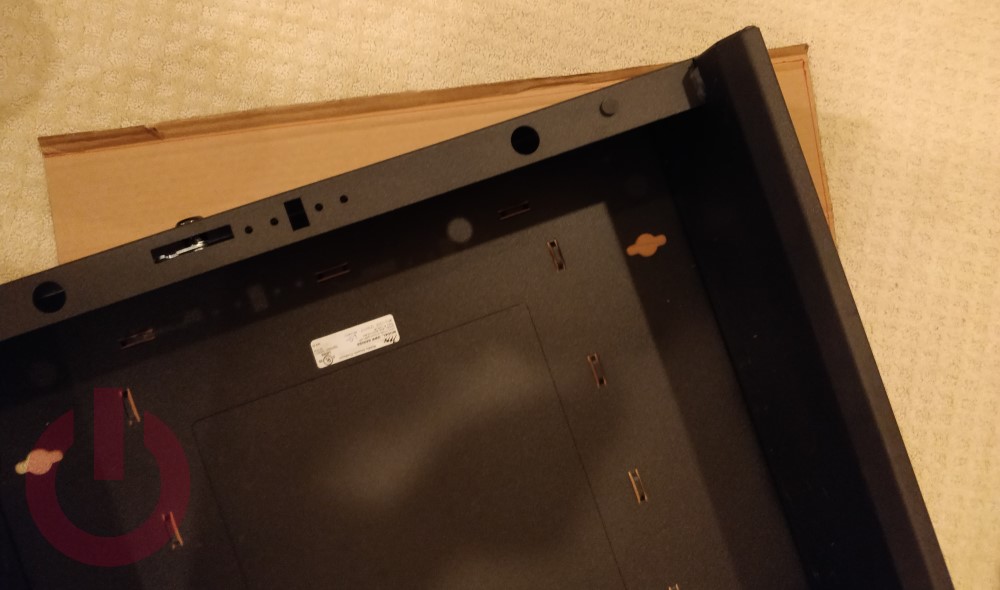
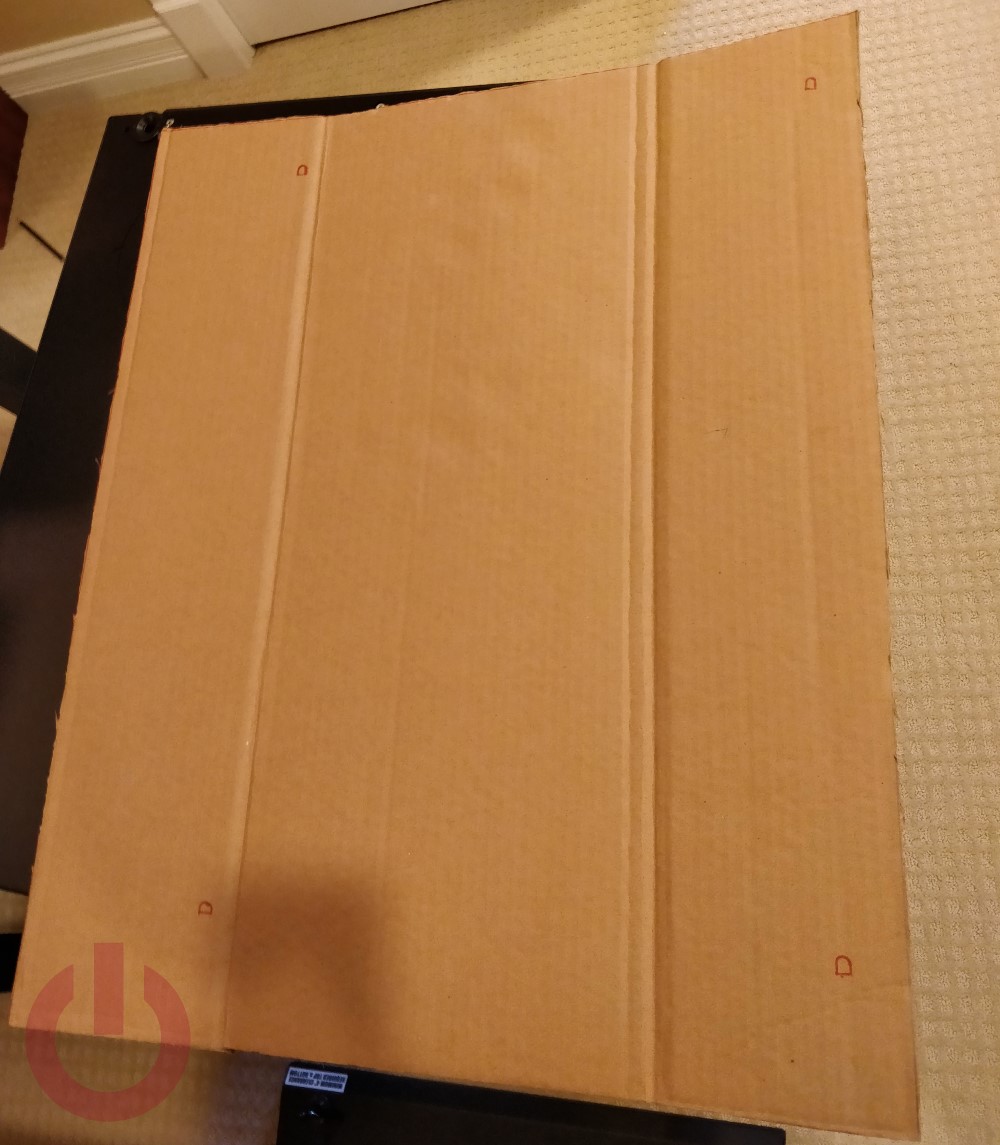
This step is optional, but since a piece of cardboard is a lot lighter than the cabinet mount, I think it is completely worth it to make a template. This provides an easier way to get everything lined up and level on the wall. 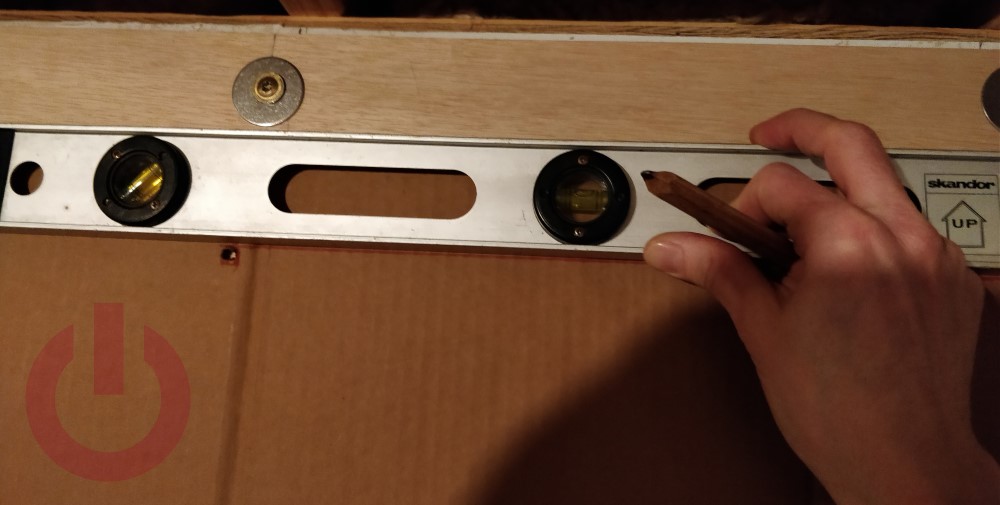 Using the template (or if brave/strong enough the mount itself), mark the holes and make sure everything is level.
-
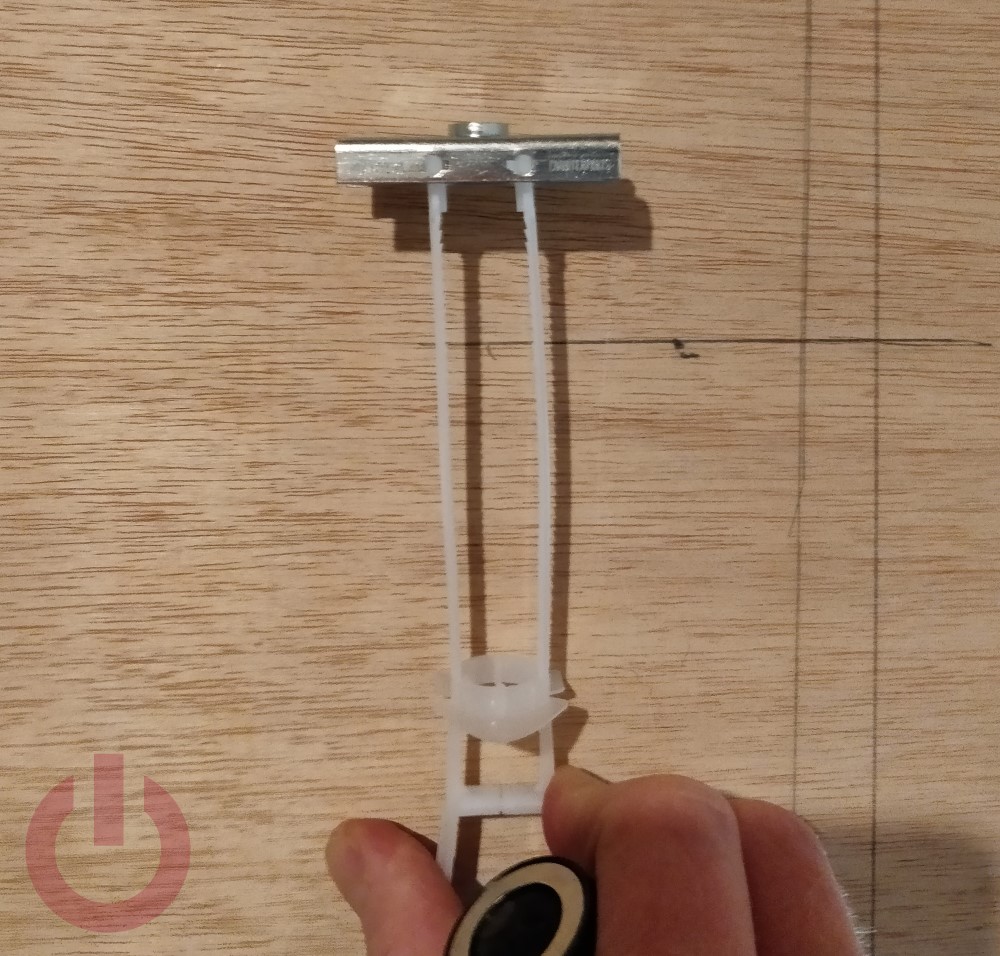
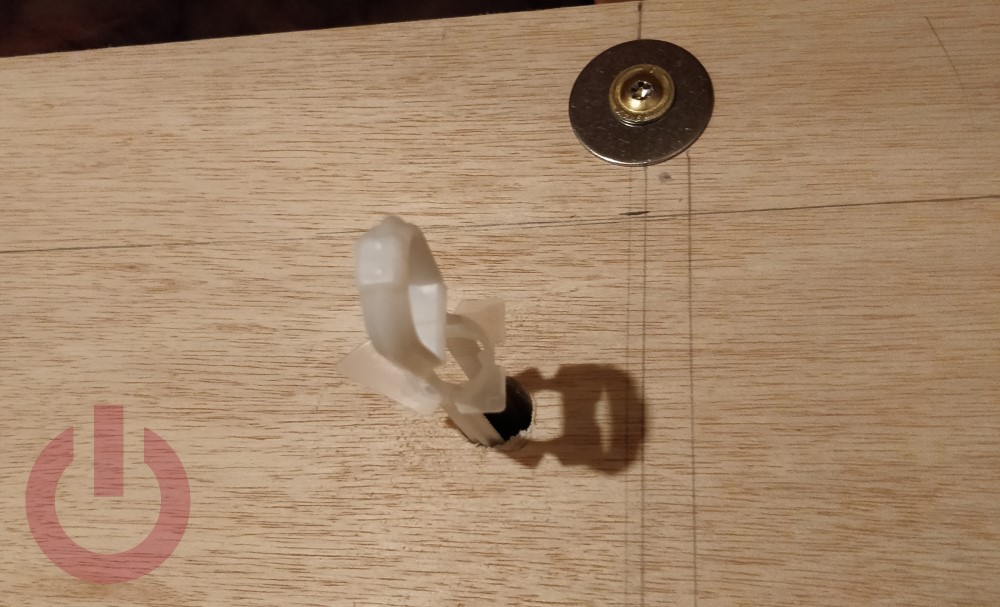
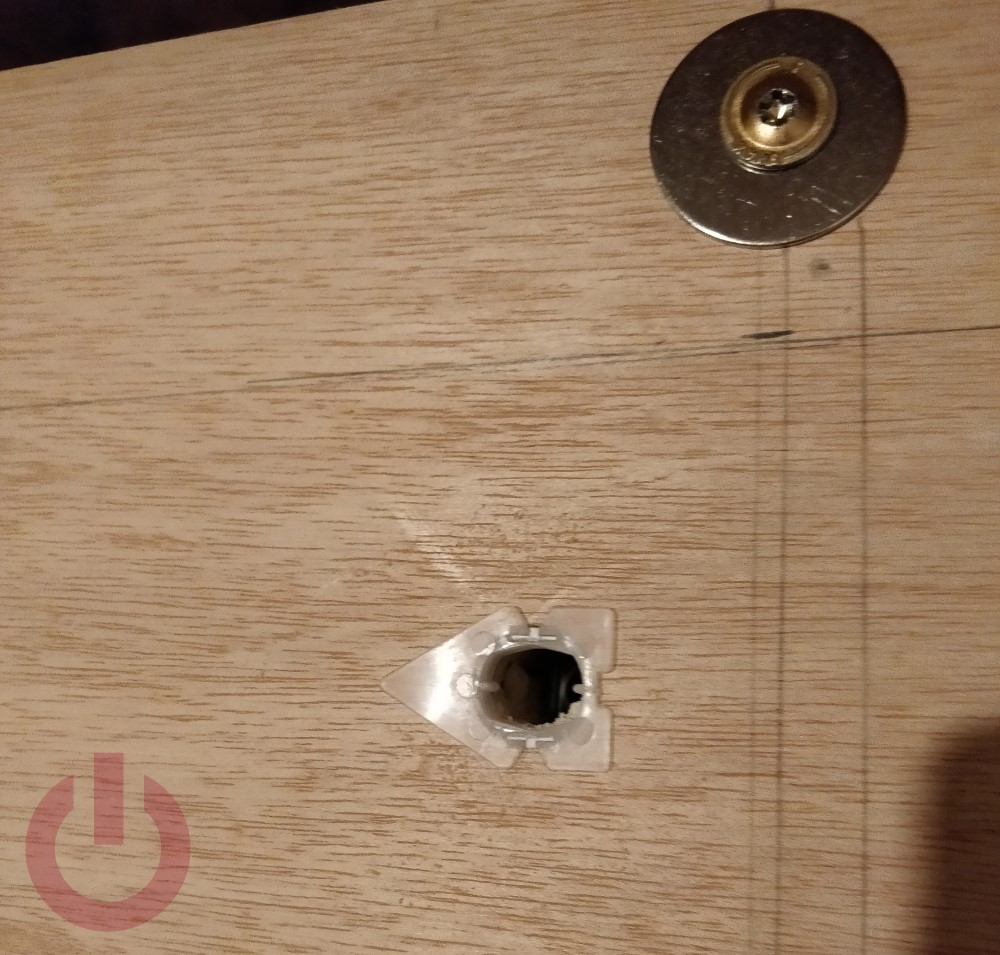
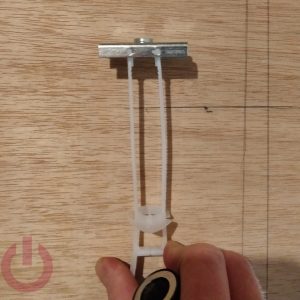
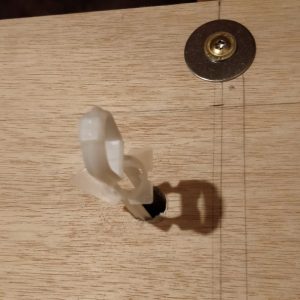
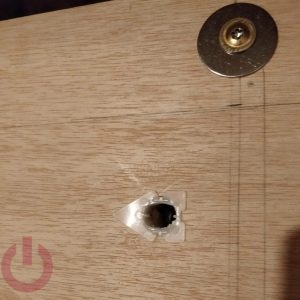
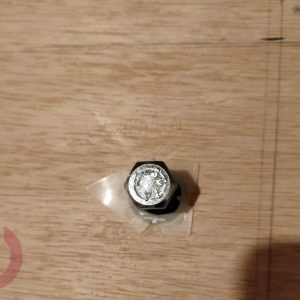
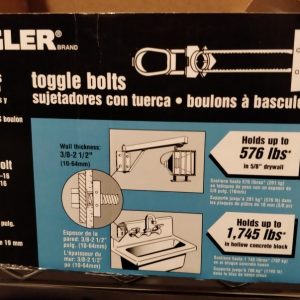
Grab your box of TOGGLER anchors and follow the directions to install the toggle bolt. I went with the massive BCs so this means drilling a ¾” hole, inserting the toggle, tightening it down, and snapping off the leads. Once it is in place, screw in the bolts without any washers – those will come later. We need to ensure that the mount will slide over the bolt for now. 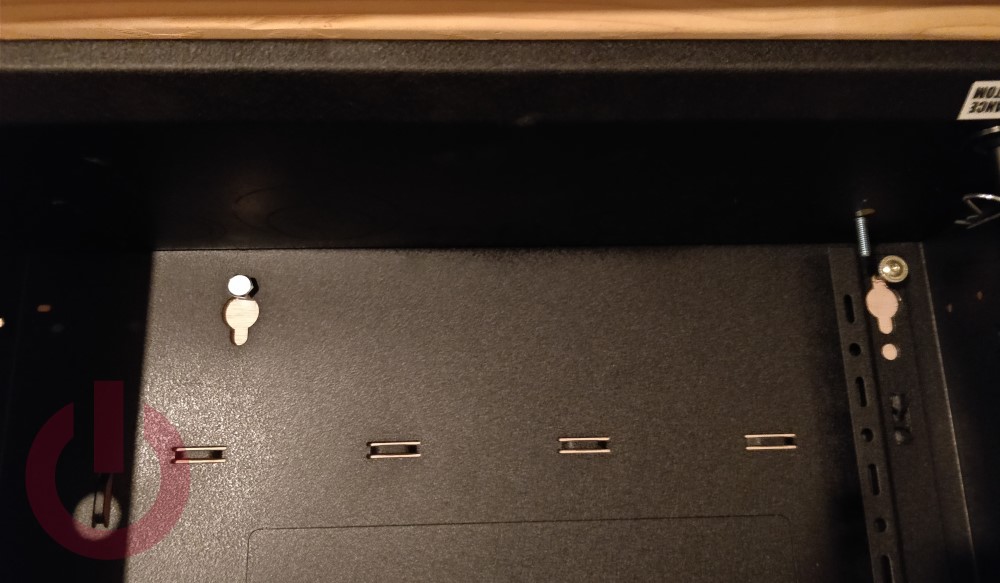 If a stud is underneath one of the mounting lines. Partially screw two 4 ½” SPAX Powerlags along the stud line, but not into the stud underneath, then place the cabinet backing on the four bolts. There is some risk that the TOGGLER can get pushed into the wall using this method. So if you do not have plenty of support for the back it is also possible to use some wood screws temporarily to hold it in place, then add the bolts after it is in place.
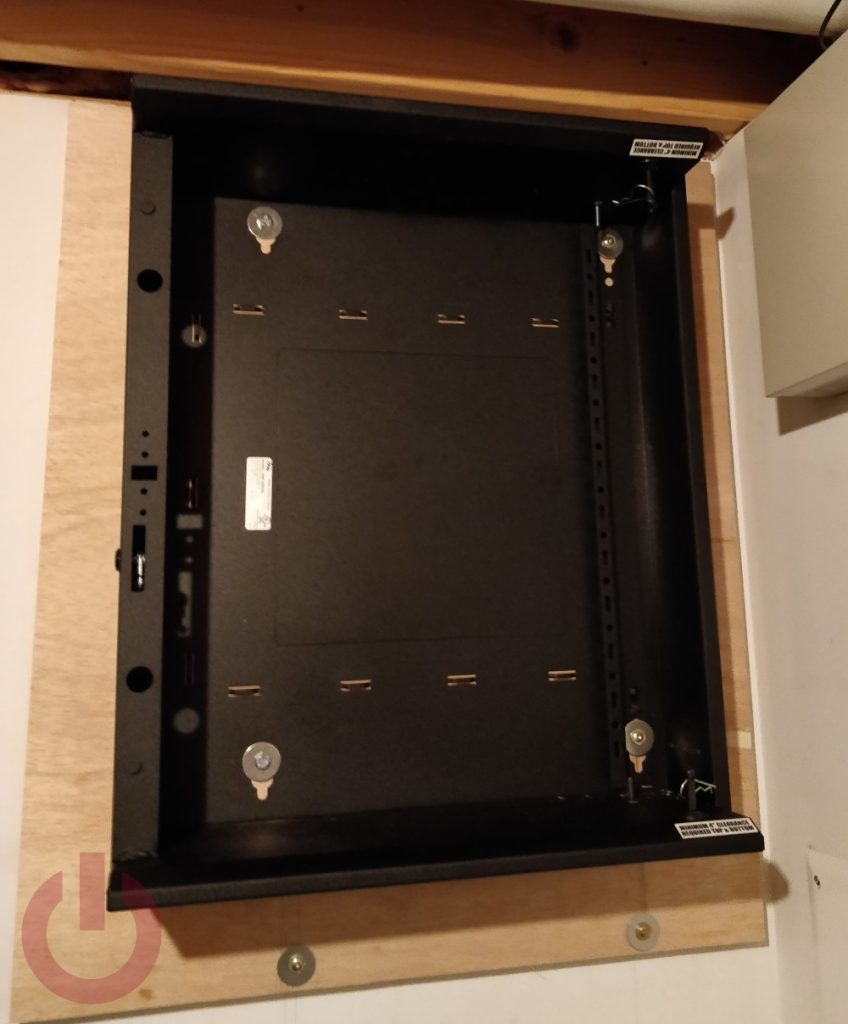 One at a time, remove the bolts/Powerlags and install the fender washer. Next, reinsert and tighten most of the way down. Once all four have been replaced, complete the tightening process. It is easy to know when the Powerlag is completely tight, it will not go any further. But the toggle bolts are a bit more complex. We want all the weight on the plywood so it is important to tighten the backing through the drywall until it touches the plywood.
 With the back mount in place, the rack slides in and is secured on the hinge side using the supplied pins. Just to make sure that nothing was going anywhere, before putting up the rack body, I added a couple Powerlags along the top (there is a horizontal stud there) and togglers to further secure the plywood to the studs and drywall.
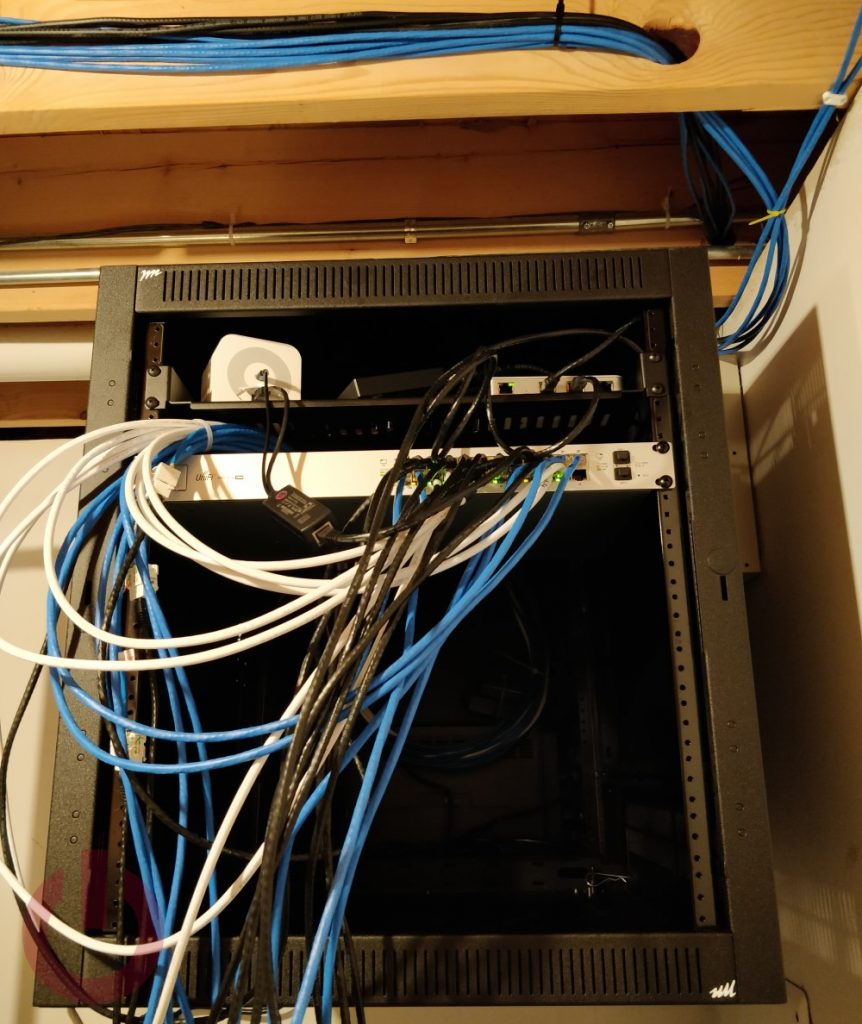
Now it is time to put the kit in the rack. Generally, you want to start at the bottom with the heaviest items, and end up with the hottest kit at the top. I was not quite ready to install the server yet, so I started at the top. It is also a good idea to earth/ground the cabinet. Middle Atlantic sells a kit for this, but any sufficiently thick wire run between the rack and a ground point will do. I thought it was also worth showing this picture as a PSA for why you want to use a patch panel J. Also, because the cabinet has a weight limit it, is necessary to keep track of what is inside. I use a spreadsheet that has each item’s weight and keeps running totals of the allocated and remaining weight capacity.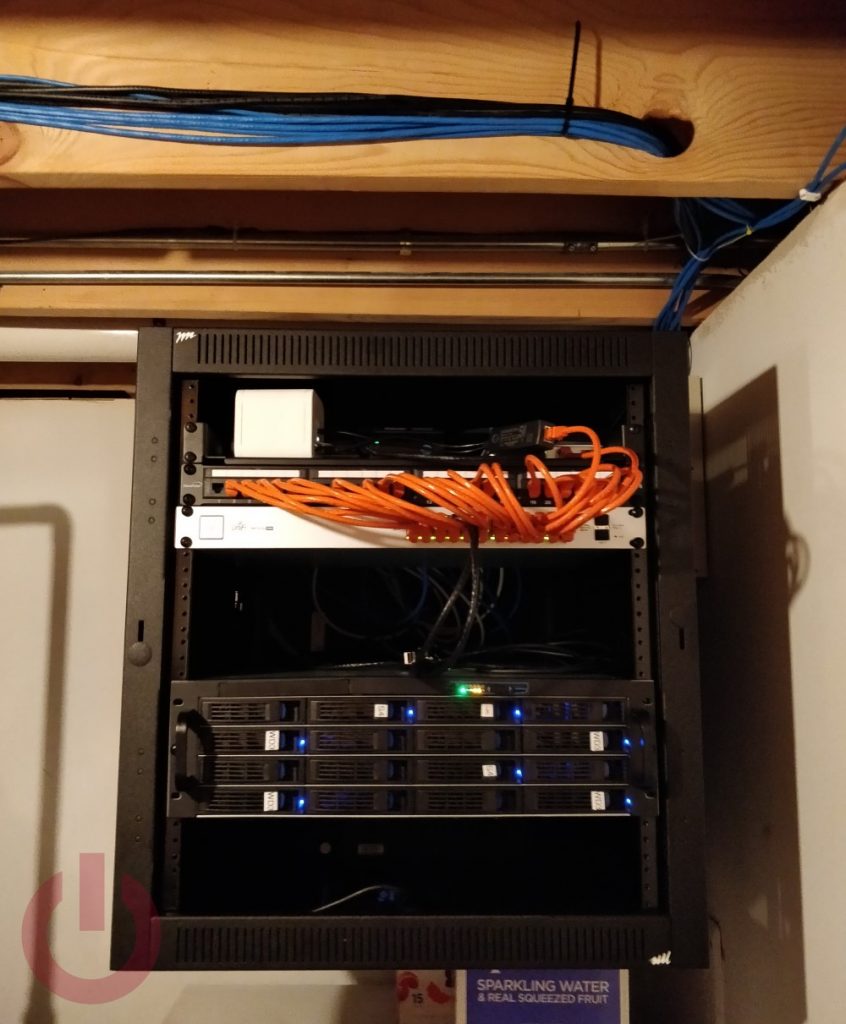 Here we have the patch panel and server installed. I have a few more things planned, but it is done enough for now.


Hopefully this was useful and will save some time if you ever need to install a heavy rack on the wall. Also, a big thank you to Adam who helped me select the cabinet and offered a massive amount of guidance when I was installing it. If you have any questions about the process here, hit the comments. I will do my best to answer what I can, and have Adam chime in where I cannot.
Auto Amazon Links: No products found.