


Ford is terrible at credential management (PAAK rant)
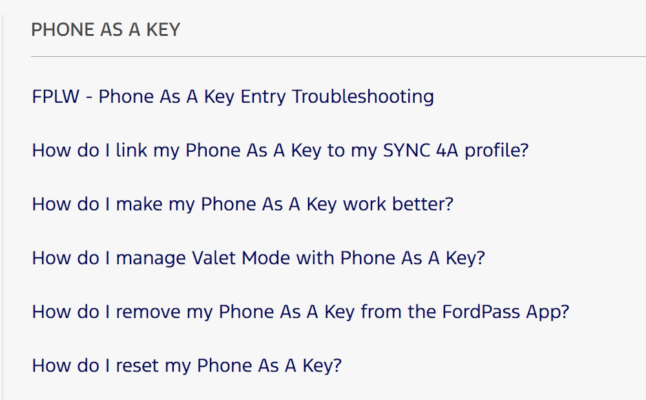
In general I like my Ford Mach-E (or Mustang Mach-E, or MME, or whatever), but every now and again I run into a rough edge because Ford is really bad at technology. Today’s rough edge is in how they manage credentials for the Phone As a Key (PAAK) feature. For those who aren’t familiar, PAAK lets you use your phone […]
Read more